If your home office doubles as a studio, the low end is probably the part that annoys you first. Bass piles up in corners, kicks sound lumpy, and your voice recordings pick up a weird boxy bloom that EQ never really fixes.
DIY bass traps are the most practical way to calm that mess down without turning your workspace into a foam cave. The goal is simple: add thick, breathable absorption where the room stores bass energy, especially in corners and wall to ceiling edges.
When people search how to build DIY bass traps for a home office, they usually want two things at once. They want real low frequency improvement, and they want something that still looks like it belongs near a desk and a Zoom camera.
I like builds that use clean frames, safe fabric choices, and mounting methods that do not wreck drywall. You can get a professional result with basic tools if you keep your cuts square and your materials consistent.
Choosing a DIY bass trap style that fits a home office
The best bass trap style for a home office is the one you will actually keep installed. If a trap blocks a closet door or looks like a construction project, it will end up in a corner of the garage instead of the room corner.
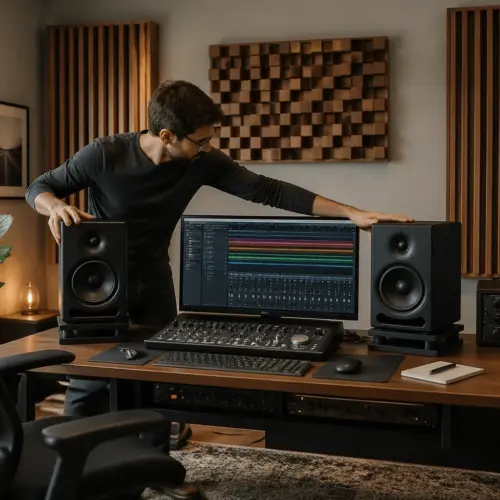
For most desks, I recommend starting with two corner traps behind your monitors and two more in the rear corners. That layout tends to reduce the worst peaks without making the room feel smaller.
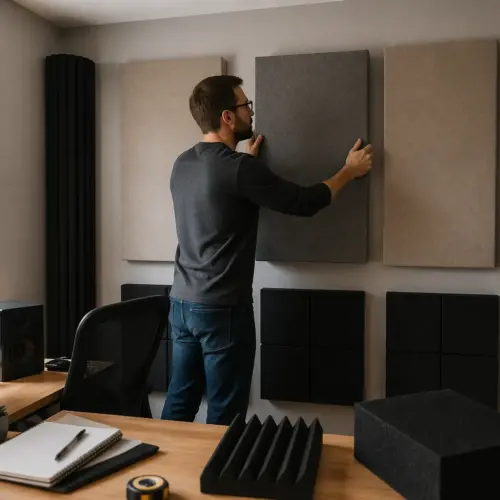
You have three common DIY formats: flat wall panels, corner straddlers, and superchunks. Flat panels help mids and highs, but corner straddlers and superchunks usually do more for bass per square foot.
Corner straddlers are my default for home offices because they look tidy and mount easily. A 24 inch wide panel across a 90 degree corner leaves an air gap behind it, and that air gap is free performance.
Superchunks can work great, but they eat floor space fast and they are harder to make look intentional. If your office is already tight around a chair and filing cabinet, a straddled panel is the calmer choice.
Materials you can source easily (and what to avoid)
The core of a bass trap is porous insulation that air can move through. Rigid fiberglass is common, but you can also use mineral wool boards like Rockwool Safe’n’Sound or Owens Corning Thermafiber if local stores stock them.
When people ask about rigid fiberglass alternatives, I point them to mineral wool first because it is widely available and generally easier to handle. Look for boards or batts that hold their shape, since floppy insulation makes sloppy panels.
For frames, straight 1×3 or 1×4 pine is easy to find, easy to square, and light enough for simple mounting methods. Poplar is nicer but costs more, and MDF is heavy and dusty, which is the opposite of what you want in a home office.
Skip egg crate foam and thin acoustic foam tiles if your goal is bass control. They can reduce flutter echo, but they will not touch the low end that makes small rooms sound boomy.
Avoid plastic backed fabrics, vinyl, and anything that feels airtight when you put it to your mouth and try to breathe through it. Bass traps need breathable covers, or the insulation cannot do its job.
Sizing your frames for real low-frequency impact
Thickness matters more than almost any other decision you make, and that is where many DIY builds fall short. A 2 inch panel is fine for early reflections, but bass traps start to feel serious at 4 inches and up.
If you can only build one size, build 24 by 48 inch panels that are 4 to 6 inches thick. That size fits common insulation widths, looks balanced on typical walls, and does not overwhelm a small office visually.
| Trap size and placement | Typical build thickness | What you will notice |
|---|---|---|
| 24×48 wall panel at first reflection | 2 to 4 inches | Clearer stereo image, less slap |
| 24×48 corner straddler (vertical) | 4 to 6 inches | Tighter kick and bass, fewer peaks |
| 24×48 corner straddler with 4 inch air gap | 4 inches | More low end control without more depth |
| Floor to ceiling superchunk corner | 12 inches plus | Biggest bass smoothing, biggest footprint |
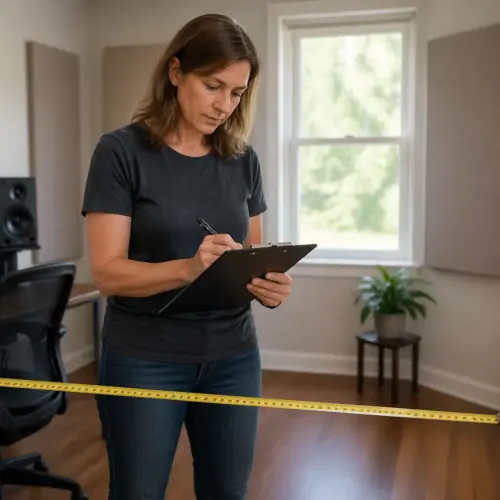
Planning the cut list so every panel matches
Consistency is what makes DIY traps look like furniture instead of weekend projects. Before you cut anything, decide on one exterior size and build every frame to that exact measurement.
If you are using 24 inch wide insulation, design the inside of the frame to fit it without crushing. Crushing insulation can raise airflow resistance and reduce performance in the low end, which is a bad trade.
I like simple butt joints with wood glue and screws because they are fast and strong. Miter joints can look great, but they punish small measurement errors and they waste time if you do not have a dialed miter saw.
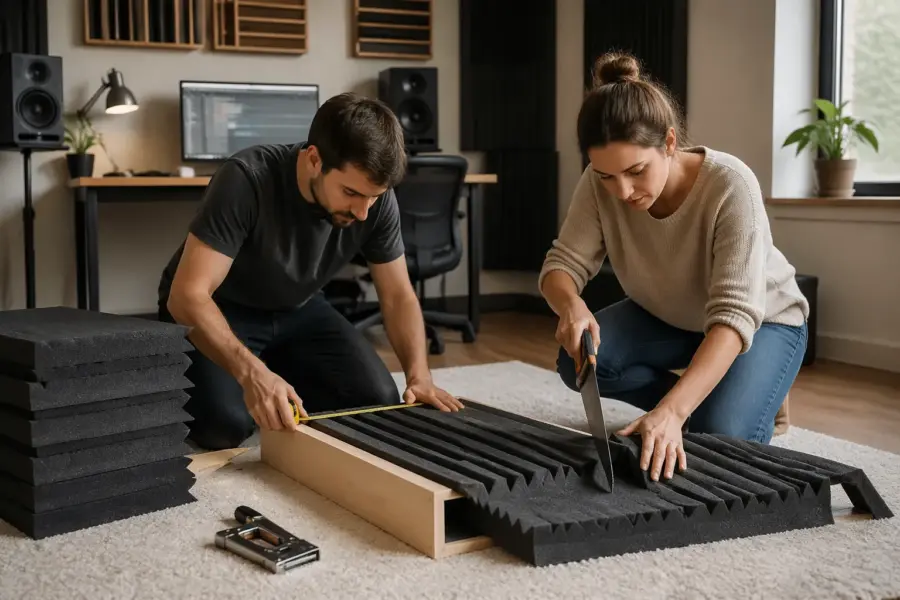
Write a cut list that includes the long rails, short rails, and any center brace pieces. Then cut all same length pieces in batches, because that is how you keep panels square without measuring fifteen times.
Do not skip sanding, even if you think nobody will touch the frames. A quick pass with 120 grit keeps fabric from snagging and makes the final wrap look smoother.
Step-by-step build process for consistent, square panels
Start by cutting your frame lumber and laying one panel out on a flat surface like a garage floor or a sturdy table. Check each corner with a speed square, because a frame that is slightly out of square will fight you during wrapping.
Glue the joints, clamp if you can, then drive screws after the glue grabs. Predrill the screw holes to reduce splitting, especially if you are using inexpensive pine that has knots near the ends.
Add a center brace if your panel is thicker than 4 inches or if you plan to move it around often. A single brace across the middle keeps the frame from twisting and gives you a place to staple fabric cleanly.
Dry fit the insulation before you wrap anything, and trim only if you have to. A long bread knife works well for mineral wool, and a straightedge plus a utility knife works for denser boards.
If you want cleaner edges, line the inside of the frame with thin landscape fabric or cheap muslin before inserting insulation. That inner liner keeps fibers contained and makes the final staple job less itchy.
Wrapping and finishing for a professional look
Safe fabric choices start with breathability, then move to durability and color. If you can breathe through the fabric easily, sound can pass through it, and that is what you want.
Good options include burlap that is not coated, cotton duck, and many upholstery fabrics labeled as unbacked. Guilford of Maine looks great, but plenty of mid priced fabrics from Joann or online upholstery shops work if they are not plastic backed.
- Do the breath test before buying yards of fabric
- Iron fabric first to remove hard creases
- Wrap long sides first, then short sides
- Use 3/8 inch staples for soft wood frames
- Add corner folds like a tight bedsheet
- Install a thin dust cover on the back
Dealing with rigid fiberglass alternatives and safety
If you cannot find rigid fiberglass locally, mineral wool is the easiest substitute that still performs well in corners. It is also less prickly for many people, though you should still treat it like insulation and not like pillow stuffing.
Wear gloves, long sleeves, and a basic dust mask while cutting and handling, and vacuum the work area afterward. You do not need a hazmat setup, but you also do not want fibers floating around your office where you eat lunch.
For a cleaner build, use an inner liner layer even if your outer fabric is thick. A cheap, breathable layer keeps small fibers from migrating and makes the panel feel more finished when you move it.
Do not use spray adhesives inside the panel unless you have a specific reason and good ventilation. The smell can hang around a small room for days, and staples plus tension usually hold fabric just fine.
If you want a rigid face without blocking airflow, add a thin wood slat front with gaps, or use a light plastic mesh under the fabric. Solid plywood faces reflect sound, so keep any front structure open.
Mounting options that work in small rooms
Mounting methods matter in a home office because you may rent, you may move desks, and you may need to access outlets. I like solutions that let you adjust placement without leaving a cratered wall behind.
For corner straddlers, the easiest approach is to hang the panel like a picture using D rings and two wall hooks, then add a bottom spacer so it sits off the wall. That spacer can be a small wood block or a stack of felt pads, and it keeps the air gap consistent.
French cleats are strong and they make panels easy to lift off when you need to run cables. They do require a longer strip on the wall, so they are best when you know the trap will stay in that spot.
If you do not want holes, build freestanding corner traps with a simple base, or use tension rods between floor and ceiling with a light bracket. Freestanding traps are also great behind a chair, where wall mounting is awkward.
Do not rely on small adhesive hooks for heavy traps, even if the packaging claims big numbers. Insulation panels can weigh more than you expect, and a falling trap can damage gear or a monitor.
Placement that actually changes what you hear at the desk
Corner traps do the most work when they hit tri corners, which are wall to wall to ceiling intersections. If you can only treat two corners, pick the ones closest to the speakers first.
After corners, treat first reflection points on the side walls, because that is where clarity and imaging improve fast. You can find those spots with a mirror and a friend, or you can just move a panel while playing pink noise and listen for the change.
In a home office, the back wall is often close to your chair, and that makes bass and low mids build up behind you. A thick panel on the back wall, even one, can reduce that trapped pressure and make your mixes translate better.
Ceiling clouds help too, but they are a commitment because they hang over your head and need solid anchors. If you do a cloud, keep it thick and leave an air gap, or you will mostly treat highs and wonder why the room still rumbles.
Measure if you can, even with a cheap USB mic and free REW software, because your ears adapt quickly. A before and after sweep will show you whether your placement fixed a peak at 80 Hz or just changed the vibe.
Common build mistakes that waste time and performance
The most common mistake is building traps too thin because thin panels are easier to wrap and mount. That choice usually leads to a room that sounds less harsh but still has the same low end problems.
Another mistake is sealing the insulation in plastic or using fabric that is basically a windbreaker. If air cannot move through the cover, the trap turns into a reflector with a soft texture.
Frames that are out of square cause every other step to get worse, especially wrapping corners and mounting flush. If your first frame is crooked, stop and fix your cutting setup before you build a stack of crooked frames.
People also overstuff corners with random pillows and blankets and expect bass control. Soft clutter can help a little, but it is inconsistent, and it usually looks like clutter because it is clutter.
Finally, do not ignore the room itself, like a hollow desk against a wall or a big cabinet that resonates. Sometimes tightening a desk, adding a rug, or moving a subwoofer six inches does as much as one extra panel.
Conclusion
If you want a clean, effective answer to how to build DIY bass traps for a home office, build thick corner straddlers with breathable fabric and consistent frames. Start with four panels, mount them safely, and you will hear the low end tighten up in a way EQ cannot fake.
Rigid fiberglass alternatives like mineral wool work well, and safe fabric choices keep the build comfortable to live with every day. Once you like the result, add panels at first reflections and the back wall, and your office studio will sound calmer without looking like a lab.