A bay window can make a home office look bigger and brighter, but it can also make your low end act weird. If you mix, edit, or just want music to sound solid, bass control in a room with a bay window takes a little strategy.
The good news is that you can tighten bass without turning your workspace into a foam bunker. The trick is to treat the problems the bay creates, while leaving the parts that are already fine alone.
Most people blame the glass, but the bigger issue is the bay’s geometry and the extra boundaries it adds. Once you understand what is happening, you can choose fixes that look like normal home office choices, not studio cosplay.
What a bay window changes in the low end (and what it doesn’t)
At bass frequencies, the glass itself is not the main villain, because long wavelengths mostly ignore thin surfaces compared to rigid walls. What changes is the shape, because a bay adds angled boundaries and a recessed pocket that shifts where room modes pile up.
The bay often acts like a shallow alcove that stores low frequency energy and then releases it back into the room slightly late. That can read as one note bass, or a soft “whoomph” that hangs around after kick hits.
Where the bay does matter a lot is in mid and high frequencies, because glass is reflective and creates strong window reflections. Those reflections do not create bass problems directly, but they can trick you into changing EQ and balance, which then makes the low end worse elsewhere.
If you clap or snap near the bay and hear a sharp zing, that is a reflection issue, not a bass issue. Treating reflections makes your stereo image calmer, and that makes it easier to judge bass changes you make later.
Best desk orientations when a bay window is in the room
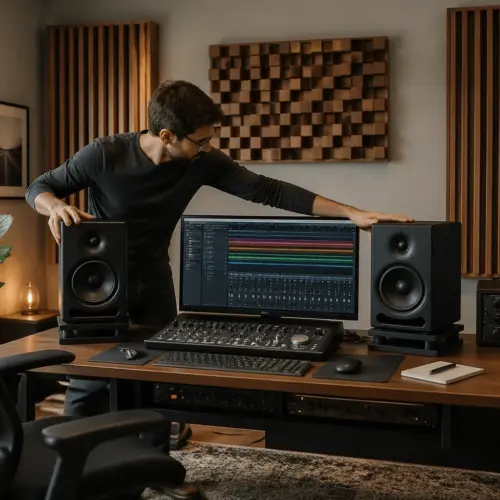
Start with placement, because you cannot “panel your way out” of a bad listening position. With bass control in a room with a bay window, the cleanest setup usually keeps your speakers firing down the room’s longest dimension.
If the bay is on the short wall, placing your desk on that wall can feel intuitive, but it often puts your head close to a pressure zone. You may get a big hump around 60 to 120 Hz, and then a deep null lower down that makes you overboost sub bass.
A safer default is to put the desk on the opposite short wall, so the bay is behind you rather than in front of you. That keeps early reflections off the glass out of your direct line, and it reduces the chance that the bay’s pocket dominates what you hear.
If the bay is on a long wall, try to avoid centering your desk directly across from the bay’s middle, because symmetry can lock you into a strong modal pattern. Shifting the desk a foot or two left or right often smooths bass more than any single small absorber.
Keep the listening position away from the exact center of the room, because the center is where many rooms hide a big low frequency null. A common starting point is about 38 percent of the room length from the front wall, then you fine tune by ear and measurement.
Treating around glass without permanent changes
If you rent, or you simply do not want holes in trim, you still have plenty of options for bass control in a room with a bay window. The goal near glass is usually to manage window reflections and reduce the bay alcove’s “cup” effect, without gluing anything to the panes.
Think in layers: a removable reflection layer near the window, and deeper bass trapping elsewhere where it actually works. If you try to fix bass by sticking thin panels on glass, you will spend money and still wonder why kick drums feel uneven.
| Non-permanent option | What it helps most | Where it works best |
|---|---|---|
| Tension rod with heavy curtains | Window reflections, some upper bass control | Inside the bay opening, wall-to-wall coverage |
| Freestanding gobo panel (4 to 6 inch mineral wool) | Reflections, low-mid cleanup | In front of the glass during work sessions |
| Ceiling-mounted curtain track (screws into ceiling, not window) | Reflections with better sealing | Across the bay’s front edge, slightly off the glass |
| Bookcase or storage unit near the bay sides | Diffusion and mild absorption | On the bay’s angled returns, not blocking the view |
| Corner bass trap towers | Bass buildup and modal peaks | Room corners away from the window alcove |
Using curtains and movable absorption the right way
Heavy curtains can be a real tool, but only when you use them like treatment instead of decoration. For window reflections, you want heavy curtains with deep folds, and you want them to extend past the glass edges so reflections do not sneak around the sides.
Pick a fabric that has weight, like velvet, velour, or theater blackout material, and hang it so it “puddles” a bit or at least touches the floor. A flat, tight curtain does less than people expect, because the folds are where extra absorption happens.
Do not expect heavy curtains to replace bass traps, because they mainly work higher up, often above 200 Hz depending on depth and spacing. They still matter for bass control in a room with a bay window, because cleaning up the top end keeps you from chasing bass with EQ.
Movable absorption is where you can cheat the room without committing to a permanent look. A pair of 24 by 48 inch panels that are 4 to 6 inches thick, placed on stands, can cover the bay glass during mixing and then roll away when you want daylight.
If your bay has a seat, a thick upholstered bench cushion can cut some slap and flutter around the alcove. It will not fix the lowest octave, but it can stop that hollow “cup” sound that makes vocals and guitars feel detached.
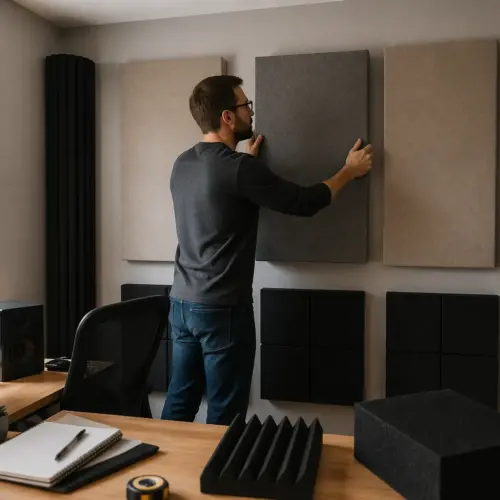
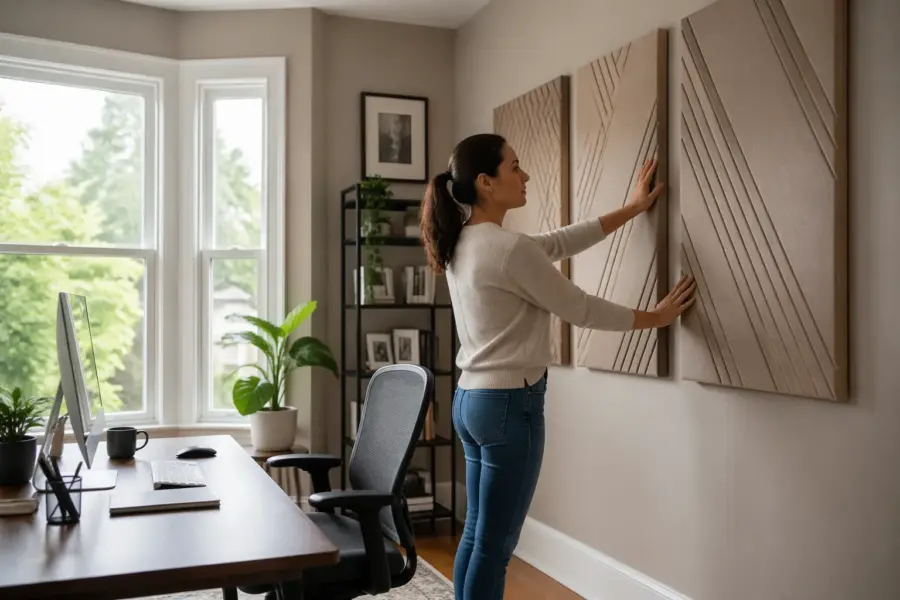
Panel mounting ideas that won’t wreck the trim
Most people avoid treatment because they picture drilling brackets into painted woodwork. There are clean panel mounting ideas that keep your home office looking like a home office, especially around a bay where trim is often the nicest detail in the room.
For sidewall first reflections, picture rail hooks or small ceiling hooks can hold lightweight clouds and panels with wire, and the holes are tiny. If you cannot drill at all, freestanding stands or a simple wood base that the panel bolts to can look like a piece of furniture.
Command-style adhesive strips can work for very light frames, but I do not trust them for thick mineral wool panels over a desk. If a panel falls onto a monitor or speaker, you will hate the whole idea of treatment forever.
A practical approach is to use two tall panels on tripod stands right behind the desk chair, angled slightly, so they catch reflections from the bay and the rear wall. When you are not working, you can park them against a wall and they read like minimalist art if you choose a decent fabric.
If you want a built-in vibe without construction, use a low console table behind the desk and place two panels on it like screens. The table hides the bases, and the panels look intentional, especially in neutral colors that match the curtains.
Dealing with bass buildup near the window alcove
The bay alcove often collects bass the way a corner does, just with a different shape. You will hear it as a boom that changes a lot when you lean forward or back, and it can make bass control in a room with a bay window feel impossible.
Start by treating the real corners first, because they usually give you the biggest return per dollar. Thick corner bass traps, floor to ceiling if you can manage it, usually beat any clever trick inside the bay itself.
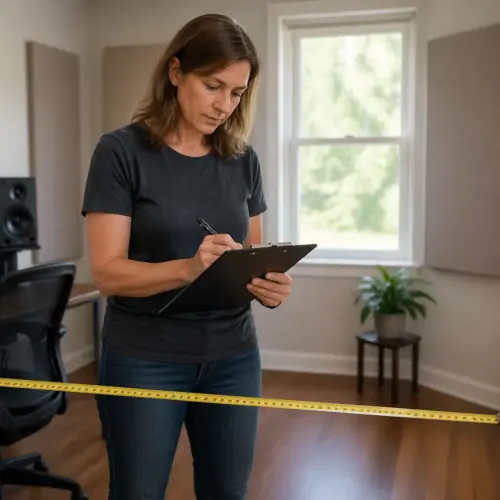
- Measure the bay depth and note the alcove’s widest point
- Place thick corner traps in the two front corners first
- Add a rear wall absorber behind your chair if the bay is behind you
- Use a freestanding 6 inch gobo across the bay opening when mixing
- Try a subwoofer crawl if you use a sub, then lock its position
- Move the desk 6 to 12 inches at a time to dodge a null
How to tame window reflections without killing daylight
Window reflections are a clarity problem first, and they can make bass decisions sloppy because the stereo image wobbles. If you can keep the bay bright while reducing reflections, you will work longer and trust your low end more.
One approach is a split treatment setup: sheer curtains for daytime, and heavy curtains that you pull only when you mix or take calls on a mic. That keeps the room usable, and it stops you from living in a cave just to get decent monitoring.
Another approach is to hang heavy curtains a few inches off the glass, because the air gap helps absorption at lower frequencies than fabric alone. If your bay has deep trim, you can often hide a tension rod or track so it looks like normal window dressing.
If glare is part of your problem, angle the monitors slightly and avoid placing shiny screens directly facing the bay. A small change in monitor angle can reduce the sense of harshness that people wrongly blame on speakers.
When you do add absorption near the bay, keep it symmetrical relative to your listening position if possible. Asymmetrical window reflections pull the phantom center to one side, and that makes bass lines feel like they lean left or right.
Subwoofer and speaker placement when the bay is nearby
If you run nearfields without a sub, placement still matters because boundary gain changes bass level fast. Speakers too close to the bay wall or the bay returns can exaggerate a narrow band and make bass guitar notes jump out unevenly.
Keep nearfields the same distance from their nearest side boundaries, and avoid putting one speaker closer to the bay’s angled wall than the other. Even small asymmetry near a bay can shift imaging and change how you perceive low end punch.
If you use a subwoofer, do the sub crawl, even if you think it is annoying. Put the sub at your chair, play a slow sine sweep or a bass heavy loop, then crawl around the perimeter to find a spot where the bass sounds even and controlled.
In many bay window rooms, the best sub spot ends up off center, sometimes along a side wall rather than under the desk. That can feel wrong aesthetically, but a small sub next to a plant stand beats a sub under the desk that makes every kick drum sound like a different instrument.
Once the sub location is set, use a crossover that matches your monitors and do not push it too high to “fill the room.” A high crossover makes the sub localizable, and then the bay reflections start to mess with direction cues.
Simple listening tests to verify tighter bass
You do not need lab gear to check whether your fixes worked, but you do need repeatable tests. For bass control in a room with a bay window, consistency matters more than chasing a perfect curve you saw online.
Use two or three reference tracks you know well, and pick sections with steady bass notes that walk up and down. If one note still explodes while the next disappears, you still have a modal problem, not a “bad mix” problem.
Do a slow sine sweep at moderate volume and listen for spots that suddenly get loud or vanish, then mark the frequencies. If you have a phone, a basic RTA app can help you log the rough areas, even if it is not perfectly calibrated.
Try the lean test: play a 50 to 100 Hz bass line and lean forward six inches, then back six inches. If the bass changes a lot, move the chair and desk slightly, because treatment alone rarely fixes a deep null at the listening position.
After you add heavy curtains or panels near the bay, listen for a calmer top end and a more stable center image. When window reflections drop, you usually stop over-brightening mixes, and the low end ends up more controlled as a side effect.
Conclusion
A bay window does not doom your room, but it does change how bass piles up and how reflections mess with your decisions. Bass control in a room with a bay window comes from smart placement first, then thick trapping where it counts, then reflection control around the glass.
Heavy curtains, movable gobos, and clean panel mounting ideas can keep the space looking normal while still making the low end tighter. If you verify changes with simple listening tests, you will end up with bass you trust and a home office you still like being in.