Most home offices are weird rooms, and weird rooms can wreck a stereo image faster than a bad pair of speakers. If you are trying to figure out how to set up speakers in an asymmetrical room, you are already fighting geometry, not gear.
Asymmetry usually shows up as one side wall closer than the other, a door on one side, or a big opening into a hallway or kitchen. Those differences change early reflections and low frequency buildup, which is why the phantom center drifts and the left right balance feels unstable.
The good news is you can get solid imaging in a lopsided room if you pick a reference line and make consistent choices. The bad news is you have to be picky about placement before you buy more treatment or start guessing with EQ.
What “asymmetry” means in real home offices
In a typical spare bedroom office, asymmetry means the left speaker sees a wall at 2 feet while the right speaker sees a closet door at 5 feet. Even if both speakers measure the same distance to your chair, the room feeds each ear a different set of reflection points.
Another common version is a desk jammed into a corner because the other wall has a window or a built in bookcase. Corner setups can work, but they exaggerate bass differences between channels, which shows up as a lopsided kick drum and a vocal that will not sit still.
Open plan rooms create asymmetry that people underestimate because there is “nothing there” on one side. The missing boundary changes how bass loads and it also removes a predictable early reflection, so your brain gets a different timing picture on the open side.
Furniture counts as asymmetry too, especially tall shelves on one side and a bare wall on the other. A shelf full of binders can act like a rough diffuser in the mids, while a painted wall acts like a mirror, and that mismatch pulls the image sideways.
Choosing a reference center line you can stick to
If you change your reference every time you move something, you will chase the stereo image forever. Pick a center line based on the room itself, then force your desk and speakers to respect it as much as the room allows.
In practice, I like to start by finding the midpoint of the front wall, even if the side walls are different. Snap a chalk line or run painter’s tape from that midpoint straight back, because you need a physical line you can measure from.
When the front wall is unusable, like a diagonal wall or a fireplace, use the longest uninterrupted wall as the front. You want the speakers firing down the longer dimension so the first axial mode is lower and the bass response is less jumpy.
Once the line exists, center your chair on it and measure left and right speaker distances from the same points on each cabinet. This is where left right balance starts, because equal geometry at the listening position gives you a baseline before you apply compensation techniques.
Managing uneven side reflections with placement first
Before you hang panels, move the speakers and chair to reduce the mismatch in first reflections. The goal is not perfect symmetry, it is making the reflection timing and level close enough that your brain stops favoring one side.
Start by pulling the whole setup away from the nearest side wall, even if it looks awkward in a home office. A few inches can change the path length to that wall, and that shifts comb filtering that you hear as a “phasey” brightness on one channel.
| Room symptom | Placement change to try | What you should hear |
|---|---|---|
| Vocal image leans left | Move left speaker 2 to 4 inches farther from side wall | Center locks in without turning up right channel |
| Snare sounds wider on one side | Reduce speaker spacing by 1 to 2 inches per side | Snare narrows and sits between speakers |
| One side sounds brighter | Increase toe-in on brighter side by a few degrees | Top end evens out at the listening spot |
| Bass feels heavier on wall side | Pull both speakers 3 to 6 inches forward from front wall | Bass becomes less one-note and more even |
| Image collapses when you lean back | Move chair forward 2 to 6 inches | Phantom center holds over a small range |
Using speaker distance and toe-in to stabilize imaging
Once you accept that the side boundaries are different, you can use distance and toe-in as your steering wheel. This is one of the cleanest compensation techniques because it changes what reaches your ears first, not what an EQ guesses later.
Lock in the listening triangle first, then adjust in small steps like you are aligning a microscope. I usually start with the tweeters aimed just behind my head, because that reduces the strength of early side reflections without making the sound dull.
If the wall side is louder in the upper mids, toe that speaker in a bit more so you listen slightly more off axis. Many speakers have a smoother response off axis, so you can tame the “shout” without touching the other speaker or ruining left right balance.
Distance tweaks matter too, but keep them small and re-measure each time. Moving a speaker forward or back changes boundary interference, and in an asymmetrical room that shift can fix a hole at 120 Hz on one side while creating a new one at 90 Hz.
Handling one open side vs one solid wall
An open side is not “no problem,” it is a different problem. You lose a strong early reflection on that side, and the solid wall side still throws energy back at you, so the image often pulls toward the wall.
First, try shifting the entire setup toward the open side so the solid wall is farther away. That feels backwards to many people, but increasing the wall-side distance often reduces the reflection level enough that the open side stops sounding quieter and less defined.
Second, treat the solid wall side as if it is guilty until proven innocent. Find the reflection points with a mirror and plan to absorb there, because that one reflection can dominate the timing cues that tell your brain where the phantom center belongs.
Third, do not over-correct by cranking the open-side speaker level. Level tricks can help in tiny amounts, but if you lean on them you will get a fragile image that only works for one chair position and falls apart when you stand up.
Practical treatment zones for the most uneven surfaces
After placement, treatment is where you make the room stop arguing with your speakers. The trick in a home office is picking zones that give you the biggest imaging win without turning the space into a foam cave.
Start with first reflection points on the side walls, then look at the ceiling if you sit under a low drywall lid. If you can only afford two panels, put them where they reduce the strongest mismatch between left and right, because that is usually what breaks the stereo image.
- Mirror-check side wall reflection points at seated ear height
- Ceiling cloud above desk, centered on the listening position
- Thick absorption behind speakers if they are close to the front wall
- Bass trap in the wall-side front corner first
- Rug between speakers and chair if the floor is hardwood
- Absorption on the wall behind your head if it is within 3 feet
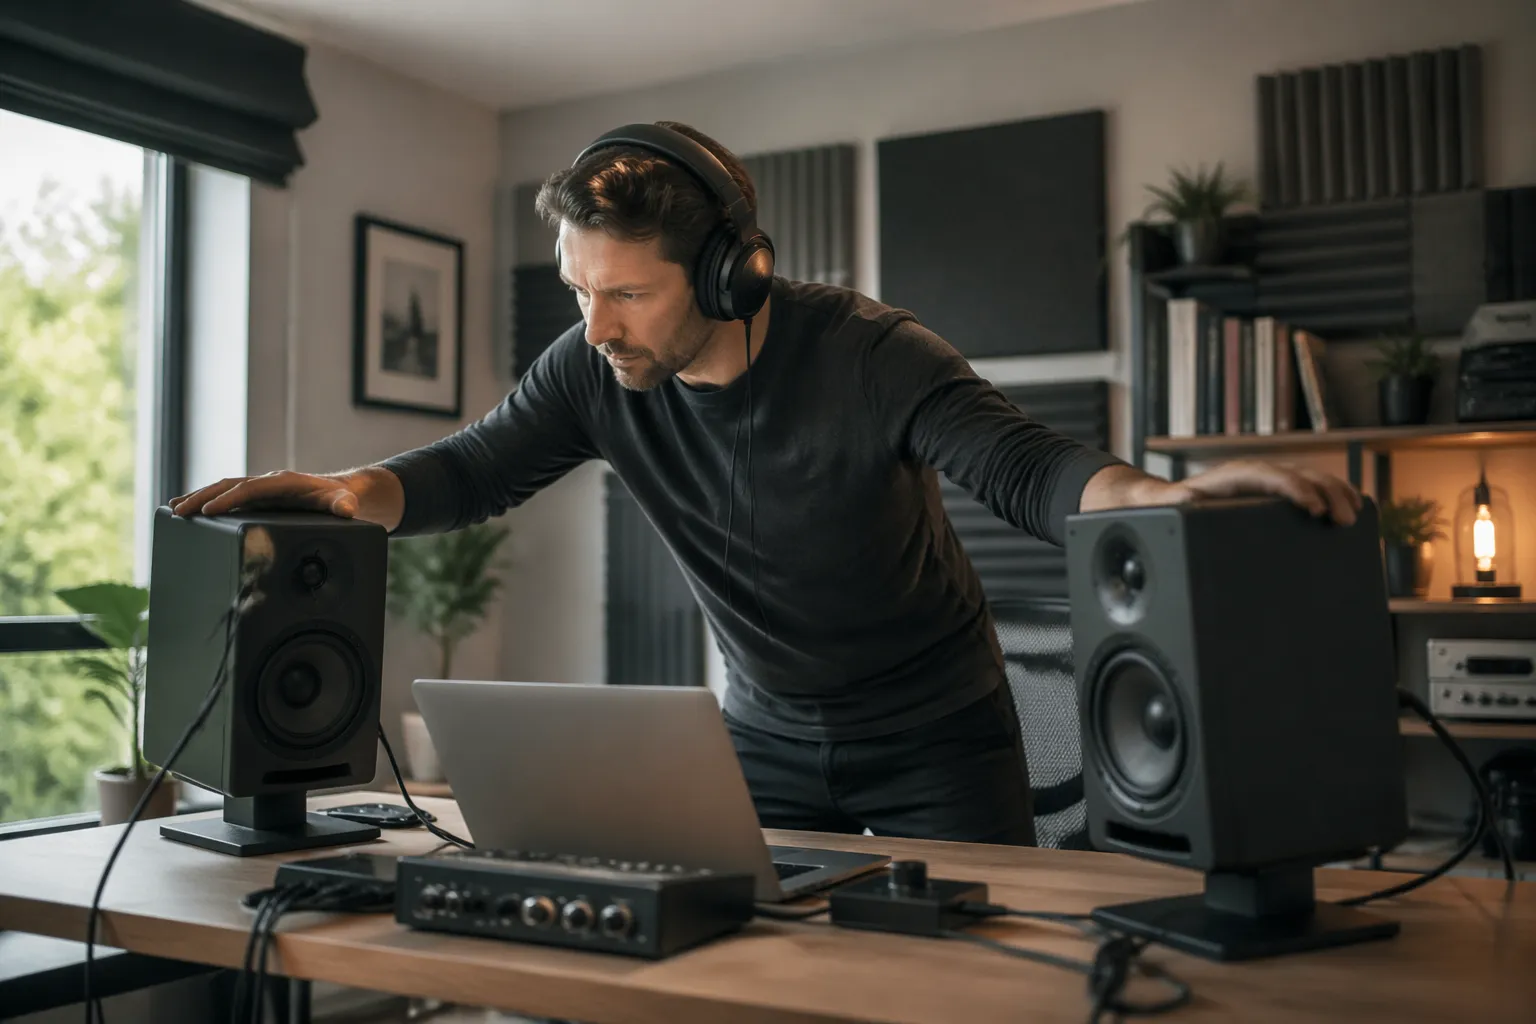
Checking left right balance without fooling yourself
Your ears adapt fast, so you need repeatable checks for left right balance. I like to use a mono vocal track and a pink noise file, because they expose different problems in an asymmetrical room.
Play the mono vocal first and set your monitor level where you normally work, not whisper quiet. If the voice sits off center, do not touch the pan knob, move speakers or toe-in until the center holds for a few inches of head movement.
Then switch to pink noise and listen for a tilt where one side sounds brighter or louder. This is where you spot reflection points causing a spectral imbalance, because pink noise makes the room’s coloration obvious in a way music can hide.
If you use measurement software like REW, focus on ETC and early reflection timing before you obsess over a perfectly flat curve. A room can measure “flat-ish” and still image poorly if one side reflection arrives 3 ms earlier than the other.
Compensation techniques that do not wreck translation
When placement and basic treatment are done, small compensation techniques can finish the job. The keyword is small, because big corrections tend to fix your chair and break everything else.
A tiny level trim, like 0.5 dB, can help if one side has a persistent reflection you cannot treat, such as a glass door. Do it with a calibrated monitor controller or your interface, then re-check with mono, because your brain will accept a wrong center if the room is loud enough.
Delay is another tool, but it is easy to abuse. If one speaker is slightly closer due to desk constraints, add delay to the closer speaker in 0.05 ms steps, and stop as soon as the phantom center snaps into place.
EQ should be the last resort for imaging, not the first move. If you EQ one speaker differently from the other, you can fix a reflection-induced brightness but you also change how mixes translate to headphones, cars, and normal rooms.
Desk, screens, and nearfield problems that mimic asymmetry
Sometimes the room is not the main culprit, your desk is. A big monitor off to one side or a laptop stand near one speaker creates a strong local reflection that acts like a fake side wall.
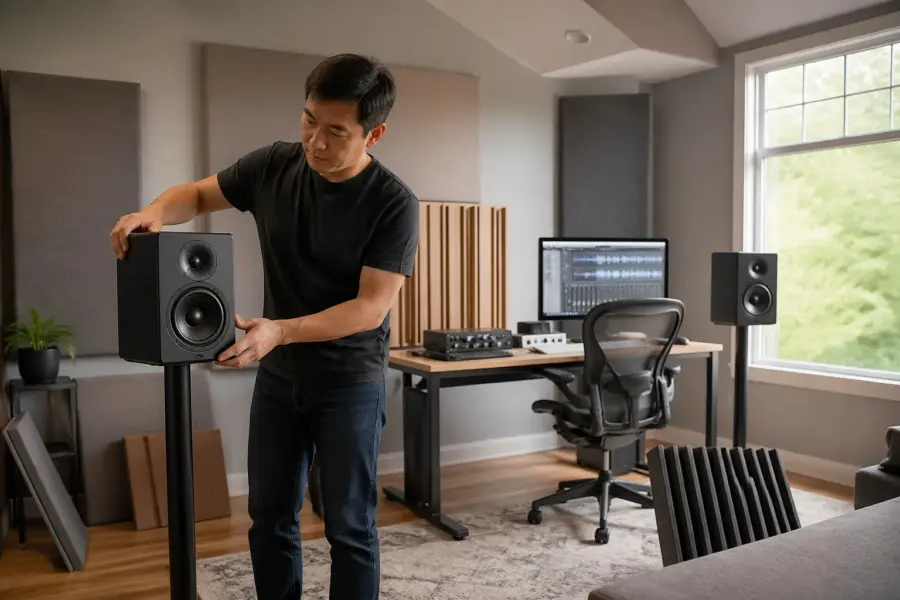
Keep the desk surface as symmetrical as you can around the center line. If you must place a computer monitor, center it, and avoid stacking a second screen only on the left, because that can pull the image even in an otherwise decent setup.
Speaker stands beat desktop placement in most offices, even if the stands feel like overkill. Getting the tweeters above the desk plane reduces the desk reflection that smears the midrange and makes panning decisions feel vague.
If you cannot use stands, use isolation pads and pull the speakers forward so the front baffle is flush with the desk edge. That reduces the early bounce off the desk, and it often improves center focus more than another panel on the wall.
Common layout mistakes when you set up speakers in an asymmetrical room
The most common mistake is centering the desk on the window instead of the room. It looks nice on video calls, but it forces one speaker into a corner and turns left right balance into a daily argument.
Another mistake is placing the listening position halfway between front and back walls. In many rooms that puts your head near a null for a major axial mode, so bass disappears, and you start moving speakers randomly to fix a problem that is really the chair.
People also over-space the speakers because wide looks “pro.” If the room is asymmetrical, wide spacing increases how much each ear hears the opposite speaker through different reflection paths, and the phantom center starts to blur.
Finally, do not treat only one side with thin foam and expect it to match the other side. If you treat, treat with similar thickness and similar coverage around the key reflection points, even if you have to use a freestanding panel on the open side.
Conclusion
If you want to know how to set up speakers in an asymmetrical room, start with a center line and make placement do most of the work. When placement is right, your reflection points become easier to manage and your stereo image stops wandering.
After that, use treatment to reduce the biggest left right mismatch, then apply compensation techniques in tiny, measured steps. You will end up with a setup that is honest enough to mix on and comfortable enough to use every day in a real home office.


