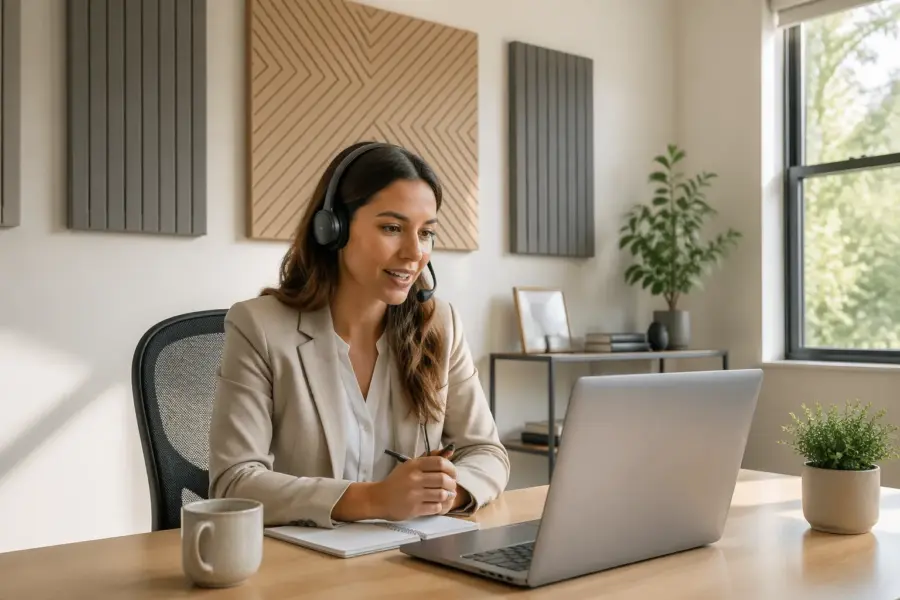
If your video calls sound like you are talking from a bathroom, it is probably your room, not your voice. A few well placed acoustic panels for video calls can make you sound closer, clearer, and less fatiguing to listen to.
Most home offices were built for furniture and daylight, not for speech intelligibility. Hard walls, bare ceilings, and big desks bounce your words around until your microphone picks up a smeared version of you.
I am not chasing a “studio” sound for meetings, I just want coworkers to stop saying, “You are cutting out,” when the real problem is echo. Room reverb control is the unglamorous fix that makes you sound like you upgraded your mic, even if you did not.
Acoustic treatment is also one of the few upgrades that helps every app, every codec, and every call platform. Even the best noise suppression struggles when the room keeps feeding your words back into the mic.
Once you hear the difference, it is hard to unhear it, because your voice suddenly sounds like it is coming from your face instead of your walls. The goal is not silence, it is clarity and a shorter, less obvious tail after each sentence.
Why Video Calls Sound “Roomy” in Home Offices
That roomy sound comes from early reflections, which are fast echoes that hit nearby surfaces and return to the mic a split second after your direct voice. Your brain can handle some reflections in person, but a compressed video call feed makes them harsher and more obvious.
Video call processing often boosts and squashes levels to keep you audible, and that can unintentionally raise the room sound too. When the software turns you up during pauses, it also turns up the reverb tail that should have stayed in the background.
Speech intelligibility drops when consonants get masked by a wash of reverb, especially S, T, K, and F sounds. If people ask you to repeat numbers, names, or acronyms, that is usually reverb and not “bad internet.”
Roominess also makes it harder for others to judge when you are done speaking, because the end of your sentence lingers. That tiny delay causes more interruptions and awkward overlaps than most people realize.
Small rooms are often worse than big rooms because the reflections arrive quickly and stack up in the same time window as your syllables. A spare bedroom with drywall and a low ceiling can sound more echoey than a living room with soft furniture.
Parallel walls create flutter echo, which is that metallic “zing” you hear when you clap or snap your fingers. It is basically your voice bouncing back and forth like a ping pong ball, and the mic records the whole mess.
Hard floors add another layer because they reflect straight up into the mic, especially if the mic is above the desk and angled down. If you have laminate or hardwood, the room can sound bright even when everything else seems fine.
Your microphone pickup pattern decides how much of the room gets recorded, but it cannot erase the room. Even a cardioid mic rejects sound from the back, yet it still hears reflections that bounce into its front side.
Distance is the hidden villain, because the farther the mic is from your mouth, the more it has to amplify everything. When you crank gain to compensate, you amplify the room along with your voice.
Some rooms also have a low frequency buildup that makes voices sound boomy, like you are speaking into a cardboard box. Panels help more with mids and highs, but better placement and thicker treatment can reduce that boxy character too.
Even if you use software echo cancellation, it works best when the echo is already small. Echo cancellation is a safety net, not a substitute for basic room reverb control.
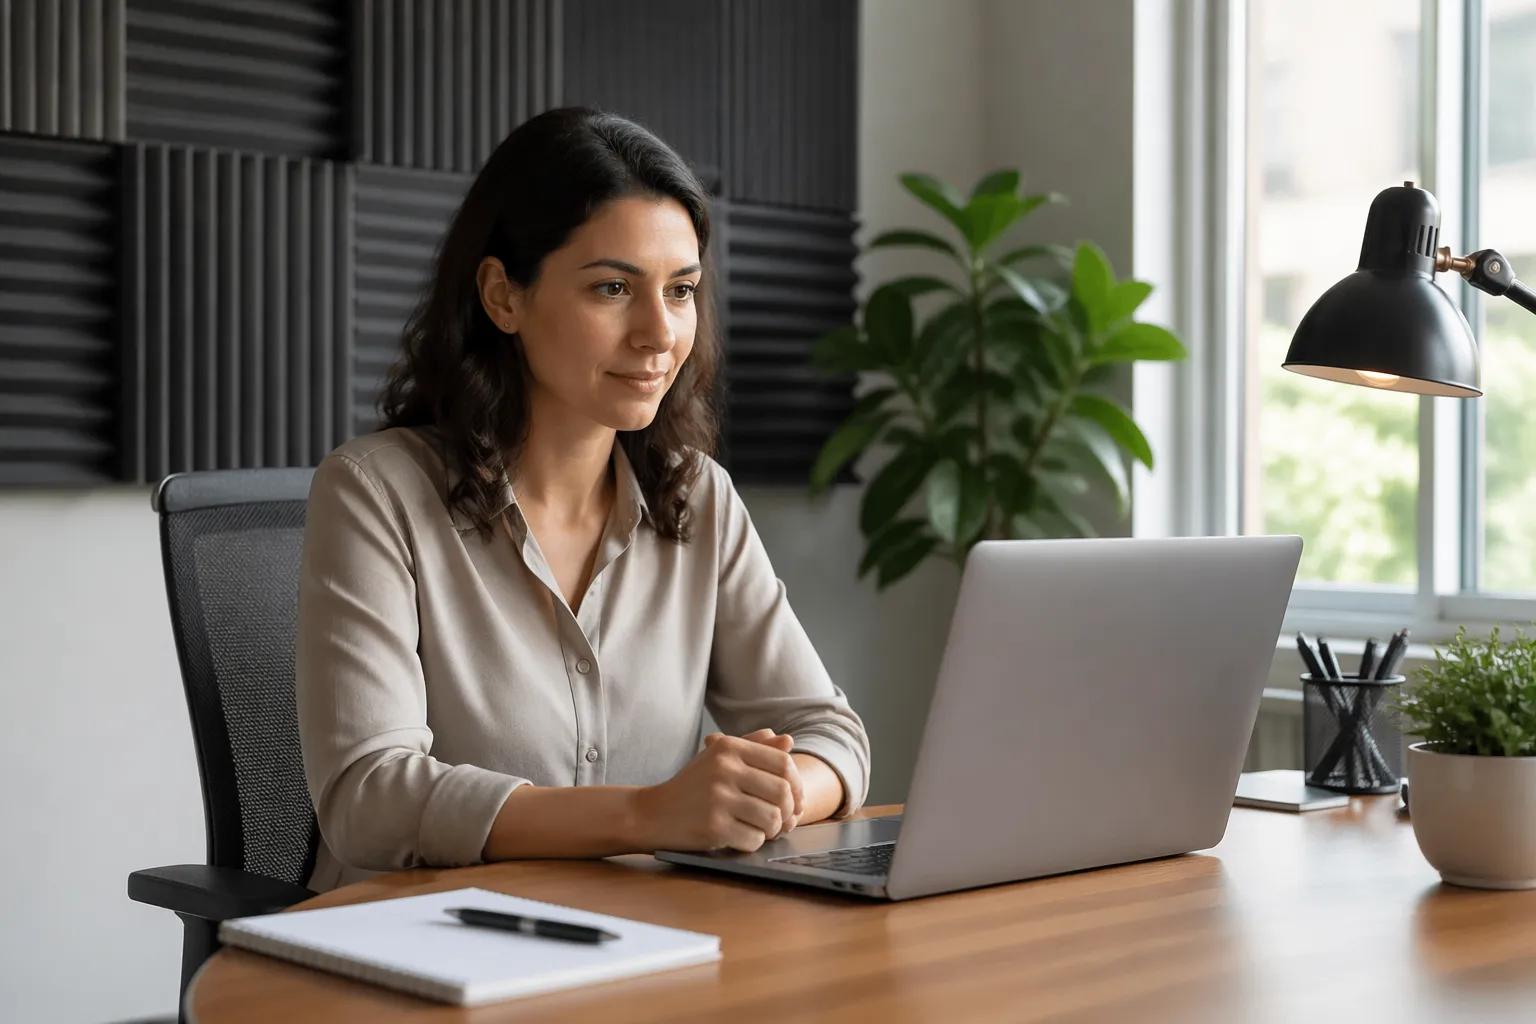
Place Panels Where Your Microphone Hears the Room
The fastest way to waste money on acoustic panels is to treat the wall you stare at while ignoring the walls your mic actually “sees.” Think like the capsule, not like the camera.
It helps to picture a cone coming out of the microphone, because that is roughly the area it is most sensitive to. Anything hard inside that cone is a candidate for treatment, especially if it is close.
Start with the first reflection points, which are the nearest surfaces that a straight line from your mouth can bounce off and land at the microphone. If you can see the mic in a mirror placed on a wall while sitting in your normal position, that wall spot is a good candidate for a panel.
Do the same mirror trick for the desk surface, because desks are basically giant reflectors right under your mouth. If your mic is on the desk, that reflection is often the loudest early reflection in the entire setup.
Ceilings get ignored because they are not in your line of sight, but the mic hears them clearly. A low ceiling above a desk can create a strong slap that makes you sound like you are in a small box.
Thickness matters for voice, and 2 inch panels work for mid and high frequencies but 4 inch panels sound more natural if your room is boxy. Cheap 1 inch foam tiles mainly tame hissy highs, so they can make speech dull while leaving the boom and flutter echo behind.
If you want the biggest audible change per panel, go thicker and leave a small air gap behind the panel. That air gap effectively increases low frequency absorption without making the panel physically thicker.
For acoustic panels for video calls, I prefer broadband fiberglass or mineral wool panels wrapped in fabric because they handle the messy middle range where speech lives. If you clap and hear a quick “zing” or flutter, panels at the side walls and behind the mic usually fix it fast.
Panel size matters more than people expect, because a tiny panel only treats a tiny slice of the reflection. Bigger panels cover more angles, which makes the improvement more consistent when you move your head while talking.
Do not chase perfect symmetry if your room layout will not allow it, because a good panel in a good spot beats a perfect looking layout in the wrong spot. The mic does not care if your office looks balanced, it cares if the reflections are quieter.
When in doubt, treat the surfaces closest to the mic first, because those reflections arrive the earliest and sound the most like a comb filter. Early reflections are what make voices sound phasey and hollow on calls.
If you can only place a few panels, prioritize the spots that create a direct bounce path between your mouth and the mic. That is the shortest route for the room to get into your recording.
Best Panel Locations for Laptop, USB Mic, and Headset Users
Your gear changes the best panel placement because the mic sits in a different spot and hears a different slice of the room. A laptop mic is far away and wide, a USB mic is closer and directional, and a headset mic is so close that the room matters less but still leaks in.
The other variable is how much you move, because a laptop mic punishes you for leaning back while a headset mic does not care. If you are the type who paces in your chair, you need more room treatment than someone who stays planted.
Use the table below as a starting layout, then adjust based on what your recordings reveal about room reverb control. If you only do one thing, treat the closest hard surface that sits in the mic’s forward direction.
Also pay attention to what is behind the microphone, because many mics pick up more from the front and sides than you think. A “directional” mic is not a laser, it is more like a flashlight with a wide beam.
Laptop users usually benefit from treating the wall behind the laptop because the mic points straight at it. That wall reflection comes right back into the mic and makes you sound distant even when you speak clearly.
USB mic users often forget the desk bounce, which is why a small desk mat can sound like a bigger upgrade than it looks. A mat does not replace panels, but it reduces that hard reflection that hits the mic from below.
Boom arm users get the mic off the desk, which is great, but it also makes side wall reflections more obvious. When the mic floats in space, it hears the room more evenly, so side wall panels matter a lot.
Headset users can still sound roomy if the room is extremely reflective, because the headset mic picks up the tail after your words. A couple of panels behind you can make headset audio sound surprisingly polished.
If you share a room with someone else or have loud HVAC, closer mic placement helps more than any panel. Panels improve clarity, but they do not stop a fan from being a fan.
| Setup | What the mic hears most | Best first panel moves |
|---|---|---|
| Laptop built in mic | Whole room, desk reflections, ceiling splash | Panel behind laptop, panel on ceiling above desk, rug under chair |
| USB cardioid mic on desk stand | Front wall reflections, desk bounce, side wall slap | Panel behind mic, panel at left and right first reflections, small desk mat |
| USB mic on boom arm | Side walls and wall behind you | Panel behind you, panel at side reflections, keep mic 6 to 10 inches from mouth |
| Headset mic | Direct voice with some room tail and keyboard clicks | Panel behind you, soft surface on desk, move keyboard off mic axis |
Do not treat the table like a strict recipe, because your room shape can flip priorities. If your desk is in a corner, the corner walls become the first reflection points even if the table suggests something else.
If you are unsure what your mic is hearing, record a few seconds while slowly rotating the mic in place and talking. The tone change will reveal which direction is most sensitive and which surfaces are causing the biggest reflections.
Another simple trick is to temporarily hang a thick blanket behind you and see if people notice a difference on calls. If they do, you have confirmed that the back wall reflection is a major part of your problem.
Once the room is under control, mic technique becomes easier because you can sit naturally without your voice falling apart. That is the real win for meetings, because you stop thinking about audio and start thinking about the conversation.
Treating the Wall Behind You for Cleaner Speech
The wall behind you is a repeat offender because your voice hits it and bounces straight back toward the mic. On many calls, that single reflection creates the “hollow” tone people associate with cheap webcams.
This happens even when the wall is a few feet away, because the reflection is still loud and still early. Early reflections are the ones that blend with your direct voice instead of sounding like a distinct echo.
If your mic faces you, it usually points away from that wall, but reflections do not care about your intentions. They ricochet and arrive from the front, right where a cardioid pattern is most sensitive.
The back wall is also where many people place bookshelves, whiteboards, or framed art, and those hard surfaces can make reflections even stronger. A glass frame behind your head is basically a little reflector aimed at your mic.
Mount one or two panels at head height behind your chair, and go wider than you think you need. A pair of 24 by 48 inch panels with a small air gap off the wall often beats four tiny squares scattered around like stickers.
If you have space, treating a wider area behind you also helps when you turn your head to look at a second monitor. The goal is to keep your voice from finding a clean path to a hard surface, no matter how you sit.
Corner placement can help too, because corners tend to concentrate energy and make rooms sound boxy. A panel straddling a corner behind you can reduce that buildup and make your voice feel less trapped.
If you cannot mount panels, a thick moving blanket on a curtain rod behind you works better than most people expect. It is not pretty, but speech intelligibility improves quickly because you remove that strong back wall bounce.
A folding screen with absorption, or even a packed bookshelf with uneven depth, can also break up reflections if a blanket is not practical. Diffusion is not the same as absorption, but breaking up a strong reflection is still a win on calls.
If you sit close to the back wall, prioritize thickness over aesthetics because the reflection is extremely strong at short distances. In tight setups, a 4 inch panel behind you can sound like a bigger upgrade than a new mic.
After treating behind you, listen for a change in how your voice “stops” at the end of a sentence. Cleaner speech usually feels like the room is no longer adding an extra syllable to everything you say.
The back wall fix also reduces listener fatigue, because people do not have to decode your words through a haze. That matters more in long meetings than any tiny change in mic frequency response.
Minimizing Keyboard and Desk Noise With Smart Layout
Echo is one problem, but sharp noises like keyboard clicks and mouse taps can be worse on calls because they cut through compression. You can treat the room and still annoy people if your desk is a percussion instrument.
Clicky switches are not automatically bad, but they become a problem when the mic is far away and gain is high. The more you rely on software noise suppression, the more your voice can start sounding watery or clipped.
Start by getting the mic closer to your mouth, because proximity lets you lower gain and reduce how much the mic hears the desk. This matters for any microphone pickup pattern, even if the mic claims it is “noise canceling.”
A good target is to have your voice be the loudest thing in the room by a wide margin. When your voice dominates, the call platform does less aggressive processing and everything sounds smoother.
Put a dense desk mat under the keyboard and mouse, and avoid a hollow IKEA tabletop that rings when you type. If you can, place the mic on a boom arm so it does not share vibrations with the desk surface.
If you cannot use a boom arm, put the mic on a shock mount or at least a soft pad to reduce mechanical transfer. Desk stands love to pick up every little tap, especially on lightweight desks.
Angle the keyboard so it sits off the mic’s main axis, because cardioid mics reject best at the rear and worst at the front. If you use a laptop mic, an external keyboard helps because it moves the click source away from the mic grill.
Mouse clicks can be surprisingly loud if the mouse is close to the mic, so moving it a few inches can matter. Small layout changes are boring, but they stack up into a noticeably cleaner feed.
Typing technique also matters, because pounding keys makes the desk resonate like a drum. A lighter touch and a stable chair can reduce low thumps that noise suppression struggles to remove.
Consider where your monitors are placed, because many people aim the mic directly at a reflective screen. A big glossy monitor can throw a bright reflection right back into the mic, especially if it is close.
If you use a boom arm, avoid clamping it to a wobbly section of the desk, because every movement becomes mic movement. Stability is part of audio quality, even though it does not show up in specs.
Once desk noise is controlled, you can speak more quietly and still be understood, which reduces overall fatigue. The best call setups feel effortless because you are not fighting your own environment.
A Simple Before/After Recording Workflow
You do not need fancy measurement software to know if acoustic panels for video calls are working, you just need a repeatable test. A quick recording routine keeps you honest and stops you from rearranging panels based on vibes.
The key is to change one variable at a time, because rooms are complicated and your ears adapt quickly. If you move three things at once, you will not know what actually helped.
Record the same script each time, something with numbers and hard consonants like “Today is Tuesday, 27, and the ticket is 5842.” Then listen on cheap earbuds, because that is what your coworkers are using.
Keep your speaking level consistent, because whispering one take and projecting the next will trick you into thinking the room changed. If it helps, put a sticky note on your monitor that says “same volume, same distance.”
The clap test is useful because it exaggerates reflections and makes flutter echo obvious. It is not a perfect measurement, but it is a fast way to hear whether the room is still ringing.
When you listen back, focus on the space between words, not just the words themselves. A better room sounds quieter and shorter in the gaps, even if your voice tone stays similar.
It also helps to listen at a low volume, because reverb tends to stay audible even when you turn things down. If your voice stays intelligible at low volume, you have probably improved the room.
- Record 20 seconds of dry speech at normal call volume
- Clap once, then stay silent for 3 seconds
- Move one panel location at a time
- Keep mic distance and gain unchanged
- Label files with date and change made
- Compare on earbuds and laptop speakers
If you want to go one step further, do a quick live call test by calling your own phone or joining a meeting alone. Some issues only show up once the platform applies its compression and echo control.
Take notes on what changed, like “less zing after clap” or “S sounds clearer,” because those are the practical outcomes you care about. You are not trying to win an audio contest, you are trying to be understood without effort.
Do not be surprised if the first improvement feels dramatic and later improvements feel subtle. The first panels usually kill the worst reflections, and the rest is refinement.
If you share your office with a partner, repeat the test with them speaking too, because different voices excite rooms differently. A deeper voice can reveal boxiness that your own voice does not trigger as strongly.
Once you find a layout that works, take a quick photo so you can recreate it after cleaning or rearranging furniture. Consistency matters when you are trying to sound the same across weeks of calls.
What to Do If Your Office Has Lots of Glass
Glass is brutal for room reverb control because it reflects almost everything in the speech range. A big window beside your desk can act like a mirror for your voice, and your mic happily records the result.
Glass also tends to come with hard trim, blinds, and empty window bays that add extra little reflections. Those small reflections stack up and create a bright, splashy sound that makes you seem farther away.
Heavy curtains help, but only if they are actually heavy and have folds, not a thin decorative sheet pulled tight. I like theater style blackout curtains because they add mass and create air pockets that absorb better than flat fabric.
To make curtains work, let them hang with plenty of pleats instead of stretching them flat. The folds increase surface area and create little pockets that trap sound energy.
If you cannot cover the glass during the day, treat the opposite wall more aggressively to reduce the ping pong effect. Two thicker panels on the wall facing the window often reduce that bright, splashy reflection that kills speech intelligibility.
Another option is to place a freestanding panel or absorption screen near the window during calls. You can move it out of the way afterward, which is useful if the window is your main light source.
Rugs help more than you think in glass-heavy rooms, because glass usually pairs with hard floors. A rug under the chair and desk area reduces high frequency slap and makes the room feel less sharp.
Watch the ceiling too, because glass problems often come with hard floors and bare drywall above. A single ceiling cloud panel above the desk can tame the top end reverb that makes you sound sharp and distant.
If you cannot install a ceiling panel, even a thick fabric canopy or a suspended blanket can be a temporary test. If the ceiling is a major reflection point, you will hear the improvement immediately in the clap test.
Plants near windows can help a little by breaking up the reflection path, especially big leafy ones. They are not a replacement for panels, but they can reduce the “mirror” behavior of a large glass surface.
Try not to place the mic so it points directly at the window, because that makes the window reflection louder in the recording. A small desk rotation can change the reflection geometry more than you would expect.
If the window is behind you, it can be even worse, because your voice hits it and bounces forward into the mic. In that case, curtains or a panel behind you become a high priority for cleaner speech.
Conclusion
Good call audio is mostly geometry, where the mic sits, where the hard surfaces sit, and how you break up the first reflections. Once you aim your panels at what the microphone pickup pattern actually captures, the room stops arguing with your voice.
It is also a comfort upgrade, because you can speak at a normal level and still sound present. When your room is controlled, you stop over-enunciating and you stop feeling like you have to shout to be understood.
If you want a practical starting point, treat behind you, treat the side reflections, and tame the desk bounce, then record and compare. With a handful of acoustic panels for video calls placed with intent, you can get cleaner speech intelligibility without buying a new microphone.
After that, refine based on what your tests reveal, not what looks good on a product page. The best setup is the one that makes people stop commenting on your audio because it simply sounds normal.


