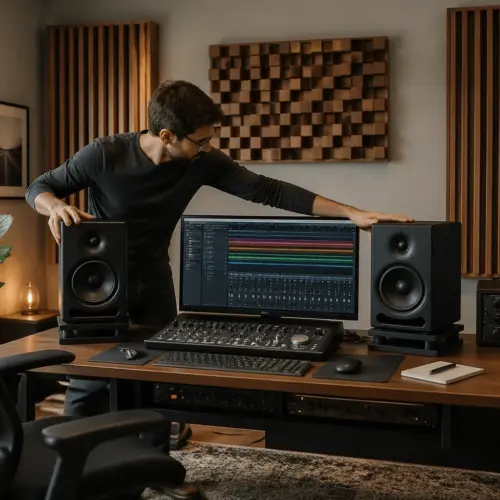
Small home offices can sound weird in the low end, even when you buy decent monitors and place them carefully. The rear wall is usually the reason, because it sits right behind your head and throws bass back into the listening position.
Rear wall bass treatment in a small room is not about making the space quiet, it is about making the bass predictable. If the bass changes every time you lean back, your mix decisions will drift and you will chase problems that are not in the track.
The goal of rear wall bass treatment home studio setups is to reduce big peaks, shorten ugly ringing, and keep punch intact. That means thinking about room geometry, listening distance, and what kind of treatment actually works below 150 Hz.
Why the rear wall matters for bass and punch
When your chair is close to the rear wall, the reflection arrives fast and it combines with the direct sound from the monitors. That combination creates deep nulls and boomy peaks that can move 10 dB or more with a few inches of head movement.
In most home offices, the rear wall is also a boundary that supports room modes, so it tends to store energy and release it slowly. You hear that as bass decay that lingers after kick hits, making the groove feel slow and thick.
Punch in the low end depends on clean timing, not just level. If the rear wall keeps re-feeding the room at the kick fundamental, you get a long tail that masks the next hit and blurs bass guitar note changes.
People often treat the side walls first because early reflections are obvious in the mids, but the rear wall is the low frequency troublemaker. If you can only do one major treatment move in a tiny room, the rear wall is usually the best bet.
Deciding between thick absorption and a hybrid approach
Thick absorption is the straightforward option because it reduces reflection strength and shortens decay across a wide range. The catch is that “thick” has to mean something real, because a 2-inch panel is basically decoration below the upper bass.
A hybrid approach usually means absorption plus something that keeps the room from turning into a padded closet. That “something” can be a slatted face, a perforated panel, a bookshelf with uneven depths, or diffusion above the absorber where it can actually work.
I like hybrids in home offices because you often need the room for calls, typing, and general comfort, not just mixing. A rear wall that is fully covered in fluffy fiberglass can sound dull in the upper mids, especially if you already have a thick rug and a soft chair.
For rear wall bass treatment home studio plans, start with the low end problem and then decide how much liveliness you want to keep above it. If you do not measure, you can still make this choice by using reference tracks and paying attention to how the kick tail sits in the room.
Picking the right thickness for your seating distance
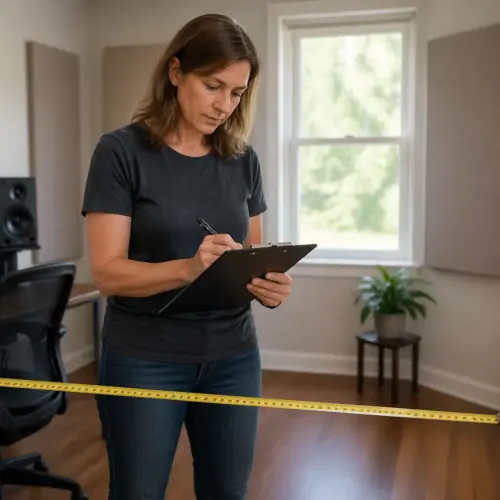
Thickness needs to match listening distance, because the closer you sit to the rear wall, the stronger and earlier that reflection becomes. If your ears are 12 inches off the wall, you need more than a token panel, you need real depth and coverage.
Air gap matters too, and it often counts more than people expect. A 6-inch absorber with a 4-inch air gap can outperform a 6-inch absorber glued flat to drywall, especially in the 80 to 150 Hz range where small rooms get ugly.
| Ear-to-rear-wall distance | Recommended rear wall build | What it tends to improve |
|---|---|---|
| 8 to 16 inches | 8 to 12 inches thick absorption, full width if possible | Biggest reduction in deep nulls and ringing |
| 16 to 30 inches | 6 to 8 inches thick absorption with 2 to 6 inches air gap | Smoother 80 to 200 Hz balance, less boom |
| 30 to 48 inches | 4 to 6 inches absorption plus optional slats or diffusion above | Shorter bass decay, better punch without killing the room |
| Over 48 inches | Target modes with corners first, then rear wall as needed | Lower overall modal level, fewer one-note bass spots |
Placement options: centered, wide coverage, and corner tie-ins
Centered treatment behind your head is the simplest layout, and it can work if the panel is wide and thick enough. The problem is that bass does not behave like a flashlight beam, so narrow panels leave a lot of rear wall still reflecting.
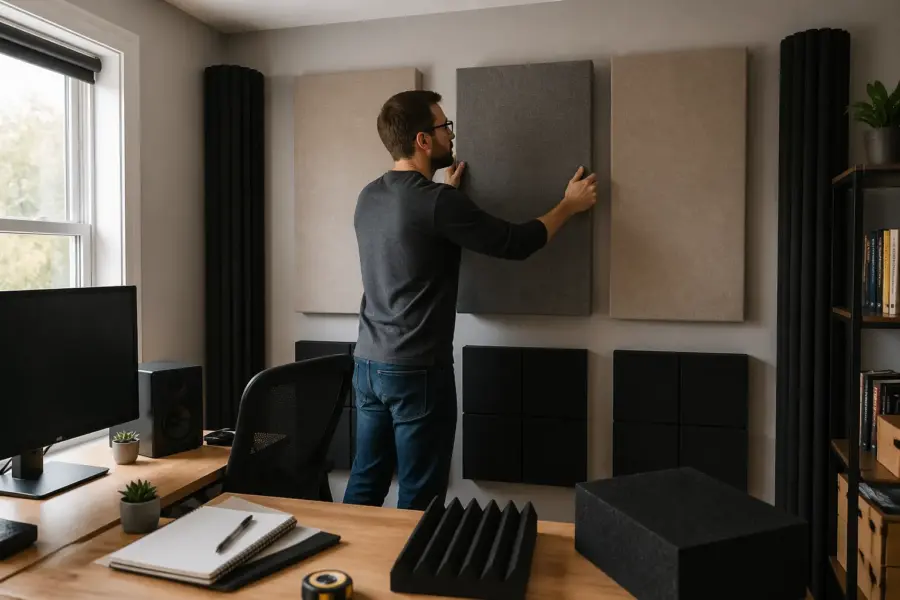
Wide coverage usually beats a single heroic panel, even if each section is slightly thinner. If you can cover most of the rear wall with 6-inch thick absorption and leave a small gap around doors or shelves, you usually get a more even result.
Corner tie-ins matter because the rear wall and the back corners share the same low frequency pressure zones. If your rear wall treatment connects into the corners, even with simple superchunks or stacked 24-inch panels, the room often stops doing the one-note bass thing.
Do not ignore height, because the rear wall reflection is not only at ear level. A tall rear wall absorber, like 6 feet high or more, tends to smooth the upper bass and low mids that make vocals and guitars sound boxy at the desk.
Avoiding over-deadening while still controlling low end
Over-deadening usually happens when you treat only the highs and mids, leaving the bass untouched, then you keep adding more thin panels because the room still sounds messy. The result is a room that feels lifeless but still has uneven low end, which is the worst combo for long sessions.
The fix is to prioritize low frequency depth first, then keep the rest of the room more selective. Thick absorption on the rear wall can reduce bass decay without forcing you to carpet every surface with 2-inch panels.
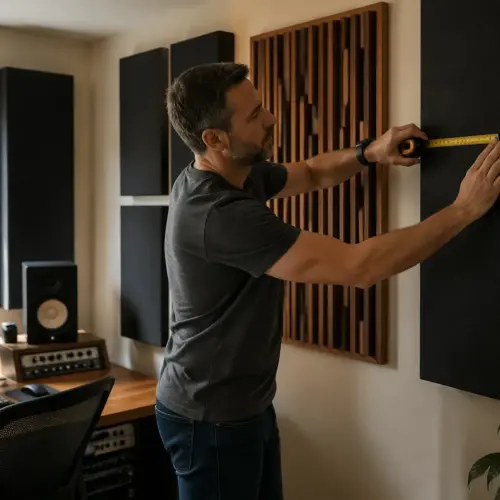
If you want some brightness back, use wood slats on the face of a deep absorber and space them with real gaps. Slats do not magically “diffuse bass,” but they can reflect some mids and highs so the room still sounds like a room.
A bookshelf can be a decent compromise if it has uneven depths and you leave air space behind it for absorption. Just do not expect a tight low end from books alone, because paper and thin wood do not replace rear wall bass treatment home studio depth.
How to evaluate rear wall changes by listening and measuring
Start with listening because your brain catches timing problems faster than most people think. Put on a few tracks you know well, then focus on kick length, bass note separation, and whether the low end shifts when you move your head a few inches.
Then measure, because ears can adapt to bad rooms and convince you it is fine. Room EQ Wizard with a cheap UMIK-1 mic is enough to see what rear wall changes do to frequency response and bass decay in the 30 to 300 Hz range.
- Measure before and after at the exact same mic position
- Check waterfall plots for bass decay changes below 200 Hz
- Look for smoother nulls around 70 to 140 Hz
- Compare left and right speaker responses for symmetry
- Move the chair 4 to 8 inches and re-check listening consistency
- Verify with headphones to separate room issues from mix choices
What works best in a truly small home office
If your desk is jammed into a bedroom-sized office, the best move is usually a deep rear wall absorber that spans as much width as you can manage. I would rather see 8 inches of mineral wool across 6 feet of wall than a fancy diffuser that only affects treble.
Panel traps that are 24 by 48 inches can work if you stack them and leave an air gap, but single panels rarely solve the problem. The rear wall is big, and bass needs surface area to lose energy in a meaningful way.
If you rent and cannot build a full false wall, you can still get close by using freestanding gobos. Two gobos behind the chair, plus corner traps, often give a noticeable drop in bass decay without touching the drywall.
For rear wall bass treatment home studio setups, the boring option is usually the winning option. Deep, wide, and simple beats thin, clever, and expensive in small rooms.
Common mistakes that waste money and space
The most common mistake is buying thin foam and expecting it to fix the low end. Foam can help flutter echo, but it barely touches the low frequencies that cause the rear wall slapback and modal ringing.
Another mistake is treating only the exact spot behind your head and ignoring the corners. Low frequency pressure builds in boundaries, so skipping corners often keeps the room boomy even after you add thick absorption on the back wall.
People also misread diffusion marketing and put a diffuser on the rear wall in a room where the listening distance is short. Diffusers need space to work, so in a tight office they mostly act like reflective blocks that keep the bass problem alive.
One more mistake is changing three things at once and then guessing what helped. Move the chair, add rear wall treatment, then adjust speaker distance in separate steps so you can connect cause and effect.
Rear wall geometry tricks that beat brute force
Geometry matters because parallel walls encourage strong axial modes, and the rear wall is part of that pair with the front wall. You cannot rebuild your room easily, but you can change effective geometry by adding depth and unevenness to the rear boundary.
A deep absorber creates a softer boundary, and that shifts how the room stores energy. When you add 8 to 12 inches of treatment, the room length effectively changes a bit, which can move the worst null away from your exact listening position.
If you have a closet behind you, opening the doors during mixing can act like a pressure release at certain frequencies. It is not a replacement for treatment, but I have seen it reduce a stubborn peak enough to make the room workable.
Angling a freestanding rear absorber a few degrees can also help by breaking up a straight back-and-forth path. The effect is subtle, but in a small office subtle improvements stack up fast.
How rear wall treatment changes mixing decisions
When the rear wall stops throwing bass back at you, you usually turn the kick down, because it no longer sounds huge in the room. That is a good sign, because it means you are hearing the track instead of a room peak.
You also start making faster EQ calls in the 80 to 200 Hz range, where mud and warmth fight each other. A room with controlled bass decay lets you hear the difference between a bass guitar that is too thick and one that is simply sustained.
Compression decisions get easier too, because you can hear transient shape without the room smearing it. If the rear wall is untreated, you might over-compress low end sources just to make the room stop ringing, and that never translates well.
Translation is the real test for rear wall bass treatment home studio work, and it shows up quickly in cars and earbuds. When your room stops lying about the low end, you stop printing mixes that sound thin everywhere else.
Conclusion
The rear wall matters because it sits close, it reflects hard, and it feeds the modes that make small rooms sound slow and uneven. Treating it well is one of the fastest ways to get tighter bass and more reliable punch at a desk.
Pick thick absorption when you need a clear win, and consider a hybrid face when you want to keep the room from sounding dull. Match thickness to listening distance, cover more area than you think, and connect the plan to corners when you can.
Evaluate changes with reference tracks and simple measurements, then keep what improves consistency rather than what looks impressive. If you control bass decay at the rear wall, your home office starts acting like a studio instead of a bass trap you sit inside.