If your small room has a bass note that booms like a subwoofer and another note that disappears, you are hearing room modes. They are predictable, measurable, and fixable, but most people make them sound harder than they are.
This guide is about how to find room modes in a small room without turning your home office into a physics lab. You will do a little math, a couple of listening checks, and one simple measurement sweep to spot the frequency peaks and the dead spots.
You do not need perfect acoustics to work, mix, or take calls, but you do need consistency. Once you know where the standing waves live, you can place your desk, speakers, and treatment with intent instead of luck.
Room modes in plain language: what you’re hearing
A room mode is a bass resonance created when sound bounces between boundaries and reinforces itself at certain frequencies. In a small room, those resonances land right in the range where kick drums, bass guitars, and male voices carry weight.
When a mode lines up with your listening position, you get a frequency peak that makes one note seem louder than it is. When your position lands in the cancellation zone, that same note can drop out and make you think your speakers have no low end.
People call these standing waves because the pattern of pressure in the room holds steady while the sound plays. You can walk around during a steady tone and hear the bass change every couple of feet, which is a dead giveaway.
Modes are strongest below about 300 Hz in most home offices, and they get nastier as the room gets smaller. That is why a “bigger” sounding speaker can seem worse in a tiny room, because it excites the same few problem notes harder.
What you are really hearing is the room adding its own EQ curve on top of your speakers. That curve is not gentle, either, because a small room can create 10 dB to 20 dB swings in the low end at the listening position.
A peak is the room storing energy at a frequency and releasing it a moment later, so the note feels inflated and slightly slow. A null is the opposite, where the direct sound and reflections arrive out of phase and cancel, so the note feels thin even if the speaker is working hard.
That is why you can have the same speaker sound “too bassy” at your chair and “no bass at all” near the doorway. The speaker did not change, but your position in the pressure pattern did.
Modes can also make you misjudge dynamics, because the room makes some notes sustain longer than others. If you notice that certain bass notes feel like they hang in the air after you pause playback, that is often modal ringing.
In a normal home office, the boundaries are mostly rigid, so the reflections are strong and the modal pattern is stable. Carpets, couches, and curtains help a little, but they rarely do much below 150 Hz, which is where the biggest trouble lives.
The three mode types and why axial usually dominates
Room modes come in three types: axial, tangential, and oblique, and the names describe how many surfaces the wave bounces between. Axial modes involve two opposing surfaces, like front wall to back wall, and they are usually the strongest.
Tangential modes involve four surfaces, like two walls plus floor and ceiling, so they spread energy out more and tend to be weaker. Oblique modes involve all six surfaces, and they are often weaker still, though a small room can still make them audible.
Axial modes dominate because less energy is lost per bounce, and the path is simple and direct. In practical terms, the length, width, and height of your room set the first big trouble spots, and those are the ones you can predict fast.
If you are trying to learn how to find room modes in a small room, start with axial modes and you will catch most of what matters. You can chase every tangential and oblique mode later, but your first wins come from the big three axes.
Axial modes also tend to create the deepest nulls because the pressure pattern is so clean and strong. That is why a single chair position can land you in a “bass hole” that no amount of speaker upgrades will fix.
Tangential and oblique modes often show up as smaller ripples and extra unevenness between the big axial landmarks. They can matter for accuracy, but they usually do not create the dramatic one-note boom that makes people notice room problems.
In real rooms, furniture and openings blur the textbook patterns, but the axes still rule the low end. A closet door, a window, or a big desk changes the exact shape, yet the core frequencies remain tied to the room dimensions.
Another reason axial modes feel louder is that your speakers often fire directly along the length of the room. When the speaker energy lines up with the room’s strongest axis, you get maximum excitation and maximum annoyance.
If you only have time to learn one concept, learn that the room is basically three bass instruments playing at once: length, width, and height. Your job is to identify which one is out of tune at your listening position.
Quick calculations you can do with room dimensions
You can estimate axial modes with one formula: frequency equals the speed of sound divided by two times the room dimension. Use 1130 feet per second for the speed of sound if you measure in feet, and use 343 meters per second if you measure in meters.
The first axial mode for a dimension is the loudest, and multiples of it often show up as extra bumps. This is not perfect prediction, but it gets you close enough to know which notes to hunt for when you listen and measure.
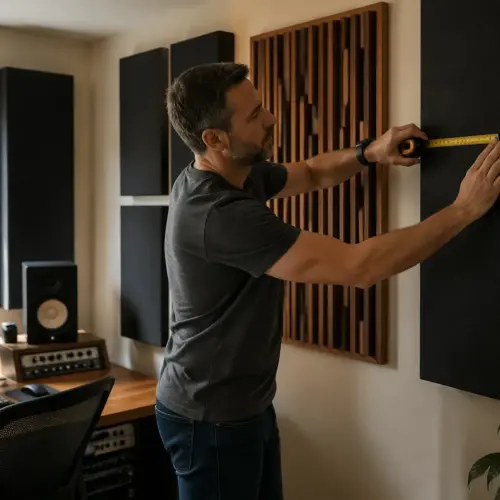
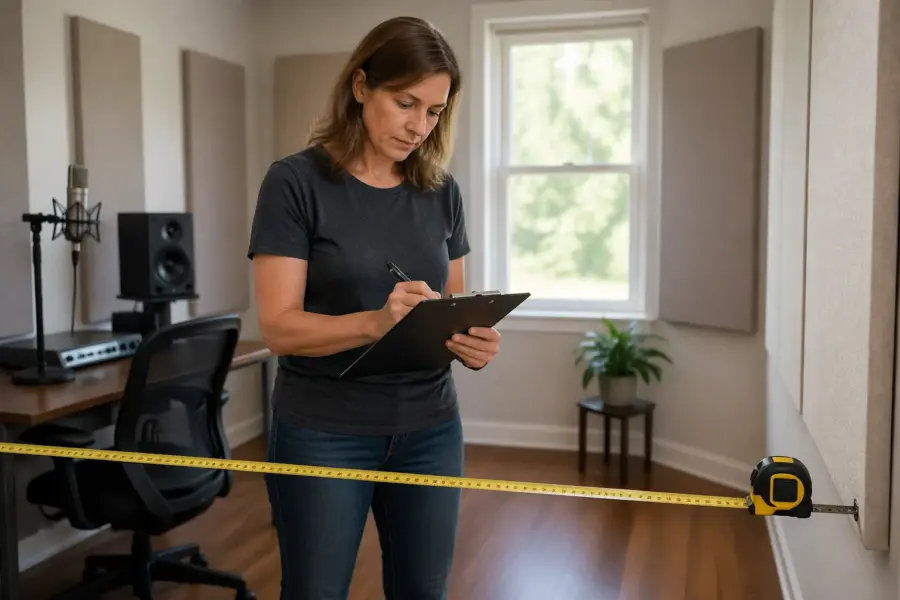
To make the math painless, measure the room wall to wall, not baseboard to baseboard, and round to the nearest inch or centimeter. A small measurement error will not ruin the estimate, because you are using the result as a starting point, not a final verdict.
If your room is not a perfect rectangle, use the main listening area dimensions and treat alcoves as extra complications you will verify with measurements. The goal is to predict the obvious trouble notes, not to model every corner like a CAD drawing.
Once you have the first mode, the second mode is just double the frequency, the third is triple, and so on. Those harmonics matter because they often land in musically important zones like 80 Hz to 120 Hz, where bass lines and kick fundamentals overlap.
Keep in mind that the speed of sound changes slightly with temperature, but it is close enough for room mode work. If your office is 65°F or 75°F, the difference is tiny compared to the size of the peaks you are trying to find.
If you want to sanity-check your numbers, compare them to common bass notes and see if they match what you hear. For example, 47 Hz is close to G1, 57 Hz is close to A#1, and 71 Hz is close to C#2, so you can often recognize the “problem note” musically.
| Room dimension | Example size | 1st axial mode (approx) |
|---|---|---|
| Length | 12 ft | 47 Hz |
| Width | 10 ft | 57 Hz |
| Height | 8 ft | 71 Hz |
| Length harmonic | 12 ft (2nd) | 94 Hz |
| Width harmonic | 10 ft (2nd) | 113 Hz |
Do not worry if your calculated modes do not line up perfectly with what you measure later. Real rooms have wall flex, furniture absorption, and speaker boundary effects that can shift peaks a few Hz and change their strength.
What matters is that the calculations tell you where to look, so you do not waste time sweeping the entire spectrum blindly. When you already expect trouble around the length and width fundamentals, you listen and measure with purpose.
Write the first three modes for each dimension on a sticky note or in a phone note. When you see a peak at 95 Hz, you will immediately recognize it as a likely second length mode instead of treating it as a random mystery bump.
If you have a very low ceiling, the height mode can land right on top of a common kick drum fundamental and make every kick sound like it has the same pitch. That is a clue that your height axis deserves extra attention in placement and treatment.
Simple listening tests to confirm problem notes
Before you open any software, do a quick reality check with your ears, because modes are physical and obvious once you know what to listen for. Play a slow sine sweep from 20 Hz to 200 Hz, or use a bass-heavy track you know well, and keep the volume moderate.
When the sweep hits a mode, the room will “grab” that note and it will sound louder and longer than the notes around it. Those are your frequency peaks, and they often show up around the axial modes you calculated.
Now stand up and move forward and backward a couple of feet while the sweep passes the same region. If the bass flips from too loud to almost gone, you found a peak and a null created by standing waves.
Try the same test along the width and height, which means walking left to right and then crouching a bit. Height modes are sneaky in home offices because the desk and chair lock your ears at one height, so a ceiling bounce can mess with you all day.
If you do not have a sweep handy, loop a simple bass line that walks chromatically and listen for notes that jump out. A mode will make one or two notes feel like they are mixed 3 dB to 6 dB louder than the rest, even if the track is well balanced.
Use headphones for 30 seconds to reset your expectations, then go back to speakers and listen again. The goal is not to compare headphones to speakers, but to remind yourself what the bass line actually does without the room added on top.
When you do the walking test, move slowly and keep your head at roughly the same height for each pass. If you bob up and down or turn your head a lot, you can confuse yourself because the pattern changes with height and orientation.
Pay attention to decay as well as level, because a ringing mode is not just louder, it is longer. If a note keeps humming after the sweep moves on, you are hearing energy trapped in the room’s resonance.
Do the test with each speaker separately if you can, because left and right can excite the room differently due to asymmetry. A bookshelf on one side and an open doorway on the other can make one channel feel tighter and the other feel boomy.
Keep the volume reasonable, because very loud sweeps can excite rattles and distort the speaker, which muddies the results. You want “clear enough to hear changes,” not “club loud,” because the room modes will show up either way.
Using basic measurement sweeps to map peaks and nulls
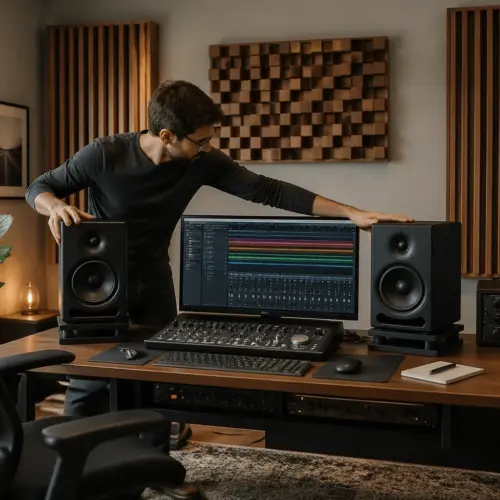
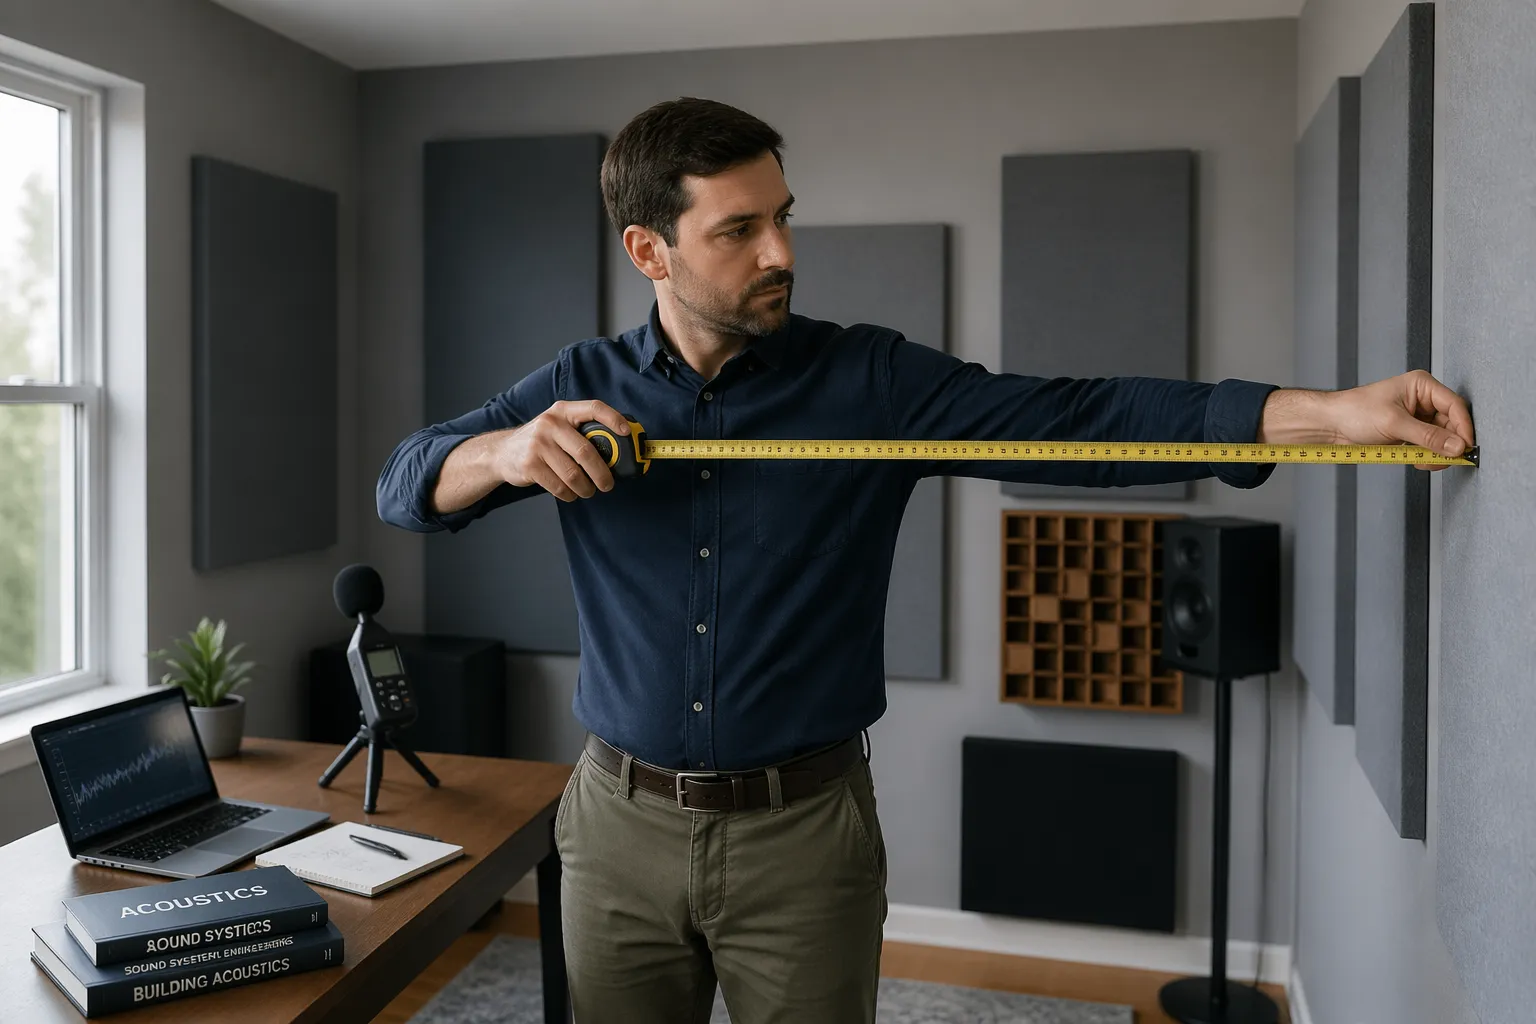
Listening gets you suspicious frequencies, but a measurement sweep shows you exactly where the room is lying to you. The simplest setup is Room EQ Wizard (REW) with a USB mic like the miniDSP UMIK-1, because it removes guesswork about mic gain and calibration.
Put the mic at ear height where your head normally is, and run a sweep from 20 Hz to 300 Hz with your speakers at a normal working level. You are looking for big bumps and deep dips, and you should expect them because small rooms always have them.
When you see a sharp peak that matches what you heard, label it with the nearest frequency and keep it on a short list. Peaks often correlate with axial modes, but the measurement will show you which ones matter most in your actual layout.
Then measure a few inches forward, a few inches back, and slightly left and right, because tiny position changes can swing the low end a lot. If a dip moves around wildly, it is a position null, and treatment alone will not fully fix it without changing placement.
Use a consistent mic orientation, usually pointing straight up if you are using a calibration file that expects that. Consistency matters more than perfection, because you are comparing changes you make, not trying to publish a lab-grade report.
Run sweeps for left speaker only, right speaker only, and then both together. The combined response can show additional cancellations from speaker interaction, which is different from the room’s axial pattern but still affects what you hear at the chair.
Look at the frequency response first, but also glance at the waterfall or decay plot if you can. A peak that also decays slowly is a prime suspect for “one-note bass” and is often a better treatment target than a peak that is loud but short.
Do not obsess over tiny 1 dB wiggles, because the bass region is messy and your goal is big improvements. Focus on the broad peaks and the deep dips that line up with what you hear during the sweep.
If you cannot get a measurement mic right away, you can still use REW with a decent USB mic, but treat the results as relative rather than absolute. You can still see where the peaks and nulls are, even if the exact level calibration is not perfect.
Save each measurement with a clear name like “chair back 6in” or “speakers 4in from wall.” When you do three or four changes in a row, clear labeling is what keeps you from making the same mistake twice.
Finding the worst offenders fast: the 40 to 140 Hz zone
Most small rooms have their ugliest behavior in the 40 to 140 Hz range, where the first few axial modes and their harmonics pile up. That range is also where people overcorrect with EQ and end up chasing their tail.
If you want a quick pass at how to find room modes in a small room, focus on the biggest two peaks and the deepest null below 150 Hz. Fixing those usually makes everything above it easier to judge, including low mids that affect speech clarity.
A common pattern is a big peak near the length mode, another peak near the width mode, and a deep null around a harmonic where the listening position sits at half the room dimension. You will see this a lot when the desk is centered and the chair lands near the middle of the room.
Do not panic if the graph looks rough, because the goal is not a flat line, it is a room you can trust. You can work with a room that has some bumps, but a room with giant frequency peaks will trick every decision you make.
In this range, the room is often doing more than your speakers are, especially at the chair. That is why two different speaker models can measure surprisingly similar below 120 Hz in the same room, because the room dominates the result.
The 40 to 60 Hz area is where room size limits show up, because many small rooms cannot support a smooth response that low. If your first length mode is around 45 Hz to 55 Hz, expect that area to be either overblown or oddly weak depending on placement.
The 70 to 90 Hz area is where height and length harmonics often collide, and it can make kick drums feel inconsistent. If a kick sounds huge on one song and tiny on another, it may be because the room is exaggerating a narrow band in that region.
The 100 to 140 Hz area can be tricky because it overlaps with the “punch” zone and the lower part of the vocal body. A peak here can make everything sound boxy and thick, while a null can make mixes feel anemic and lead you to overdo low mids.
If you only do one measurement view, use a scale that lets you see the big swings clearly, like a 5 dB grid. When the graph is zoomed out too far, a 12 dB peak can look harmless and you will underestimate how much it is affecting your decisions.
Speaker and desk placement tricks that change modes without buying gear
Placement changes how strongly your speakers excite axial modes, and it changes where your ears sit in the pressure pattern. Moving your listening position even 6 to 12 inches can turn a deep null into a manageable dip.
A good starting point is to avoid sitting in the exact center of the room, because that spot often lines up with cancellations for the first length mode harmonic. I usually start around 38 percent of the room length from the front wall, then measure and adjust.
Keep your speakers symmetrical left to right, but do not assume they must be tight to the front wall or far from it. Try two extremes and measure both, because one position can reduce a peak while the other makes it worse.
Desk reflections are more of a midrange issue, but the desk can force your speaker distance and height choices, which affects low frequency coupling. If your speakers sit on the desk, try stands that lift them and pull them slightly forward, then re-run the sweep.
Start by placing the speakers and chair so you form a simple equilateral triangle, then treat that as your baseline. Once imaging and balance are stable, you can chase bass improvements without breaking the stereo picture every time you move something.
Distance from the front wall changes boundary reinforcement, which can act like a low-shelf boost. If your bass is already peaky, pushing speakers closer to the wall can sometimes make it worse, but in other rooms it can smooth a dip by shifting phase relationships.
Try moving the chair first before moving the desk, because it is usually easier and faster. A chair move of 8 inches can change a 90 Hz null dramatically, while a speaker move might only change the same null a little.
If you have to place the desk against a wall, aim the speakers down the longest dimension of the room when possible. This tends to spread the modes out a bit compared to firing across the short dimension, which can stack problems closer together.
Keep the speakers the same distance from the side walls to avoid uneven bass left to right. If one speaker is closer to a side wall than the other, you can get different boundary reinforcement and a lopsided low end that makes panning decisions harder.
Do not forget vertical placement, because raising or lowering the speakers changes how you excite the height mode. If your tweeters are at ear height but the woofer is too close to the desk surface, you can get extra coupling that muddies the upper bass.
Common mistakes when chasing axial modes and standing waves
The biggest mistake is treating one measurement as the truth, because the low end changes a lot across a small listening area. You want a cluster of measurements around your head position, then you make decisions that improve most of them.
Another mistake is trying to EQ a null into submission, because a cancellation is not a volume problem, it is a geometry problem. If the null is 15 dB deep at 80 Hz, boosting 80 Hz just wastes headroom and can make the peak somewhere else worse.
People also misread smoothing settings and think their room is fine, because heavy smoothing hides narrow peaks. Use light smoothing for the bass view, and look at the raw curve when you are hunting specific frequency peaks.
Finally, do not confuse rattles with modes, because a buzzing vent at 63 Hz can mimic a resonance. If you hear a note that sounds “louder” but also fizzy or mechanical, walk around and find the object that is complaining.
A classic mistake is changing three things at once, then not knowing what caused the improvement or the damage. Move the chair, measure, then move the speakers, measure, then add treatment, measure, because the low end is too sensitive for guesswork.
Another common trap is trusting a single “perfect” mic spot that you cannot actually sit in. If the response looks great 10 inches above your head, that is interesting, but you still need the response to behave where your ears actually are.
People also underestimate how much open doors and large openings change bass behavior. An open door can act like a pressure release and reduce a peak, so make sure you measure in the same door-open or door-closed state you normally work in.
It is easy to blame the room for everything, but sometimes the issue is speaker placement relative to furniture. A speaker shoved into a bookshelf cavity or surrounded by clutter can create its own resonances that look like room problems.
Be careful with “auto EQ” features that promise one-button correction. They can be helpful for taming peaks, but they cannot change the physics of a null, and they can make the overall balance worse if you let them boost deep cancellations.
Another subtle mistake is measuring with the mic too close to the chair back or headrest. Those surfaces can create local reflections that skew the measurement, so give the mic a little breathing room even if you measure at the listening position.
Turning mode info into a practical treatment plan
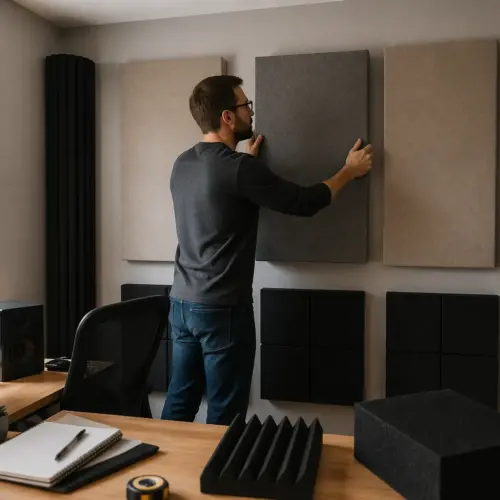
Once you know your main peaks, you can pick treatments that target the right problems instead of buying random foam. Foam does almost nothing for low frequency standing waves, so save it for flutter echo and higher frequency ringing.
For small rooms, broadband bass traps in corners are the most reliable first step, because corners collect pressure from multiple axial modes. Thick panels, think 4 to 6 inches with an air gap, often outperform thin “bass” products that barely reach below 150 Hz.
If one peak is clearly dominant, like a 55 Hz hump that ruins every mix, consider a tuned absorber or a membrane trap built for that band. This is where your “how to find room modes in a small room” work pays off, because a tuned device needs a target frequency.
Do not ignore the ceiling, because an 8-foot height mode around 70 Hz is common and it can stack with other problems. A thick ceiling cloud helps mids and highs, and a deeper cloud or soffit style trapping helps when that height mode is a repeat offender.
Start with the corners you can actually treat, which usually means the front vertical corners behind the speakers. Those spots often give you the most audible improvement per dollar because they reduce the pressure build-up that feeds the main axial modes.
If you cannot fit huge corner traps, use what you can and prioritize thickness over fancy shapes. A simple thick panel with an air gap is boring, but boring is often what works in small rooms.
After corner trapping, the next practical move is usually first reflection control, because it improves clarity and makes the room easier to judge. It does not “fix bass,” but it reduces confusion so you can hear the bass problems more clearly and make better placement decisions.
Tuned traps are powerful but narrow, so they make the most sense when you have confirmed a stubborn peak that does not respond to placement. If your peak shifts a lot with small chair moves, it is often better to solve it with geometry first.
Do not expect treatment to erase nulls completely, because nulls are often deep cancellations at the listening position. Treatment can reduce the severity by lowering overall modal energy, but the cleanest fix is usually moving the chair or speakers out of the worst spot.
Once you add treatment, re-measure and compare the before and after curves with the same settings. The point is to confirm that the treatment reduced the peak you targeted, not just to feel good because the room looks more “studio” now.
If you use EQ at the end, use it to tame remaining peaks rather than to rebuild missing bass. A few narrow cuts can make the room feel dramatically more even, but big boosts usually mean you are fighting a null or a placement issue.
A repeatable workflow you can run in an afternoon
You can get to a usable map of your room in a few hours if you keep the process simple and consistent. Start with the room dimension calculations, then confirm them with a sweep and a couple of mic positions.
Write down what you find, because you will forget which change helped if you rely on memory. The point is to build a short list of axial modes, standing waves, and frequency peaks that you can track as you move things and add treatment.
Pick one reference listening level and stick with it for the whole session. If you change volume constantly, your ears will adapt and you will misjudge which changes actually improved the response.
Take a “baseline” measurement before you touch anything, even if you already know it is bad. That baseline is what makes your later improvements feel real instead of imaginary.
When you move the chair, move it in small steps and measure each step, because the best spot can be surprisingly specific. A 4-inch move can be the difference between a 12 dB null and a 6 dB dip, which is a huge practical improvement.
When you move the speakers, keep the toe-in and height consistent so you do not accidentally change imaging while you chase bass. You can always refine toe-in later, but for mode work you want one variable at a time.
If you are short on time, do not measure the entire room like a grid. Measure at the listening position and a small cluster around it, because that is where your decisions happen and where consistency matters most.
- Measure room length, width, height
- Calculate first axial modes for each dimension
- Run a 20 to 300 Hz REW sweep at ear height
- Identify top two peaks and deepest null under 150 Hz
- Re-measure after moving chair 6 to 12 inches
- Re-measure after moving speakers closer or farther from front wall
- Plan corner trapping based on the worst peaks
After you find a better placement, listen to two or three tracks you know well and confirm the change musically. Measurements tell you what changed, but familiar music tells you whether the change is actually useful for your daily work.
Keep your notes, because they become your personal room manual. If you rearrange furniture later or move to a new room, you will have a proven method instead of starting over from scratch.
Do not treat the afternoon workflow as a one-time event, because rooms evolve as you add shelves, rugs, and gear. A quick sweep every few months keeps you aware of new problems before they become habits in your mixing or monitoring decisions.
Conclusion
Room modes are not mysterious, they are what small rooms do when bass bounces between hard boundaries. When you learn how to find room modes in a small room with quick axial mode math, listening checks, and a basic sweep, the room stops surprising you.
From there, you can fix the real problems with placement and bass trapping, and you can stop wasting time EQing around standing waves. Your goal is a low end that behaves the same on Monday morning as it does on Friday night, because that is what makes a home office studio usable.
The best part is that you do not need to guess, because every change you make can be confirmed with the same simple sweep and a few saved measurements. Once you have that loop in place, you can improve the room step by step without getting stuck in theory.
If you take nothing else from this, remember that modes are mostly about where you sit and where the speakers sit. When you combine smart placement with targeted trapping, even a small room can become predictable enough to trust.