Most home office studios have the same problem, the bass does whatever it wants while the mids and highs behave. You can buy panels all day and still mix kick drums that vanish in the car.
This bass control checklist for a home office studio is meant to keep you honest, because the room usually matters more than your next plugin. If you start with layout and positioning, you fix a big chunk of low frequency problems before you spend a dollar.
I am assuming a normal spare bedroom setup, desk against a wall, speakers on the desk, and a chair that squeaks. That setup can work, but only if you stop the room from turning every bass note into a different volume.
Good bass control is boring in the best way, because the low end stays consistent when you move your head a few inches. Once you hear that kind of stability, you stop chasing bass with EQ and start trusting your monitors.
What “good bass” sounds like in a small home office
Good bass in a small room sounds even, meaning one note does not jump out while the next note disappears. You should be able to play a simple bass line and predict the level without watching a meter.
It also sounds tight, which usually means the decay is short enough that the next note is not smeared by the last one. If your room rings at 60 to 90 Hz, kick drums start to sound like they have a tail that was never in the recording.
A practical sign is that you can set a kick and bass balance quickly and it still makes sense on headphones and in the car. When the room lies, you keep turning the bass up and down because you cannot tell what is real.
Another sign is translation at low volume, because boomy rooms trick you into mixing quietly to avoid the mess. If the low end still reads when the monitor knob is low, you are closer to the truth than most home offices.
The fastest way to spot your biggest bass issue (by listening)
Play a slow sine sweep from 30 Hz to 200 Hz and keep the volume moderate, because loud sweeps hide problems by exciting everything. You are listening for sudden jumps, deep holes, and spots where the tone seems to hang in the room after the sweep moves on.
If you do not have a sweep file, loop a simple bass line that walks chromatically, like E1 up to E2 in half steps. Low frequency problems show up as certain notes that sound twice as loud or half as loud.
Now move your head forward and back about a foot while the tone plays and notice how much the level changes. If the bass changes a lot with tiny movements, you are sitting in a modal peak or null and you will fight the room every session.
Walk the room perimeter while the loop plays and pay attention to the corners, because corners collect bass. If the bass is huge in corners and thin at the chair, you do not need new monitors, you need better placement and treatment choices.
Room and desk layout checks that affect bass immediately
Room layout basics matter because your desk, walls, and corners decide how the low end loads into the room. If your desk is shoved into a corner, you are stacking boundary effects and making low frequency problems worse.
Start by checking whether the desk is centered left to right, because symmetry helps the bass and the stereo image at the same time. If one side wall is closer than the other, you can get uneven bass and a lopsided phantom center.
| Layout check | What it does to bass | Quick fix |
|---|---|---|
| Desk in a corner | Boosts some lows, creates stronger peaks | Move desk away from corner, aim for symmetry |
| Desk tight to front wall | Increases boundary gain and early reflections | Pull desk forward 6 to 18 inches if possible |
| Open closet or alcove near desk | Acts like an uneven bass trap or resonator | Close doors or add thick absorption inside |
| Large hollow desk surface | Rattles and adds midbass coloration | Add mass, tighten hardware, use isolation pads |
| Chair backed into wall | Puts ears near a pressure zone at the boundary | Move listening position forward from the wall |
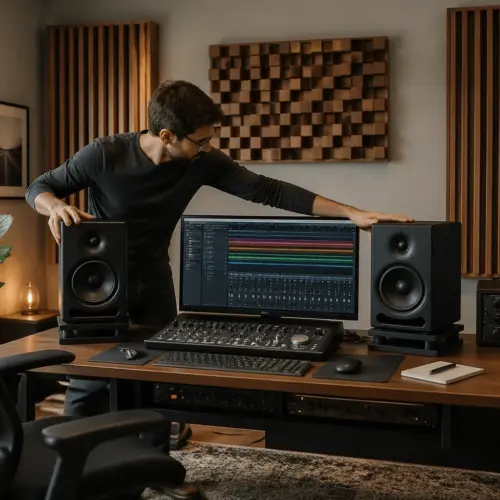
Speaker and listener position checks before you buy anything
Your first treatment steps should be moving the speakers and chair, because position changes can be bigger than adding a couple thin panels. In small rooms, a six inch move can change a 70 Hz dip into something usable.
Start with the listener position, because you cannot fix bass if you sit in a null. A common starting point is about 38 percent of the room length from the front wall, measured from the wall behind the speakers to your ears.
Next, set the speakers so the tweeters point at your ears and the distance between speakers matches the distance from each speaker to your head. This does not solve bass by itself, but it keeps you from misreading low end because the imaging is off.
Then work the front wall distance, because speaker boundary interference creates big low mid dips that feel like missing punch. Try moving the speakers closer to the front wall in small increments, because sometimes closer is smoother than halfway out.
Keep both speakers the same distance from side walls, and do not eyeball it if you can measure. If one speaker is three inches closer to a side wall, the bass and low mids can skew to one side and you will chase it with panning and EQ.
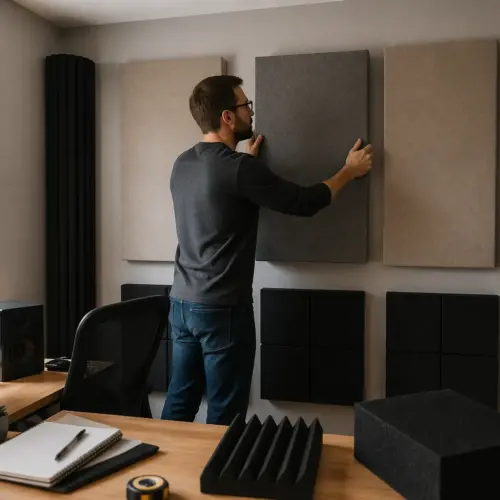
Treatment priority order that avoids wasted panels
The fastest way to waste money is buying a stack of two inch foam and hoping it fixes 50 Hz. Thin absorption helps flutter and harshness, but it barely touches the low end that ruins mixes.
Start with bass trapping in corners, because that is where pressure builds and where thick treatment does the most work. If you can only treat a little, treat the vertical corners first, then the wall to ceiling corners if you have the patience.
Next, treat the front wall behind the speakers with thick absorption, because the front boundary is part of most low frequency problems in desk setups. A four inch panel with an air gap beats a two inch panel glued flat, and you will hear that difference.
After that, handle the first reflection points on side walls and ceiling, because cleaning up early reflections tightens your perception of bass timing. People ignore this step when chasing bass, then wonder why their low end still feels blurry.
Save diffusers for later, because diffusion is a space luxury and most home offices are too small to benefit at low frequencies. If you want a nicer room sound for calls or acoustic instruments, add diffusion after you can trust the low end.
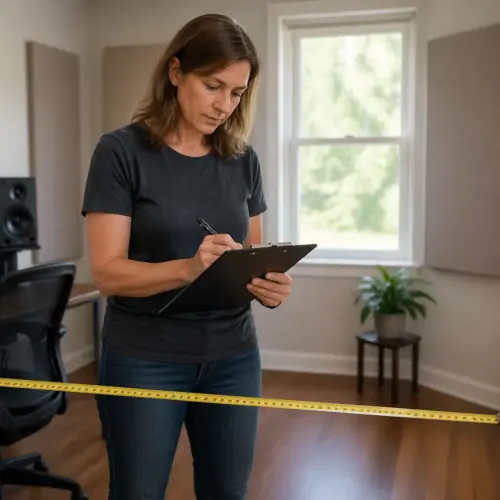
A bass control checklist for a home office studio you can run in 15 minutes
If you only do one pass of this bass control checklist for a home office studio, do it before you order anything online. You are looking for obvious placement mistakes and a clear plan for first treatment steps.
Write down what you change and what you hear, because memory lies when you are moving speakers around. If you cannot describe the change in a sentence, you probably did not change the right thing.
- Measure room length, width, and height
- Center desk and speakers for left-right symmetry
- Set listening position near 38 percent of room length
- Match speaker distances to side walls within 1 inch
- Try three front wall distances for speakers, close, medium, far
- Run a 30 to 200 Hz sweep and note peaks and nulls
- Identify the two loudest corner spots while music plays
Common low frequency problems and what they usually mean
If the bass disappears at your chair but explodes a foot behind you, you are sitting in a null created by the room length mode. Moving the chair forward or back is the cleanest fix, and bass traps help once you are in a better spot.
If one or two notes in a bass line are way louder, you are hearing modal peaks tied to the room dimensions. Thick corner trapping reduces the peak, but speaker placement can also shift which notes get boosted.
If the kick has punch on headphones but sounds soft on monitors, you may have a dip around 80 to 120 Hz from speaker boundary interference. Moving speakers closer to the front wall often improves this, even when it feels backwards.
If the room sounds boomy even at low volume, the decay time in the low end is too long. That points to insufficient bass absorption, especially in corners and at the back wall.
If bass is louder on one side, do not assume the speaker is broken. Check side wall distances, desk clutter, and whether one corner has a bookshelf while the other is empty drywall.
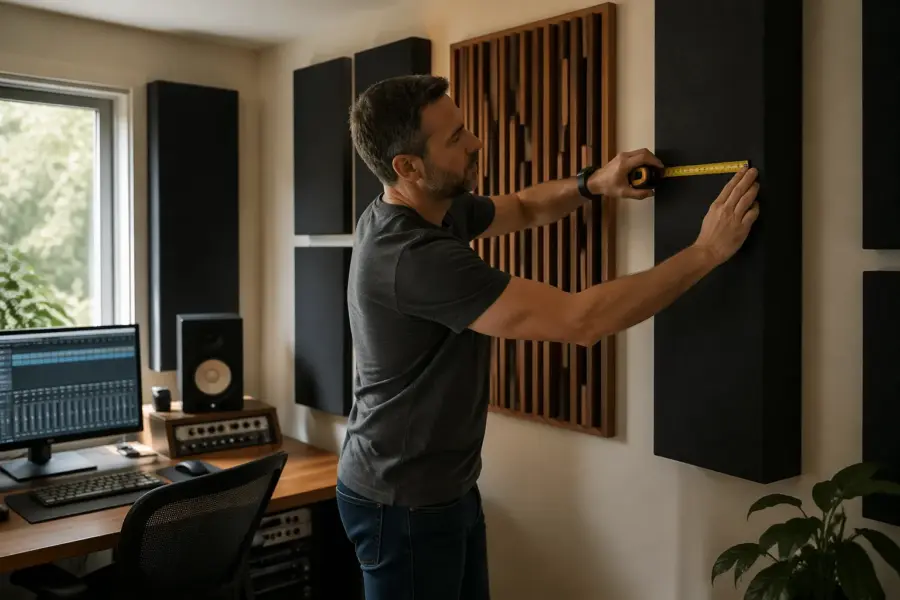
How to choose first treatment steps that match your room
Room layout basics decide what kind of treatment pays off, because a square room behaves differently than a long narrow one. If your room is close to square, expect stronger, more stubborn modes and plan for more trapping.
If you rent and cannot mount heavy traps, you can still do a lot with freestanding corner traps and thick panels on stands. The goal is thickness and placement, not a perfect Instagram wall.
For most home offices, I would rather see four thick corner traps than twelve thin wall panels. Thin panels make the room sound dead in the highs while the low end keeps wobbling, and that is a miserable place to mix.
Use the back wall wisely, because it is usually close to your head in a small office and it reflects bass right back into the listening position. A thick absorber or a deep trap on the back wall can change the whole attitude of the room.
If you use a subwoofer, treat the room first and then integrate the sub, not the other way around. A sub can fill a null at one spot while making three other spots worse, so you want the room calmer before you tune it.
A simple “before and after” test you can repeat
Pick two reference tracks you know well, one with steady sub bass and one with a punchy kick and bass relationship. Play them at the same SPL each time, because louder always sounds better and ruins the comparison.
Mark your chair position with tape and take a quick phone video of the setup, because you will forget where things were. Then do one change, like moving the speakers two inches or adding one corner trap, and repeat the same playback.
Listen for three specific things, bass note evenness, kick definition, and whether the bass image pulls left or right. Write down what improved and what got worse, because real rooms trade one problem for another until you land on a good compromise.
If you want a simple measurement, use a free tone generator and an SPL app to log levels at 40, 50, 63, 80, 100, 125, and 160 Hz. The numbers do not need lab accuracy, they just need to show whether peaks and nulls are shrinking.
Repeat the test after every major change, and stop when improvements get small. Past that point, you are usually better off working on monitoring habits and reference checking than stacking more panels.
Conclusion
Bass control in a home office is mostly a game of avoiding obvious mistakes, then treating the right places with enough thickness. If you follow room layout basics, fix positioning first, and choose treatment in a smart order, you can cut low frequency problems down to a level where mixing is normal again.
Keep this bass control checklist for a home office studio handy and rerun it when you change furniture, monitors, or even a rug. The room always has an opinion, and your job is to make that opinion quiet enough that the music wins.