Most home office studios start with a desk and a pair of speakers, then the room starts arguing back. In an attic or loft, the sloped ceiling is usually the loudest voice in that argument.
If you are building a home office studio setup with sloped ceiling, you can get clean mixes, but you have to treat geometry like part of the gear list. The angle above your head changes where sound lands, how bass piles up, and how stable the stereo image feels.
I see people buy thick panels and still fight harshness because the first bounce is coming off drywall at the worst possible angle. Fixing placement first makes the treatment you buy work harder.
This article focuses on practical geometry rules for attic room acoustics, with special attention to ceiling reflections and speaker orientation. You can apply the same ideas whether you mix podcasts, do video calls all day, or track guitar at night.
How a sloped ceiling changes reflections and bass
A flat ceiling tends to send a strong early reflection straight back down, which can be easy to predict and treat. A sloped ceiling throws that energy sideways, often toward one wall, so the reflection timing and level can differ left to right.
That sideways throw is why attic room acoustics can sound weirdly bright in one ear and dull in the other. You might blame your monitors, but the ceiling is usually the real culprit.
Bass behavior shifts too, because the sloped surface changes the room’s effective height as you move forward and back. Modal peaks still happen based on dimensions, but the pressure zones can feel smeared, so you get spots where kick drum is huge and spots where it vanishes.
One practical takeaway is that you cannot assume the “middle of the room” is acoustically balanced. In a home office studio setup with sloped ceiling, you have to listen for where the low end tightens up and where the ceiling stops slapping back at you.
Choosing which wall to face in an attic-style room
Pick the listening direction before you buy treatment, because orientation decides what problems you get. In many attic rooms, facing the short wall still works best, but only if the slope and side walls stay reasonably symmetric around your listening position.
If one side has a knee wall and the other side opens into a stairwell or closet, symmetry is already broken. In that case, I would rather face a direction that makes the left and right boundaries more similar, even if it means you face the longer wall.
Look at where the peak line runs, because that ridge is often the closest thing to a “ceiling center.” If you can sit with the ridge centered above you, the strongest ceiling reflections tend to arrive more evenly, which makes speaker orientation choices easier.
Also consider what is behind your speakers, since that wall sets up early front wall reflections and low frequency buildup. A rigid gable wall behind the monitors is predictable, while a thin knee wall with storage behind it can act like a loose membrane and change bass in a way that is hard to repeat.
Desk and speaker placement under the slope vs under the peak
People love putting the desk under the highest point because it feels roomy, but acoustics does not care about comfort. Under the peak, the ceiling reflection often comes straight down and lands close to the listening position, which can harden the upper mids fast.
Placing the desk under the slope can work better if you use the angle to steer reflections away from your ears. The catch is that you must keep the left and right ceiling distances similar, or your stereo image will pull to one side.
| Placement option | What usually improves | What usually gets worse |
|---|---|---|
| Desk under peak (ridge centered) | More left-right symmetry, easier layout | Stronger vertical ceiling reflection, more comb filtering risk |
| Desk under slope (ridge slightly behind you) | Ceiling reflection can miss ears, smoother top end | Asymmetric ceiling distances, image shift risk |
| Speakers near knee wall, firing toward peak | More headroom above speakers, less immediate ceiling splash | Early sidewall hits, tricky bass near low boundaries |
| Speakers near gable wall, firing along slope | Predictable front wall behavior, easier bass trapping plan | Ceiling reflection can aim at one sidewall, uneven brightness |
Finding and controlling the strongest ceiling reflection
The strongest ceiling reflection is usually the first bounce that arrives within about 2 to 8 milliseconds after the direct sound. That short delay is what causes comb filtering in the highs and a “phasey” center image when you pan vocals.
You can find it with a mirror trick, but you have to adapt it to a slope. Sit at mix position, have a friend slide a mirror along the ceiling line you can reach, and mark where you can see each speaker’s tweeter.
In an attic room, you might find that the left speaker’s reflection lands on a different ceiling plane than the right speaker’s reflection. That is a big clue that your speaker orientation or desk position is not centered to the roof geometry.
Once you know the hot spots, treat them with thick absorption, not thin foam. A 4 inch mineral wool panel with a small air gap is a realistic starting point, and the air gap matters because it improves low mid absorption where ceiling reflections still bite.
Speaker orientation choices that work with angled ceilings
Speaker orientation is not only about toe-in, it is also about where the tweeter aims relative to the slope. If the tweeter fires straight into the angled drywall, you can get a bright slap that makes cymbals and consonants feel edgy.
I prefer to aim monitors so the tweeter axis crosses just behind my head, then I adjust toe-in to reduce the ceiling hit. Small moves matter here, because a few degrees can shift the reflection path by a couple feet on a sloped surface.
Height matters more than people expect, because raising the speakers changes the incidence angle and reflection timing. If you can, keep tweeters at ear height and then move the chair height slightly, rather than putting speakers too high and hoping treatment will fix it.
Nearfield monitors help in attic room acoustics because the direct sound is stronger relative to the room. That does not mean you can ignore ceiling reflections, it just means you have a better chance of taming them with a few panels and smarter geometry.
Dealing with uneven left-right behavior
Uneven left-right behavior is the normal state in a home office studio setup with sloped ceiling. One side often has a shorter ceiling path, a closer knee wall, or a dormer window that reflects like a little hard dish.
Start by measuring the obvious distances, then trust your ears with mono material. Play a dry vocal in mono and listen for whether the phantom center sits in the middle or drifts toward the side with stronger early reflections.
When one side is brighter, you can usually fix it with targeted absorption at the first reflection points on that side, including the ceiling patch that corresponds to that speaker. If one side is bass heavier, corner trapping on the heavier side often helps more than trying to “match” it with EQ.
If the room forces asymmetry, you can still make it workable by building a fake symmetry with treatment. Matching panel thickness and placement on both sides, even if the walls differ, often stabilizes imaging more than chasing perfect geometry you cannot have.
Layout tweaks that reduce comb filtering
Comb filtering usually comes from one or two strong early reflections that are close in time to the direct sound. In attic rooms, that is often the ceiling plus the desktop, which is why your keyboard tray can ruin the 2 to 6 kHz range.
Before buying more panels, change the layout in ways that change the reflection path length. Moving the desk forward 6 inches, lowering the monitors a touch, or pulling the chair back can shift the notch frequencies enough to make the midrange feel natural again.
- Pull the desk away from the front wall by 6 to 18 inches
- Raise speakers off the desktop with solid stands or isolation risers
- Angle the desktop surface slightly, or remove large flat desk shelves
- Keep tweeters at ear height, then adjust chair height by small steps
- Center the listening position under the roof ridge when possible
- Use a thick ceiling cloud at the marked mirror points
Managing bass in rooms with knee walls and dormers
Knee walls create shallow cavities that can trap and release bass in unpredictable ways. If that cavity is stuffed with random boxes, the bass response can change when you clean the room, which is annoying and real.
Start by treating the real corners that exist in your listening zone, even if they are not traditional full height corners. Thick bass traps where the slope meets the front wall and where the slope meets side walls often pay off faster than fancy diffusers.
Dormers add extra surfaces and mini corners, so they can create strong peaks around the low mids. If the dormer is on one side, treat that side more aggressively, because it is usually the side that makes bass notes hang on too long.
If you can, seal rattles and air gaps, because sympathetic buzzing makes you chase phantom problems. A loose HVAC register or a thin closet door can make you think your monitors are distorting when the room is the one misbehaving.
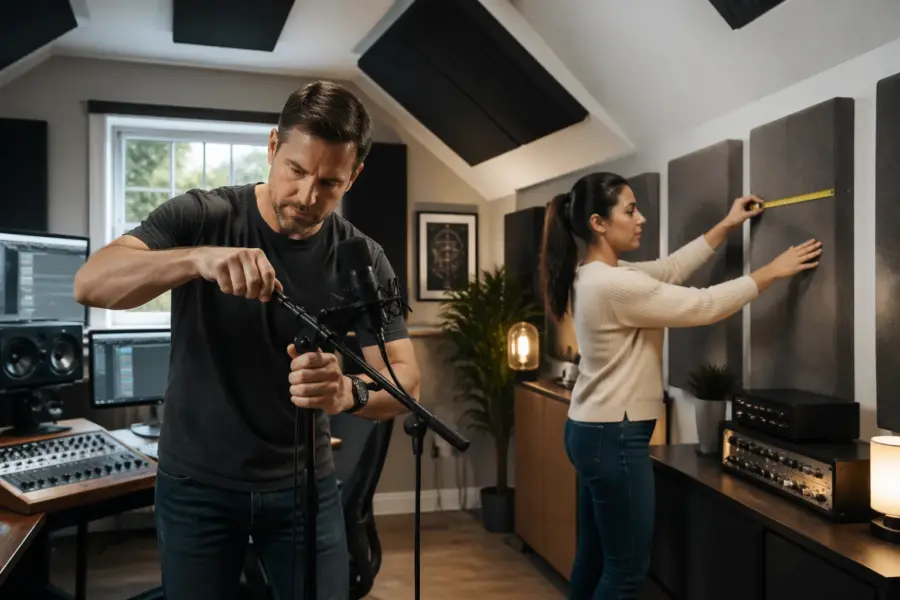
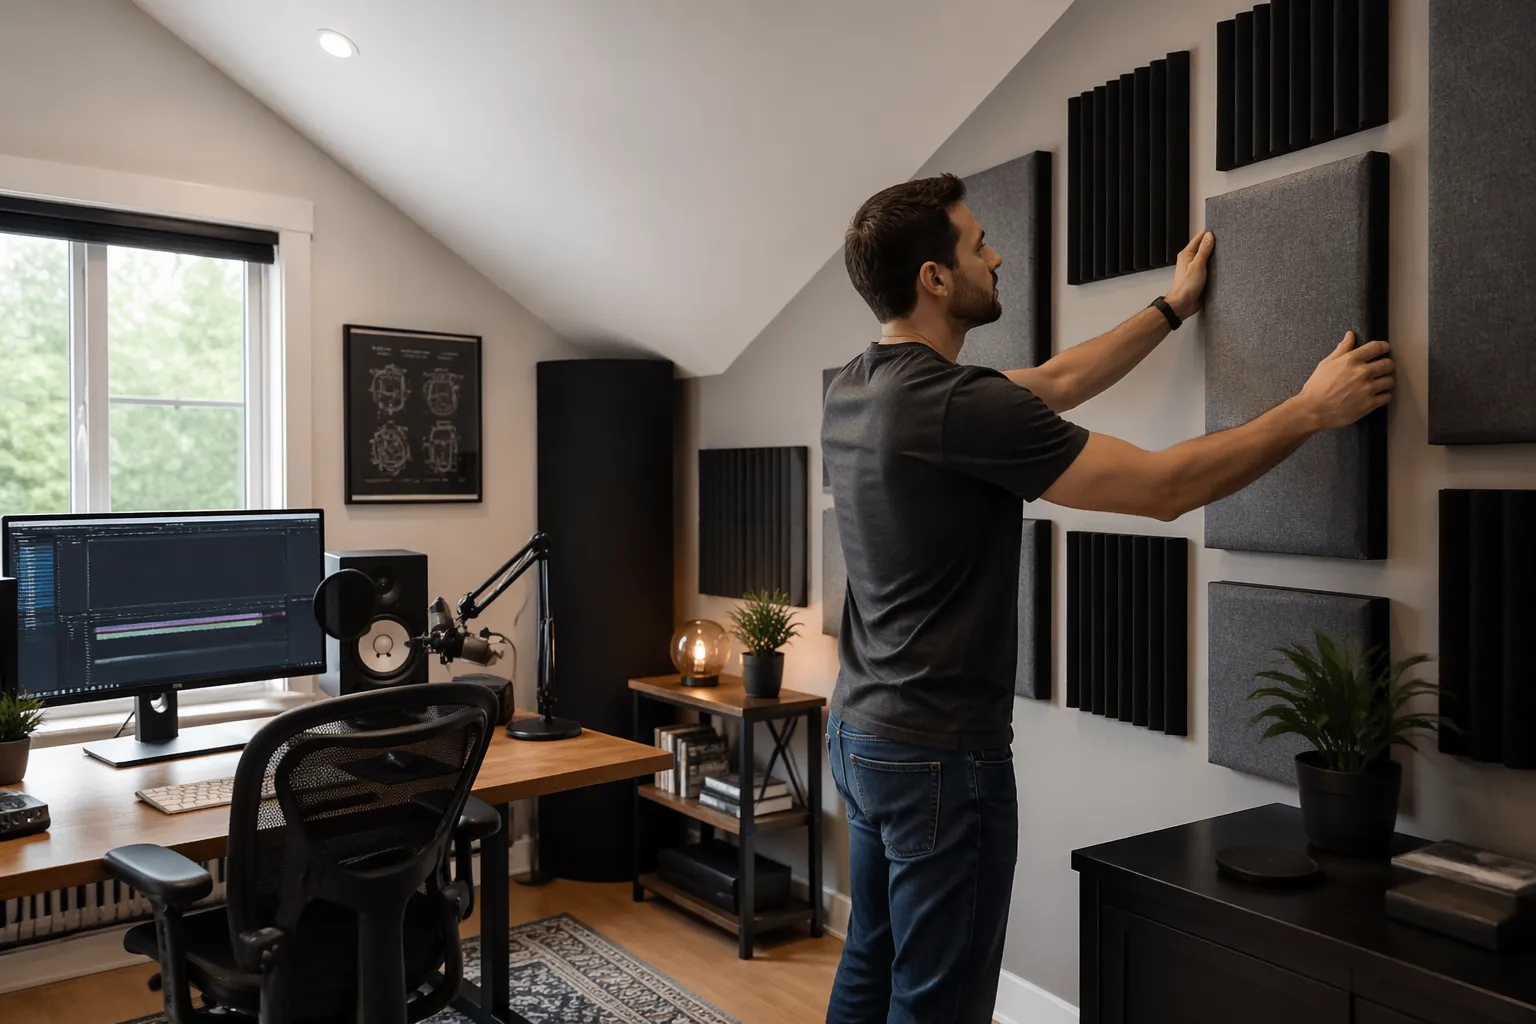
Practical ceiling treatment in a home office you still use
A ceiling cloud is the most direct fix for ceiling reflections, but attic ceilings often have odd angles that make hanging hardware tricky. You can still mount panels safely with eye bolts into joists, then use adjustable wire so the panel stays level even if the ceiling is not.
Keep the cloud big enough to cover both speakers’ reflection zones, not just a tiny square above your head. If you only treat the area above the chair, you can leave the speaker-to-ceiling-to-ear path untouched, and the harshness stays.
If you cannot hang anything, a thick panel on a stand behind the desk can intercept the reflection path in some layouts. It looks a little odd, but it works, and in a shared home office that trade can be worth it.
Do not chase diffusion on the ceiling until absorption has done its job. Diffusion needs distance to work, and in a low attic ceiling the diffuser often acts like a lumpy reflector that makes the reflection problem harder to predict.
Checking your setup with simple measurements and real listening
Room EQ Wizard with a cheap measurement mic like a UMIK-1 can show you if your changes helped, especially below 300 Hz. Use it to compare before and after, not to chase a perfectly flat line that nobody gets in a small room.
For ceiling reflections, the ETC or impulse response view is useful because it shows early spikes that correspond to ceiling hits. If you move the desk or change speaker orientation and that spike drops, you did something right.
Then do the boring listening tests that people skip, like mono pink noise and a centered vocal. If the image locks in and the tone stops changing when you lean a few inches, the geometry is working with you instead of against you.
Finally, test at your real working level, because reflections can feel different when you crank it. A setup that sounds fine quiet can get sharp at 80 dB, and that is usually a ceiling reflection or a desk bounce showing itself.
Conclusion
A home office studio setup with sloped ceiling can sound clean if you treat geometry as the first step, not the last resort. Get the orientation right, aim the speakers with the roof angle in mind, and take ceiling reflections seriously.
Once the layout is sane, a few well placed panels and bass traps go a long way, even in tricky attic room acoustics. If you keep symmetry where you can and control the strongest early hits, your mixes translate and your workday audio stops wearing you out.


