If your desk has to live against a wall, your low end will probably act weird. The kick sounds huge on Monday, then thin on Tuesday, and you start blaming your monitors when the room is the real culprit.
The phrase desk against wall bass problems sounds like a niche complaint, but it is one of the most common home office studio headaches. Small rooms punish convenient layouts, especially when speakers and your head end up close to boundaries.
I am not going to pretend you can always pull the desk three feet into the room and call it a day. Most people have doors, closets, windows, and a work setup that has to function from nine to five.
The good news is you can reduce the worst bass swings with a few geometry choices and some targeted treatment. You will still have room modes, but you can stop the room from lying to you as often.
Why wall-hugging setups cause uneven low end
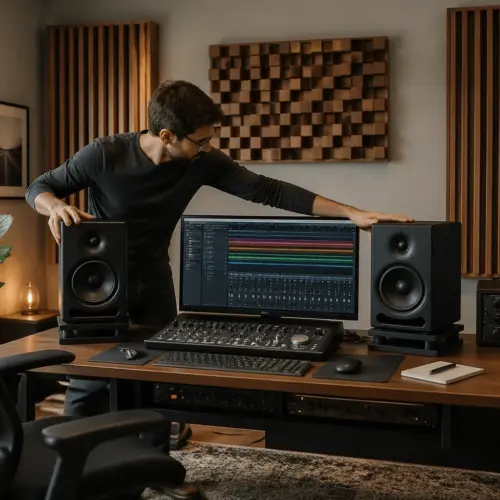
When your desk is against a wall, your speakers are also close to that wall, and the wall becomes part of the speaker. That boundary boosts certain bass frequencies and changes the timing of reflections that hit your ears.
Low frequencies are long waves, so they do not behave like a flashlight beam you can point away from trouble. They fill the room, bounce off every surface, and stack up in corners and along walls.
In a typical spare bedroom, the front wall behind the monitors and the rear wall behind your chair are close enough to cause strong early reflections. Those reflections mess with what you think the bass is doing at the listening position.
This is why two people can sit in the same room and argue about whether the bass is too loud. Move your head eight inches and a 60 Hz note can change from boomy to missing.
Studio geometry matters because the room is a filter, and the filter changes with distance. If you lock the desk to the wall, you have to control what the boundaries do instead of hoping they behave.
The two common bass issues: buildup and cancellation
Most desk against wall bass problems come down to two things, bass buildup and bass cancellation. Both can happen at the same time, which is why the low end can sound loud yet still unclear.
Buildup happens when boundaries reinforce the pressure of certain frequencies, especially near walls and corners. You get a thick, one-note bass that makes every kick drum feel like it has the same pitch.
Cancellation happens when the direct sound from the monitors and a reflection arrive out of phase at your ears. The result is a dip, sometimes deep enough that you keep turning up the bass in your mix to compensate.
SBIR is the term you will see for the speaker boundary interference response that creates those dips and peaks. It is not audiophile trivia, it is the reason your bass guitar disappears at one monitor distance and reappears at another.
Rear wall reflections are the other half of the mess, because your chair is often closer to the back wall than you think. That reflection can create a low frequency comb filter and also smear the stereo image in the mids.
Speaker-to-wall distance options when you can’t move far
If you cannot move the desk far from the wall, you still have two workable strategies, go very close or go meaningfully far. The frustrating middle distances often land you right in the worst SBIR zone.
Very close means the speaker front baffle is almost touching the wall, which pushes the first cancellation higher in frequency where treatment is easier. This approach is common with front-ported speakers and many sealed designs, but you still need to check the manufacturer guidance for rear ports.
| Distance from speaker front to wall | What usually happens | Best next move |
|---|---|---|
| 0 to 2 inches | SBIR dip shifts upward, bass feels tighter but boundary gain rises | Add thick absorption on the front wall, keep symmetry |
| 4 to 10 inches | Common cancellation range, uneven low end and punchy nulls | Avoid if possible, or measure and treat aggressively |
| 12 to 24 inches | Dip moves lower, but small rooms still show big peaks and nulls | Use bass traps, adjust listening position, measure again |
| 30 inches or more | More workable spacing, but desk depth and room length often limit it | Rebuild layout, prioritize listening triangle and rear wall control |
| Flush mounted (built-in) | SBIR from front wall is minimized, but room modes remain | Only if you can build properly, then treat the rest of the room |
Rear wall treatment strategies behind your chair
If your chair is near the back wall, rear wall reflections become a daily problem, not a theoretical one. You hear it as a hollow low mid, and you feel it as bass that changes when you lean back.
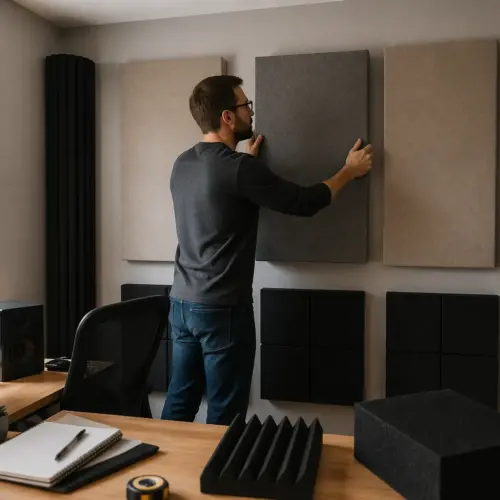
The simplest win is to put thick absorption directly behind your head, centered on the listening position. Thin foam does almost nothing here, so skip it and save the money for real depth.
In a small office, you often cannot pull the chair far forward without blocking a door or smashing into a filing cabinet. That means you treat the rear wall harder than you would in a larger room, because distance is not available as a tool.
If you have a bookshelf behind you, do not assume it solves the issue. Random objects can scatter highs, but the low end mostly ignores them, and the rear wall still acts like a bass mirror.
When you fix the rear wall, you usually hear the center image lock in and the bass notes separate better. It is one of those changes that makes you stop second guessing every EQ move.
Using thick panels and air gaps to target low frequencies
Low frequency control is about thickness and placement, not fancy fabric or brand names. A 4 inch mineral wool panel can help, but it becomes much more effective when you leave an air gap behind it.
An air gap works because particle velocity is higher away from the wall, so the absorber sees more motion to convert into heat. In practice, a 4 inch panel with a 4 inch gap usually beats an 8 inch panel smashed flat to drywall.
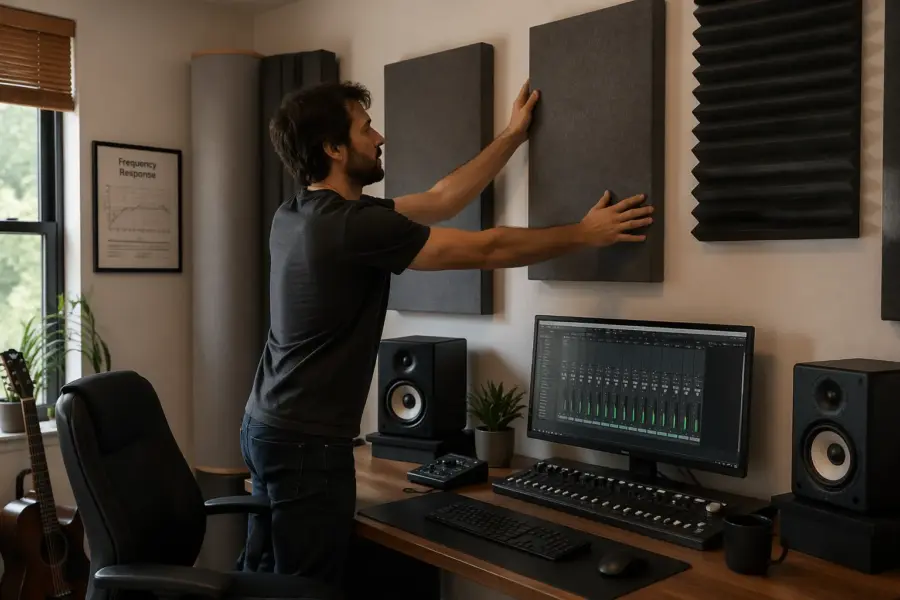
For desk against wall bass problems, the front wall behind the monitors is a smart place to spend thickness. If you can fit 6 inch panels there with a small gap, you reduce the strength of the reflection feeding SBIR.
Corner traps still matter because corners collect pressure, especially where two walls meet the ceiling. If you can only afford a few big pieces, put them in the front corners first, then the rear corners next.
Do not expect miracles below about 40 to 50 Hz in a bedroom with panels alone. That range often needs serious depth, tuned traps, or simply accepting that you will reference on headphones and check on other systems.
Measuring SBIR and monitor distance without guesswork
You can make smart changes by ear, but measurement keeps you from chasing your tail. A cheap USB mic like the miniDSP UMIK-1 and free REW software can show you where SBIR dips land as you change monitor distance.
Start with one variable at a time, like moving the speakers closer to the wall in one inch steps. You will often see a big notch slide up and down the spectrum, and that notch is the thing you keep trying to EQ out.
Watch the frequency response and the waterfall plot, because the room can look flat yet still ring forever at one note. Long decay is what makes bass lines feel slow and smeared, even when the level is not crazy.
Keep your left and right speakers the same distance from the front wall and side walls, or your stereo image will tilt. Symmetry is boring, but it is the cheapest upgrade you can make.
After you treat and place, run sweeps again and save the files so you can compare. The goal is not a perfect graph, it is fewer surprises when you take a mix to the car.
Rear wall reflections checklist for a small room
Rear wall reflections get ignored because people focus on the front wall and side first reflection points. In a home office studio, the back wall can be closer than the front wall, so it deserves equal attention.
If you sit with your head one or two feet from the back wall, diffusion is usually the wrong first move. Diffusers need space to work, and without that space they can turn into expensive decor.
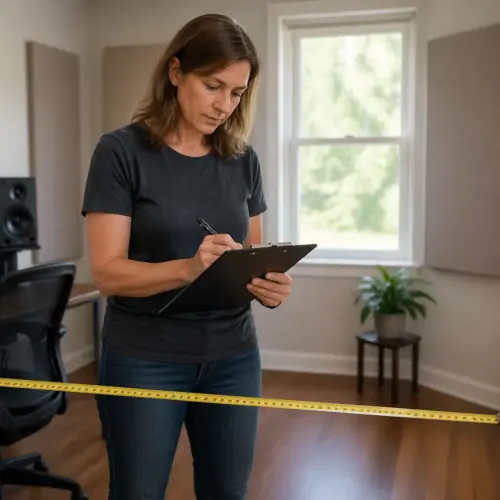
- Measure head to rear wall distance in inches
- Place 4 to 6 inch absorption centered behind the chair
- Leave a 2 to 6 inch air gap if you can
- Treat rear corners with the thickest traps you own
- Avoid hard objects directly at ear height behind the chair
- Recheck response after moving the chair forward 3 to 6 inches
Practical layout tweaks for small offices with fixed furniture
Sometimes the desk has to stay against the wall because the rest of the room is a working office. That does not mean you are stuck with the worst geometry, it means you pick the least bad compromises.
First, choose which wall you face, and do not pick based on where the outlet is. Facing the short wall usually gives you more distance to the rear wall, which helps with rear wall reflections and overall decay.
If the short wall has a window, you can still face it if you cover the glass with a thick curtain and put absorption around it. Glass is a hard reflector, but you can tame it enough that it stops wrecking your early reflection pattern.
Move the desk a few inches off the wall if it lets you fit a thick panel behind the monitors, even if the speakers stay close to the wall. That panel can reduce the reflection energy that causes the strongest SBIR artifacts.
Keep the listening position off the exact center of the room length, because the center often lines up with strong modal nulls. A common starting point is about 38 percent of the room length from the front wall, then you adjust based on measurements.
Small changes that make desk-against-wall setups workable
You can often improve bass consistency with moves that sound too small to matter. In a small room, two inches can change the monitor distance enough to move a cancellation dip away from a problem frequency.
Try raising or lowering the monitors so the tweeters hit ear height without tilting them into the desk surface. Desk reflections are mostly a mid and high issue, but cleaning them up makes it easier to judge bass because the whole mix sounds less smeared.
If your monitors have boundary EQ switches, use them as a finishing tool, not as a replacement for placement. Those filters can shave off some boundary gain, but they cannot fix time domain issues from SBIR.
Subwoofers can help, but only if you treat placement like a project and not a guess. A sub placed with a crawl test and crossed over properly can smooth the low end, while a random sub under the desk often makes everything worse.
Headphones are still part of the plan, and that is fine. Use them to check sub bass and stereo details, then come back to speakers to judge punch, balance, and how the low mids glue together.
Conclusion
A desk against the wall is not a deal breaker, but it does raise the odds of bass buildup, SBIR dips, and nasty rear wall reflections. If you respect the geometry and treat the right surfaces, the room stops fighting you so hard.
Go very close to the front wall or commit to real distance, then measure so you know which problem you are solving. Put thick absorption behind the monitors and behind your chair, and use air gaps whenever the room allows.
The best home office studios are the ones where you can work fast without second guessing every bass move. Fix the desk against wall bass problems first, and the rest of your mixing decisions get a lot calmer.