Corner reflections are the reason a home office can sound sharp and fatiguing even when the room looks quiet. If your voice or headphones seem to “spit” certain syllables, you are probably hearing energy bouncing around corners and coming back late.
Most people buy panels and stick them on the wall behind the monitor because it is the obvious spot. Corners are less obvious, but they often do more damage than a bare wall because they concentrate reflections and low frequency buildup in the same place.
The good news is that you can tame those reflections with a few smart placements and a couple of simple mounting choices. This article focuses on acoustic panels for corner reflections, with practical options that work in a real home office where you still need the room to look normal.
You do not need a full studio build to get a cleaner sound for calls, recordings, or focused work. You do need to understand which corners matter, how corner mounting changes absorption, and when panel angling is worth the effort.
Why corners can make a room sound harsh
Corners act like acoustic megaphones because sound waves hit two surfaces at once and rebound back into the room. That extra boundary interaction makes reflections stronger than what you get from a single flat wall.
In a small office, those stronger reflections arrive quickly enough that your brain blends them with the direct sound. Instead of hearing an obvious echo, you hear a hard edge that makes everything feel closer and more aggressive.
High frequencies create the “zing” and “slap” you notice first, especially on consonants and keyboard clicks. Midrange reflections stack up too, and that is where speech intelligibility can turn into a brittle, nasal tone.
That brittle tone can fool you into thinking your mic is the problem or that your headphones are too bright. In reality, the room is adding a thin layer of extra treble that follows you no matter what device you use.
When two hard surfaces meet, you also get repeated bounces that keep energy alive longer than it should. The result is a busy top end that makes you want to turn things down, even if the volume is not actually high.
Low frequencies behave differently, but corners still matter because pressure builds where surfaces meet. That is why a room can sound boomy at the desk even when the rest of the space seems fine.
That boom is not always a huge subwoofer problem, because even male voice fundamentals and the low end of music sit in the range that corners can exaggerate. You can end up EQ-ing your voice thinner just to counter the room, which is the opposite of what you want.
Tri-corner reflections, where two walls and the ceiling meet, can be nasty in small rooms because the return path is short. In a typical home office, that can mean the corner above and behind your monitor sends energy right back to your head.
If your desk is in a corner, you can get that tri-corner effect on both sides at once, which makes the harshness feel unavoidable. Even if you rotate the chair slightly, the geometry stays close enough that the reflections remain strong.
If you clap and hear a metallic flutter, corners often help create that effect by feeding repeated bounces between hard surfaces. Curtains and rugs help, but they rarely touch the corner geometry that keeps the loop going.
Flutter can also show up as a subtle “chirp” on short sounds like a mouse click or a pen tap. When you hear that chirp, it is usually a sign that early reflections are too strong and too similar in timing.
A harsh room is rarely caused by one single reflection, but corners are a reliable amplifier for multiple problems at once. Treating them first often makes every other improvement feel more effective, because you remove the strongest repeat offenders.
Identify which corners are actually causing issues
Do not treat every corner out of guilt, because you can waste panels where they barely change what you hear at the chair. The corners that matter most are the ones that have a clean line of sight to your mouth, speakers, or both.
Think of it like lighting, where the brightest glare comes from the surfaces aimed right at your eyes. If a corner is hidden behind a tall shelf or a thick curtain, it may not be the first priority even if it looks suspicious.
Start at your desk and look for the first reflection paths, which are the shortest bounces back to your ears. If you can point a flashlight from your head position to a corner without hitting furniture, that corner is a good suspect.
You can do a similar check with a small mirror held near the corner area, because what you can “see” from the listening position is often what you can hear. If you can see a speaker or your mouth area in that mirror, you are dealing with a strong reflection path.
For voice calls and podcast style recording, focus on the corners in front of you and slightly to the sides, because those reflect your voice forward and back. If you record with a mic close to your face, the room still leaks in through reflections that hit the mic off axis.
Pay attention to the corner behind the camera or monitor, because that is where your voice tends to project when you speak naturally. If that corner is hard and bare, it can add a bright return that makes your voice sound like it is coming from a tiled room.
If you use a dynamic mic close up, you might think the room does not matter, but the room still colors the sound through early reflections. Those reflections are often what make compression sound harsh, because the compressor brings up the room tail between words.
For nearfield monitors, the front wall corners behind the speakers are common troublemakers, especially if the desk is tight to the wall. Side wall corners can matter too, but only if they sit near the speaker’s reflection points.
If your monitors are on a desk and close to the wall, the corner behind them can act like a little horn that boosts upper bass and low mids. That can make kick drums feel lumpy and make vocals sit in a cloudy pocket that is hard to mix around.
Also check the corners behind your chair, because those can feed reflections back into the mic if you are recording voice. A rear corner that is close to your back can create a subtle “halo” around speech that sounds like a cheap reverb.
Walk around while playing pink noise or a steady music loop and listen for spots where the sound gets edgy or hollow. When the corner is the culprit, you will hear the tone change sharply as you approach it, like the room is “talking back.”
Do not just listen for loudness, because the most annoying corners are sometimes the ones that change the tone rather than the volume. If a corner makes vocals sound pinched or cymbals sound like spray, that is a corner worth treating.
If you can, have someone else speak while you move around, because speech makes corner problems obvious fast. You will hear certain syllables jump out when the talker faces a hard corner, even if the overall level stays the same.
Once you identify the top one or two corners, treat those first and re-check, because the room changes when you remove a major reflection. Sometimes the second-worst corner only becomes noticeable after the worst one is under control.
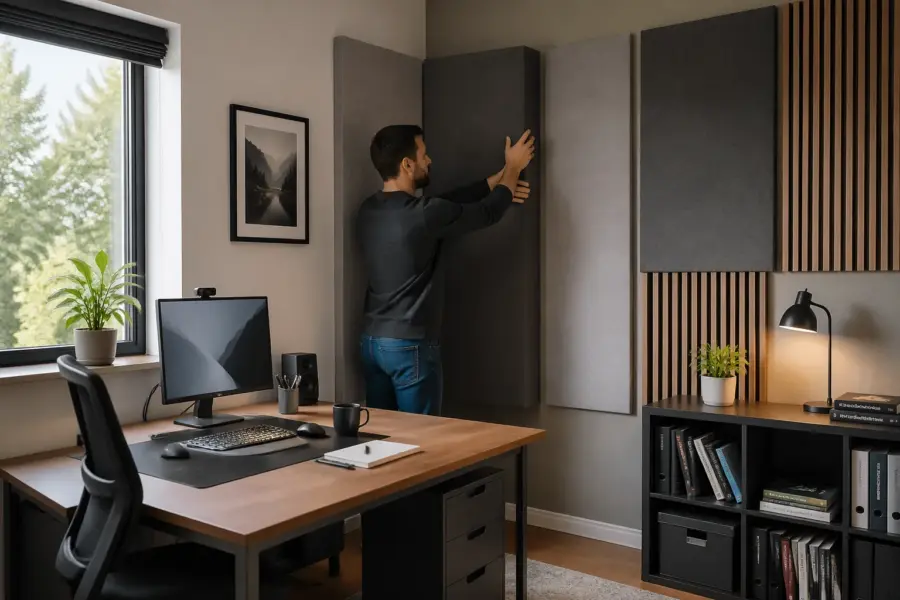
Mounting flat vs angled, what changes
Mounting a panel flat on one wall near a corner mainly treats that wall’s reflection, not the corner behavior itself. Corner mounting changes the angle of incidence and can catch energy that would otherwise ricochet between two surfaces.
Flat mounting is still useful when you are chasing a specific reflection point, like the first sidewall reflection from a speaker. It is just less efficient when the problem is the corner acting like a reflection pump.
Panel angling can reduce the strength of a direct return reflection, which is what makes corners sound “spitty” at the listening position. Angling also increases the effective path length through the absorber, which can help a little at lower mids.
That path length effect is not magic bass trapping, but it can take the edge off the 200 to 500 Hz area where boxiness lives. If your voice sounds like it is trapped in a small closet, this is one of the reasons corner bridging helps.
Angling also changes what the room does when you move your head, because the reflection pattern becomes less symmetrical. That can make the room feel less “peaky,” even if the overall reverb time is not dramatically different.
One tradeoff is that angled panels can stick out into the room, which matters in a tight office. If you constantly bump into the panel edge, you will hate the setup even if it sounds better.
Another tradeoff is that angled mounting can expose more of the wall behind the panel from certain viewpoints, which some people interpret as less finished. A simple frame or a consistent angle on both sides usually fixes that visually.
| Mounting approach | What you hear most | Best use in a home office |
|---|---|---|
| Flat on one wall near the corner | Less slap from that wall, corner still active | When you only have space on one side |
| Across the corner at 45 degrees | Smoother early reflections, less edge on speech | Front wall corners near speakers or mic |
| Angled off the corner, not centered | More diffusion-like change, less “ping” | When one corner is stronger than the other |
| Two panels, one on each wall meeting at the corner | Broader reduction, still some corner bounce | When you cannot bridge the corner |
If you are unsure, start with a flat placement that you can easily move, then test the same panel bridged across the corner. The difference is usually obvious enough that you will know whether corner mounting is worth the space.
In practice, many home offices end up using a mix, with one or two corner bridges and a few flat panels at reflection points. That hybrid approach tends to sound natural without turning the room into a dead booth.
If your panels have a reflective facing or a printed fabric that feels tight and plasticky, angling becomes more important. A slightly reflective panel mounted flat can still throw high frequencies back at you, while the same panel bridged can behave more forgivingly.
Do not forget that furniture changes the effective angle too, because a desk surface can bounce sound into a corner you thought was harmless. If you have a large monitor, its screen can also aim energy toward a corner like a little reflector.
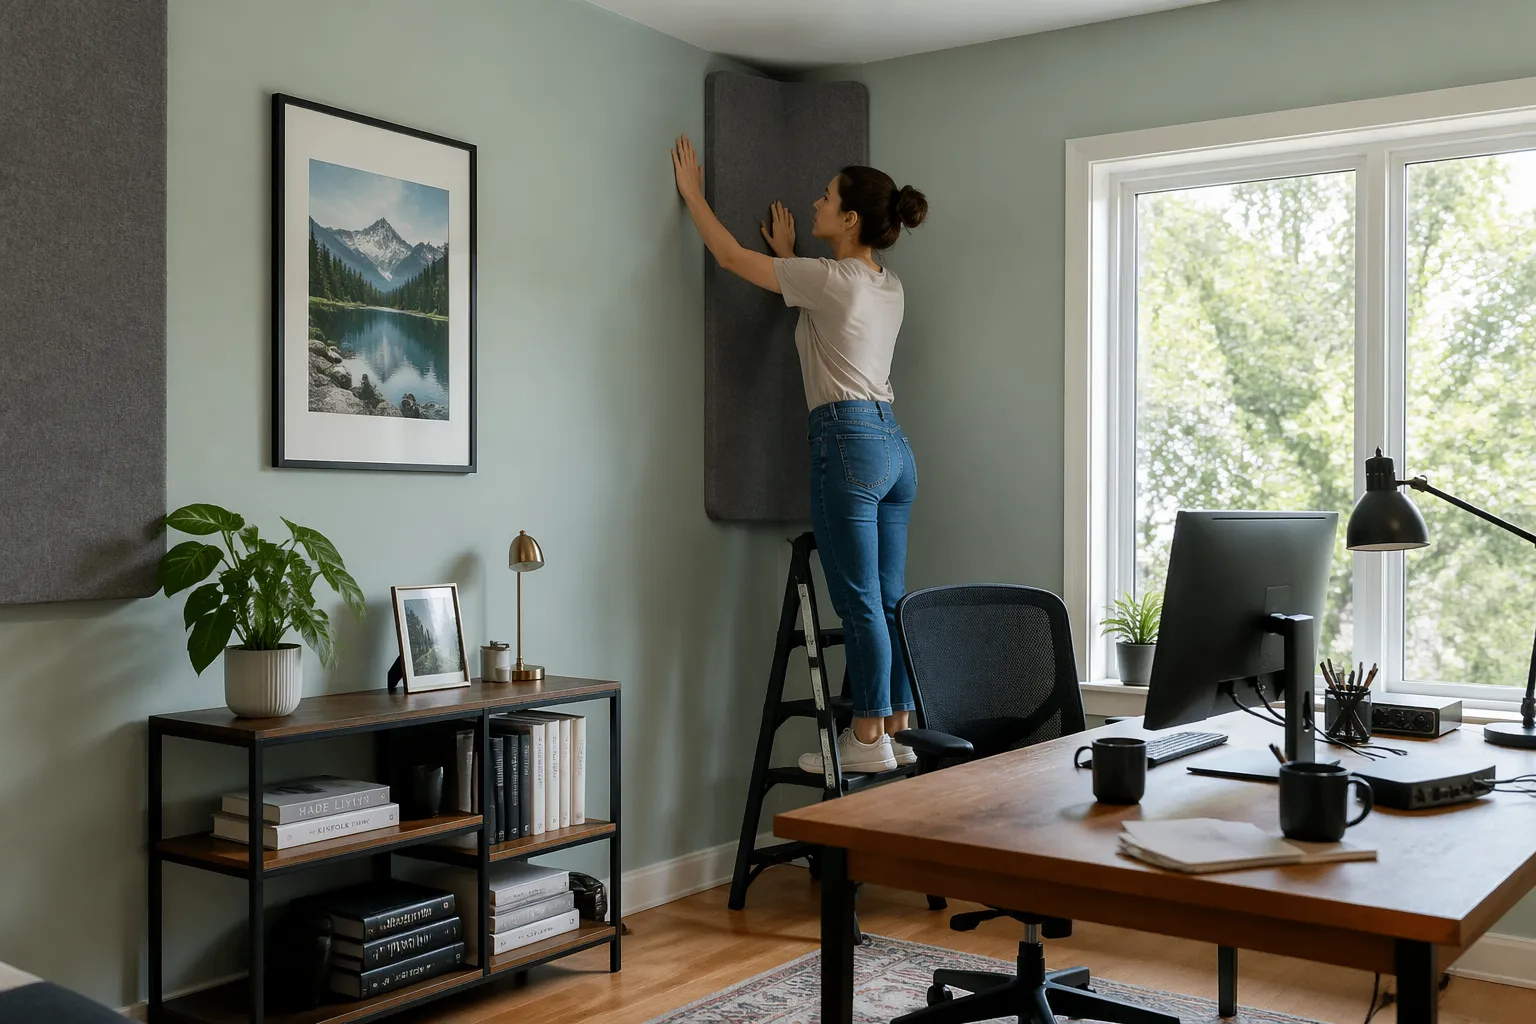
Using panels across corners with an air cavity
The simplest win for acoustic panels for corner reflections is bridging the corner, where the panel spans from one wall to the other. This creates an air cavity behind the panel, and that gap makes the absorber act thicker than it looks.
The air cavity is doing real work because particle velocity is higher a bit away from the wall, and that is where porous absorbers do their best job. When you press a thin panel flat to the wall, you remove that advantage and mostly absorb only the top end.
If you have 2 inch panels, do not press them tight into the corner like a picture frame. Leave space behind them, because a 2 to 4 inch gap often does more than upgrading to a denser panel that sits flat.
In a tight room, even a small gap helps, so do not abandon the idea just because you cannot get a big cavity. A panel that bridges a corner by a few inches can still knock down the sharpest early reflections.
For corner mounting, I like simple L brackets into studs or heavy duty drywall anchors, then a French cleat if the panel is large. If you rent, you can use corner tension rods or a light wooden frame that wedges in place without a single screw.
Another renter-friendly method is to hang the panel from the ceiling with light chain or wire so it floats across the corner. If you do this, keep the panel stable so it does not swing when a door closes or when you walk by.
Do not overthink “perfect” angles, because 45 degrees works well in most rooms and looks tidy. If a door trim or shelf blocks that, a shallower bridge still helps, and you can compensate by using a thicker panel.
If you have a deep baseboard or crown molding, you can either notch the frame or simply mount the panel slightly above the molding line. A small reflective strip near the floor is usually less critical than a reflective strip at head height.
Tri-corner reflections respond well when you bridge the vertical corner and extend the panel up near the ceiling line. If you cannot go tall, stack two smaller panels and keep the seam tight so you do not create a reflective strip between them.
When stacking, try to align the frames so the front faces sit on the same plane, because a step between panels can act like a little ledge that reflects highs. A strip of fabric or a thin cover batten can hide the seam and keep the look clean.
If you are treating for speakers, start with the front vertical corners and then consider the rear corners if the room still sounds uneven. If you are treating for voice, start with the corners in front of you and the corner behind the mic side, because that is where the mic “sees” the room.
Thickness matters, but placement matters more, so do not wait until you can buy the thickest panel on the internet. A well-placed 2 inch panel with a good air gap can beat a poorly placed 4 inch panel that is flat and off target.
Also be realistic about how dead you want the room, because over-treating corners can make the space feel dull for casual listening. The goal is usually to remove the harshness and flutter, not to erase every trace of room sound.
Treating wall-to-ceiling corners near your desk
Wall-to-ceiling corners are easy to ignore because they are out of reach and out of sight, but they sit right in the path of voice and monitor reflections. If your desk is against a wall, the ceiling line above the monitor can throw sound back toward your ears fast.
This is especially true if you have a hard ceiling like drywall, plaster, or a smooth painted surface. A textured ceiling can help a little, but it still reflects plenty of energy in the speech range.
A “cloud” panel above the desk helps, but it does not always address the corner bounce that rides along the ceiling and drops down behind you. A short run of panels at the wall-to-ceiling corner can calm that down without lowering the ceiling visually.
If you only have budget for one overhead move, treat the area where the ceiling meets the wall you face, because that is where the fastest return reflections tend to happen. You will often hear this as a reduction in that glassy sheen on speech.
Use lighter panels here, because you want safe mounting and you do not want a heavy object overhead. A 2 inch fiberglass or mineral wool panel in a wood frame, mounted with proper anchors, is a reasonable balance for most home offices.
If you are using adhesive hooks, be careful, because they can fail over time with temperature changes and dust. A small mechanical fastener into a joist or a proper toggle anchor is a better long-term choice.
Panel angling matters more at the ceiling line than people expect, because a flat panel can still reflect some high frequency energy if the facing is too tight. If you tilt the bottom edge down slightly, you reduce the chance of a straight bounce back to the desk.
You can create that tilt with small spacers at the top edge or by using angled brackets. The tilt does not need to be dramatic, because even a small change can break the direct ping-pong path.
If you have recessed lights or a ceiling fan, keep clear space and treat the adjacent corner segments instead of forcing a panel into a bad spot. Two smaller panels placed where the geometry is clean often beat one awkward panel that never sits right.
In rooms with a sloped ceiling, treat the wall-to-ceiling line that points toward your desk, because that slope can aim reflections like a ramp. A short panel run along that seam can make the room feel calmer without changing the whole ceiling.
If you are on camera, wall-to-ceiling panels can also be a visual win because they sit outside the main frame. That lets you improve the sound without turning the background into a wall of foam squares.
Do not forget the wall-to-ceiling corner behind you, because that can feed reflections into the mic if you are using a sensitive condenser. Treating just a few feet of that line can reduce the roomy tail that shows up when you pause between sentences.
If you cannot mount anything overhead, a tall corner panel that reaches close to the ceiling can still help with the same reflection path. It is not identical to a ceiling-line treatment, but it can reduce the amount of energy that makes it up there in the first place.
Visual tricks to make corner panels look intentional
Corner treatment can look like you are hiding something, which is not the vibe most people want on video calls. The easiest fix is symmetry, even if the acoustics only demand one corner, because matched panels read like design.
If you only want to treat one corner, you can still fake symmetry by balancing it with a plant, lamp, or shelf on the other side. The room will not be acoustically symmetrical, but it will look composed, which matters for daily comfort.
Pick a fabric color that matches one other element in the room, like the desk top, a bookshelf, or curtain rods. If the panel color is random, your eye treats it like a patch, and you will notice it forever.
Neutral colors tend to disappear, but a deliberate accent color can work if it repeats elsewhere. The key is to make the panel look like it belongs to the room, not like it was added as an apology for bad acoustics.
Frame style matters more than people think, because a clean frame edge makes the panel look like furniture. Even a simple stained pine frame can make a DIY panel look finished instead of temporary.
If you have art on the walls, consider using the same spacing and alignment rules for panels. When panels follow the same visual grid as your frames, they stop reading as equipment and start reading as decor.
Corner panels also look better when they do not fight the trim lines in the room. If you align the top edge with a door header or a shelf line, the panel looks planned even if it is just doing acoustic work.
- Match panel fabric to one existing textile color
- Use identical frames on left and right corners
- Align panel top edges to the same height line
- Bridge corners at the same angle for consistency
- Add a narrow LED bias light behind the desk, not behind the panel
- Hide mounting hardware with a thin trim strip
If you want the most “normal room” look, avoid the classic black studio panel everywhere approach and use warmer fabrics. Beige, gray, olive, and muted blues tend to read like upholstery, which is an easy mental trick.
Printed acoustically transparent fabric can work too, but keep the pattern subtle so it does not shimmer on camera. Fine high-contrast patterns can create moiré and draw attention, which defeats the point of making panels disappear.
Lighting makes a big difference, because hard light can highlight panel edges and make them look bulky. Soft side lighting or bias lighting behind the desk can keep the background calm while still making the room feel intentional.
If you have to place a panel near a door, consider a thinner panel there and put the thicker one in a less visually sensitive corner. You will get most of the acoustic benefit from the best corner, and you will avoid making the room feel cramped.
How to evaluate improvement with quick listening tests
You do not need measurement gear to know if you fixed the worst corner reflections, you just need repeatable tests. Record a 15 second voice clip at the desk before and after, using the same mic distance and the same gain.
Use the same script each time, because different words can hide or exaggerate sibilance and room tone. A mix of S, T, K, and P sounds will tell you quickly whether the room is still spitting back at you.
Listen for the “room behind the words,” which often shows up as a papery tail on S and T sounds. When acoustic panels for corner reflections are placed well, that tail shortens and your voice sounds closer without EQ.
Also listen to how quiet the pauses feel, because corner reflections can keep the room alive between phrases. When the corners are under control, silence sounds calmer and less like a faint hissy halo.
Do a clap test, but do it the same way each time, with one sharp clap at head height while you face forward. If you still hear a chirp or flutter, rotate your body toward each corner and clap again to find the angle that triggers it.
If the flutter is reduced but not gone, that is still a win, because the goal is to remove the distracting artifacts. A little room sound is normal, and a perfectly dead office can feel weird for long work sessions.
For speakers, use a mono vocal track and sit centered, then move your head a few inches left and right. If corner mounting helped, the center image stays stable and the “phasey” shift as you move should be less annoying.
You can also play a simple kick-and-bass loop at low volume and listen for one-note boom. If the corner treatment is working, the low end should feel more even, with fewer spots where one note suddenly dominates.
If you want one simple phone based check, use a spectrum analyzer app and speak a steady “shhh” while you face the desk. The goal is not a perfect curve, it is a smoother top end without spikes that jump around when you turn toward a corner.
Another easy test is to record yourself while turning your head slowly left and right, because corner reflections often change with angle. When the room is improved, your tone stays more consistent as you move, which is great for natural speaking on calls.
If you do use software tools, keep it simple and do not chase tiny differences. A corner fix should be obvious in a blind A/B, and if it is not, you may be treating the wrong corner or using panels that are too thin for the problem.
Finally, trust fatigue as a metric, because harsh reflections wear you out over time. If you can work or record longer without wanting to rip your headphones off, the corner treatment is doing its job.
Conclusion
Corner reflections are a small-room problem that shows up fast in home offices, especially around desks pushed near walls. If you treat the right corners and use bridging with an air cavity, the room usually stops sounding sharp without making it look like a studio.
The biggest mindset shift is realizing that corners are not just empty geometry, they are active acoustic surfaces. Once you hear what a corner is doing, it becomes easier to prioritize placement over random coverage.
Start with the corners that have a straight shot to your ears, then decide between flat placement, corner mounting, and panel angling based on what you can fit cleanly. Once the worst tri-corner reflections calm down, every other panel you add tends to work better.
Keep your evaluation simple, because your ears will tell you when the edge is gone and speech gets easier to listen to. When you reach that point, stop buying panels and enjoy the quieter, less harsh room you built.
If you want a practical endpoint, aim for a room where your voice sounds clear and relaxed with no special processing. When you can record or take calls without fighting sibilance, you have solved the corner problem well enough for real life.


