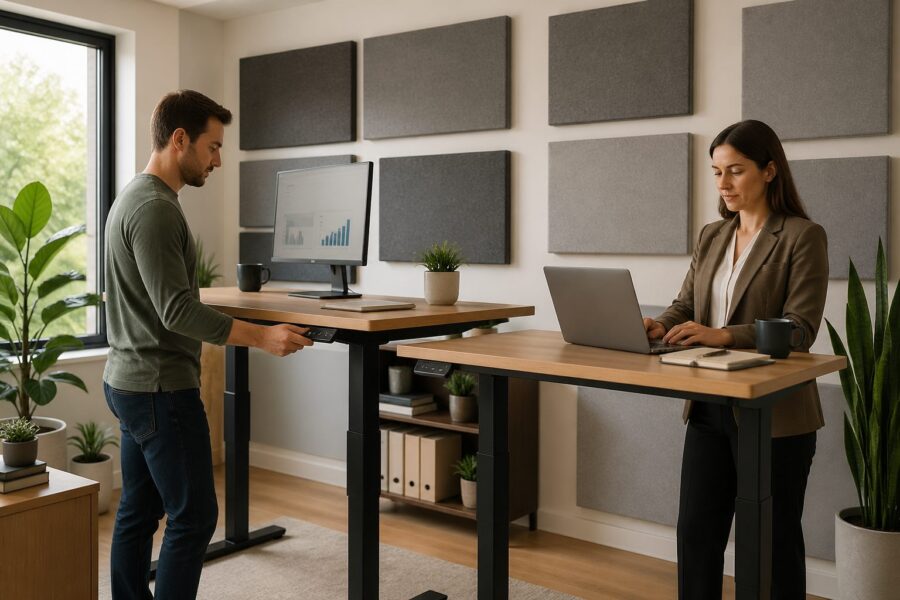
A standing desk changes more than your posture, it changes what your ears hear. If you treat a room only for a seated position, a lot of that work gets wasted the moment you raise the desktop.
The good news is you can plan acoustic panels for standing desk home office setups without doubling your budget or turning the room into a padded cell. You just need to think in two ear heights and place panels where both positions share the same problems.
This article focuses on practical placement, not vague theory, because home offices have doors, windows, and bookshelves that never match the textbook diagram. If you do calls, podcasts, or mixing at a height adjustable desk, the placement details matter more than the brand name of the panel.
Why ear height changes everything for acoustic treatment
Your ears are the measurement point, so moving them up or down changes the geometry of every early reflection. In standing desk acoustics, a few inches can shift a reflection off a treated patch and onto bare drywall.
Early reflections are the first wall and ceiling bounces that arrive right after the direct sound from your speakers. They smear clarity on voice and make stereo imaging feel fuzzy, especially in smaller rooms.
With a normal fixed desk you can treat one ear height and call it done. With height adjustable desk sound issues, you need coverage that catches both the seated ear height reflection points and the standing ones.
I like to treat this as a target band, not two single dots, because real people shift in their chair and lean on their elbows. If your treatment only works when you sit perfectly upright, it will fail in the first week.
Ear height also changes what your microphone hears, because the mic is usually close to your mouth and moves with you. If your voice sounds different every time you stand, it is often the room changing, not your mic settings.
Even if you are not mixing music, the same physics affects video calls and screen recordings. A room that is crisp when seated can become splashy and tiring when standing, which makes long meetings feel louder than they should.
Standing can put your ears closer to a ceiling fan, a light fixture, or a hard beam that was not in the reflection path before. Those objects can create little extra bounces that show up as a brittle edge on consonants.
The goal is to keep the direct sound dominant in both positions, so your brain does not have to work to decode speech. When reflections stay controlled, you can stand more often without feeling like the room is fighting you.
Think of treatment as a way to make the room behave like a tool instead of a variable. Once you lock in predictable acoustics, changing desk height becomes a comfort choice rather than an audio compromise.
How standing vs sitting shifts your reflection points
When you stand, your ears rise and the triangle between you and the monitors tilts upward. That tilt changes where the sound ray hits the side walls and ceiling, so your old panel map is suddenly wrong.
Side wall reflections tend to move slightly forward or backward depending on how far your desk sits from the front wall. Ceiling reflections usually move a lot, because a higher ear height shortens the path to the ceiling and changes the bounce angle.
If your speakers sit on the desk, raising the desk also raises the tweeters, which stacks another change on top of ear height. That is why height adjustable desk sound often feels inconsistent, even when the room is treated.
Monitor arms, speaker stands, and isolation pads can reduce how much the speaker height changes between modes. The less the speakers move, the easier it is to treat two listening heights with the same set of panels.
Your head position changes in depth too, because many people stand a little farther from the desk to make room for their knees and hips. That small step back can shift the first reflection points enough to miss a narrow panel.
Chair posture adds another layer, because seated listening can be upright, reclined, or perched forward. If your seated position varies, the “seated” reflection point is really a range, not a single spot.
Standing posture varies as well, especially if you lean on the desk during calls or typing. When you lean, your ears drop slightly and move forward, which changes both the wall hit points and the ceiling hit points.
In small rooms, these shifts matter because the reflection paths are short and strong. When the room is larger, the same shifts still happen, but they are often less noticeable because the reflections arrive later and quieter.
It also changes how you perceive bass, even though panels are mostly about mid and high frequencies. Standing can put your ears closer to a room mode peak or null, which makes low end feel inconsistent unless you also manage bass with placement and traps.
That is why I prefer to stabilize the speaker position first and then treat the room around it. If the speakers move and the listener moves, you end up chasing a moving target with fixed panels.
Finding the two critical reflection zones in your room
You are hunting two bands of early reflections, one for seated and one for standing, and you want the overlap. The mirror trick still works, but you do it twice and then connect the dots into a taller zone.
Set your desk where you actually use it, then mark your seated ear height and standing ear height on a piece of painter’s tape on the wall behind you. Those marks keep you honest when you start measuring ear height reflection points on the side walls.
Use your normal listening posture for the test, not an exaggerated “perfect” posture you never maintain. If you usually hunch a little when typing, include that reality so the treatment matches your real workflow.
For the mirror method, it helps to have a second person slide the mirror while you stay still. If you are alone, you can prop a mirror on a chair or use a phone camera facing the wall to approximate the same idea.
When you find the reflection point, mark it with a small piece of tape and label it S or ST for seated and standing. Those labels save time later when you are staring at a wall full of tape and wondering what each mark means.
Do the same process for both the left and right walls even if the room is “symmetrical,” because furniture and doors rarely are. A closet door on one side can act like a hard reflector that needs more attention than a bookshelf on the other side.
For ceiling zones, a handheld mirror works, but a phone on selfie mode can be easier because you can see the speaker in the screen. The goal is still the same: if you can see the tweeter from your ear position via the mirror, the sound can bounce there too.
Once you have marks for both heights, step back and look for the shared vertical band. That shared band is where one panel can do double duty instead of forcing you to treat two separate spots.
Do not ignore the desk itself, because glossy desktops can create a strong early reflection into your ears. If you hear a sharp “zing” when you clap near the desk, a desk mat or angled speaker stands can reduce that reflection without adding wall panels.
After you mark everything, do a quick listening check with spoken voice and pink noise if you have it. If the room changes dramatically when you stand, it is a sign your reflection zones are not overlapping enough yet.
| Surface | How to find the reflection zone | What to mark on the wall |
|---|---|---|
| Left side wall | Slide a mirror at tweeter height while you sit, then repeat while you stand | Two hit points, connect into a vertical strip |
| Right side wall | Same mirror method, keep your head centered between speakers | Two hit points, connect into a vertical strip |
| Ceiling | Use a handheld mirror or phone camera on a stick, check both ear heights | Two rectangles, plan one larger cloud |
| Front wall | Measure speaker distance to wall, then check for strong bounce with a clap test | Area behind speakers and between them |
| Rear wall | Sit and stand at the desk, listen for slapback on voice | Centered zone behind your head path |
Side wall panel placement that works at both heights
Side walls are where acoustic panels for standing desk home office setups pay off fastest, because those reflections are strong and easy to treat. The trick is to mount panels so they cover a taller vertical area than you would for a fixed chair.
If you have room, use taller panels, like 24 by 48 inches, mounted in portrait orientation. That portrait mount naturally covers the seated and standing ear height reflection points without needing perfect placement.
If you already own 24 by 24 inch panels, stack two vertically at the first reflection spot on each side. Leave a small air gap behind them if you can, because a 2 inch panel with a 2 inch gap behaves more like a thicker absorber.
Do not mount panels based on where your elbows are, mount them based on where the tweeters reflect. In standing desk acoustics, people often treat too low because they think “desk height” equals “ear height,” and it does not.
When a window blocks the perfect spot, treat the opposite wall and use a thick curtain on the window side. A curtain is not a real broadband panel, but it can tame the sharpest high frequency splash so the stereo image stops pulling.
If one side wall is open to a hallway or kitchen, you may have less of a reflection problem on that side and more of an imbalance problem. In that case, treating the remaining solid wall well can still improve clarity, but you may need to adjust speaker toe-in to keep imaging centered.
Try to keep left and right treatment roughly equivalent in absorption area, even if the walls are different materials. If you only treat one side heavily, your phantom center can drift and voices can feel like they come from one speaker.
Panel height matters more than panel width for standing desk setups, because the vertical shift is the big change. A narrow but tall panel can outperform a wide but short panel when you are trying to cover two ear heights.
Do not forget the space slightly in front of your ears, because that is where first reflections often land. People sometimes mount panels too far back on the side walls, which helps reverb but misses the early reflection that hurts intelligibility.
If you have artwork you want to keep, you can sometimes mount a thin absorber behind a fabric print or use a decorative panel that matches the room. The best treatment is the one you will actually leave up permanently.
After mounting, do a quick A/B test by clapping and speaking while seated and standing. You should hear less sharpness and less “slap” from the sides in both positions, even if the room is not perfectly dead.
Ceiling treatment options when your ear height varies
The ceiling reflection often gets louder when you stand because the path is shorter and the angle is steeper. If you skip the ceiling, you may fix seated clarity and still hate how standing audio sounds.
A ceiling cloud works best when it is larger than you think, because it has to catch both seated and standing bounce zones. For most home offices, a pair of 24 by 48 inch panels centered above the desk is a clean starting point.
Mount the cloud with a 2 to 6 inch air gap, and use proper anchors because gravity never takes a day off. If you rent, you can hang a lightweight cloud from a freestanding frame, but check wobble before you trust it.
If your ceiling is low, prioritize absorption over diffusion, because diffusion needs distance to work. A low ceiling with hard paint acts like a reflector right next to your ears, and that is a recipe for harshness on voice.
If you have a ceiling light directly above the desk, treat around it rather than skipping the cloud entirely. Two smaller clouds placed left and right of the light can still cover the reflection zone and keep the room looking normal.
Cloud placement should follow the reflection marks, not the center of the room. In many home offices the desk is off-center, so a centered cloud can look neat but miss the actual bounce path.
Thickness matters on the ceiling because the reflection is often strong and broadband. A 4 inch cloud with an air gap can smooth the upper mids in a way a thin panel cannot, which is where voice fatigue often lives.
If you cannot mount anything overhead, you can still reduce ceiling reflections by lowering speaker angle slightly or using speakers with tighter vertical dispersion. It is not a replacement for a cloud, but it can reduce how much energy hits the ceiling in the first place.
Standing desks also encourage movement, so you may find yourself pacing or shifting side to side during calls. A wider cloud gives you a larger “good zone” so the sound stays consistent even when you are not perfectly centered.
After installing a cloud, listen for a reduction in “roomy” tone on your own voice when you talk at the desk. If you can hear less ceiling bounce while standing, you are on the right track.
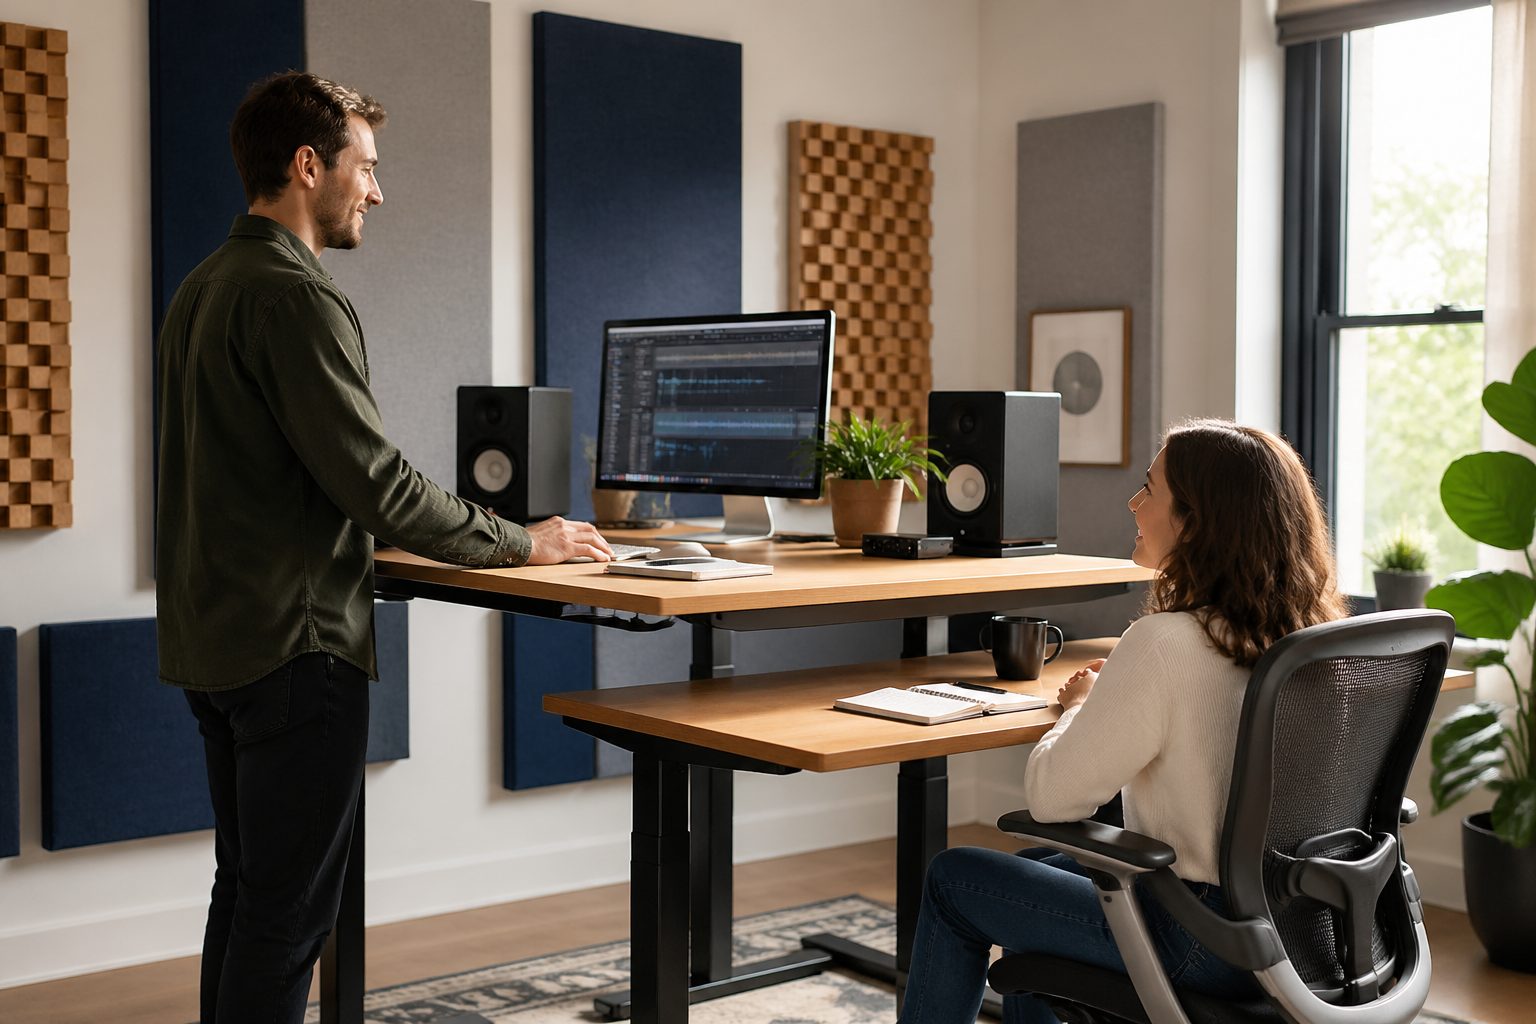
Front wall and monitor placement with a height-adjustable desk
The front wall is the wall you face, and it matters because the speakers fire toward it and interact with it immediately. If your monitors are close to that wall, the bounce can add comb filtering that changes with desk height.
Start with speaker placement that is stable between sitting and standing, ideally on stands that do not move with the desk. If you must keep speakers on the desk, mark a repeatable position and keep the tweeters aimed at your head in both modes.
Absorption behind the speakers helps when the speakers are within a couple feet of the wall, and it also reduces flutter between front and rear walls. Two broadband panels behind the left and right speaker usually beat one panel in the center.
Keep your screen and laptop from becoming a reflective shield between you and the speakers. Raise the monitors so the top edge does not block the tweeter line, because that reflection changes a lot when you stand.
If you record voice, the front wall treatment also reduces the “boxy” tone that comes from short reflections into the mic. That benefit stays consistent across both heights, which makes it a smart use of panels when budget is tight.
Try to keep the speakers the same distance from the front wall on both sides, even if the desk is not centered. Small asymmetries in distance can create uneven bass and uneven early reflections that get more noticeable when you change height.
Desk-mounted speakers can also couple vibration into the desktop, which changes slightly as the desk rises and the frame flex changes. Isolation pads or small stands can reduce that coupling and make the tonal balance more stable.
Pay attention to monitor height relative to your ears, because many people raise their screens when they stand. If the screen rises into the speaker line of fire, it can create a hard reflection that makes the top end feel sharp.
Front wall panels do not have to be huge to help, but they should be placed where the speaker energy actually hits. If you can only fit one panel, put it behind the speakers rather than off to the side where it looks balanced but does less.
If your desk is very close to the front wall, consider pulling it forward a few inches if possible. That small change can reduce the strength of the front wall bounce and make your treatment work more efficiently.
Once front wall and speaker placement are stable, you will notice that standing and sitting differences shrink. You may still hear a change, but it will be a subtle shift rather than a complete change in character.
Rear wall coverage for seated and standing positions
The rear wall is behind you, and it is where slapback lives in small rooms. When you stand, your head may move closer to that wall, so the reflection arrives sooner and sounds more obvious.
If your desk faces the short wall, you often sit and stand closer to the rear wall than you realize. Measure the distance from the back of your head to the wall in both positions, because that number tells you how aggressive you need to be.
Thicker absorption is usually the right call on the rear wall, like 4 inch panels or a panel with a big air gap. Thin 1 inch foam back there does almost nothing for the midrange that makes voice sound honky.
Mount rear wall panels centered on the path your head takes when you switch heights, not centered on the room. In a standing desk home office, you often stand a few inches farther back, so treat that band instead of guessing.
If you have a bookcase full of uneven books, it can help as a mild diffuser, but it does not replace absorption. I still prefer at least one real absorber behind the listening position, then let the shelves do whatever extra they can.
If the rear wall is very close, like less than three feet behind you when seated, consider using the thickest treatment you can tolerate visually. Close rear walls create fast reflections that your ear interprets as coloration rather than pleasant ambience.
A common mistake is to treat the rear wall too high because people think reflections come from “head level” only. In reality, the reflection zone is a vertical band, and standing pushes that band upward.
Door placement matters on the rear wall, because a hollow door can resonate and add a papery tone. A door seal or a heavy curtain over the door can reduce that effect when you cannot mount a panel there.
If you do video calls with a camera behind the desk, rear wall panels can also improve what your mic captures by reducing room tone. The improvement is often more obvious on laptop mics because they pick up more room than a close dynamic mic.
When you stand, you may also turn slightly to reach shelves or a second monitor, which changes your angle to the rear wall. A wider rear wall absorber gives you more forgiveness for those real-life movements.
After rear wall treatment, listen for less “ping” on claps and less echo on short spoken phrases. If you still hear a distinct repeat, you likely need more thickness, more area, or both.
A practical panel layout checklist for standing desk setups
When people ask me what to buy first, I ask what they can mount cleanly without hating the room. A smaller set of well placed acoustic panels for standing desk home office use beats a larger set that ends up leaning in a closet.
Use this checklist to plan coverage for standing desk acoustics without getting stuck in endless measuring. If you can only do one thing, treat the first reflection points on the side walls and add a ceiling cloud later.
Start by deciding whether your priority is playback accuracy, voice recording, or call clarity, because that affects where you spend your first panels. Most people need a bit of all three, so the best early move is still controlling early reflections.
Budget planning gets easier when you think in zones instead of individual panels. Side walls, ceiling, front wall, and rear wall each have a job, and you can improve the room step by step without wasting purchases.
Take photos of your tape marks and panel positions as you go, especially if you are experimenting. It is surprisingly easy to forget what changed when you move three things at once and then try to judge the result by ear.
If you share the room with someone else, plan treatment that does not block storage or make the space feel cramped. A standing desk setup already changes the visual lines of a room, so clean mounting and tidy cable management help the treatment feel intentional.
Do not ignore corners if your room has obvious bass issues, because standing can put your ears in a different low-frequency spot. Even two corner traps can make the room feel more consistent across heights, especially for music playback.
Finally, set a “done for now” point so you do not chase tiny improvements forever. Once seated and standing sound close enough that you stop thinking about it, you have achieved the main goal.
- Mark seated ear height and standing ear height at the desk
- Mirror check side wall first reflection for both heights
- Mount side panels in portrait to cover a taller zone
- Add a ceiling cloud centered over the desk area
- Place absorption behind speakers if they sit near the front wall
- Cover rear wall at head path height range, not room center
- Keep speaker toe in consistent between sitting and standing
Conclusion
A height adjustable desk is great for your back, but it can expose untreated reflections that were hidden when you stayed seated. If you plan for two listening heights, your room stops changing personality every time the desk moves.
Focus on the shared zones first, especially side walls and the ceiling, because those are where ear height reflection points cause the most damage. Once those are under control, front and rear wall treatment becomes easier to judge by ear.
The goal is not perfection, it is consistency across sitting and standing so your voice and playback stay predictable. With smart placement, acoustic panels for standing desk home office rooms can work like a single system instead of two half finished setups.
If you treat the room like it has a seated mode and a standing mode, you will naturally make better placement decisions. That mindset keeps you from over-optimizing for one posture and then wondering why the other one sounds wrong.
Once you get consistent sound, you can adjust EQ, mic technique, and monitor levels with more confidence. The room will stop being the hidden variable that makes every small change feel unpredictable.


