Built in cabinets can turn a tidy home office into an acoustic mess, even when you buy good monitors and treat the room. The reason is simple, the cabinets change the room’s geometry right where your speakers and ears care the most.
If you work in a hybrid room, part office and part studio, you probably cannot rip out millwork just to get a flat front wall. You can still get reliable mixes, but you have to think in terms of studio geometry with built-in cabinets instead of pretending they are not there.
I see the same pattern over and over, the desk gets centered on the window, the cabinets stay wherever the builder put them, and the speakers end up in random pockets. That setup almost always creates a front wall obstruction and ugly early reflections that smear the phantom center.
This article focuses on practical geometry moves, not vague “add panels” advice. If you handle speaker boundary effects and symmetry alignment first, your treatment choices start working the way the product photos promised.
Why built-ins change boundaries and reflection timing
A normal front wall is one boundary, but built-ins create several boundaries at different depths. Your speakers “see” those surfaces as multiple front walls, and the timing differences show up as comb filtering.
Even a 6 inch cabinet face can shift a strong reflection earlier than the reflection off the drywall behind it. That small time change can make the upper bass sound hollow or lumpy, which people often blame on the speakers.
Cabinets also add edges, shelves, and vertical dividers that behave like little reflectors near tweeter height. Those edges create sharp early reflections that mess with imaging, especially when the left and right sides are not mirror matched.
When you hear a wandering center image, look at the geometry before you buy another interface or mic. In rooms with studio geometry with built-in cabinets, the “problem” is often a few inches of depth difference and a bad angle off a cabinet stile.
It helps to think in milliseconds instead of inches, because your ears react to timing first and frequency second. A reflection arriving just a couple milliseconds after the direct sound can blur the attack of vocals and snare even if the room feels “quiet.”
Built-ins often create a stepped profile, where one surface is close and another is farther back, and your speakers excite both. That step can create two competing reflection paths that fight each other and make the low mids feel inconsistent across songs.
Hard cabinet faces are usually more reflective than painted drywall because they are denser and often finished with lacquer. That extra reflectivity makes the early reflections stronger, so the same geometry mistake becomes more audible than it would on a plain wall.
Glass doors and glossy finishes add another layer of trouble because they reflect high frequencies with very little loss. That can make cymbals and vocal sibilance feel detached from the center even when the mix is actually fine.
Even if the cabinet wall is “flat,” the seams between doors and frames create diffraction points that scatter energy. Diffraction is subtle, but it can reduce the sense of focus you expect when you sit in the sweet spot.
Another common issue is that cabinets change the effective width of the front wall, so the left and right speakers interact with different side boundaries. That difference can shift perceived panning, so a centered vocal feels slightly left on one day and slightly right on another.
When you clap in a room with built-ins, you may hear a short “tick” or “zip” instead of a simple decay, and that is a clue that the surfaces are producing fast early returns. Those returns are exactly what smear imaging when you are trying to judge reverb tails and delays.
People often treat the problem as a reverb issue, but it is more like a geometry issue that creates false detail. Once you clean up the early timing problems, your monitors suddenly sound like they have better resolution.
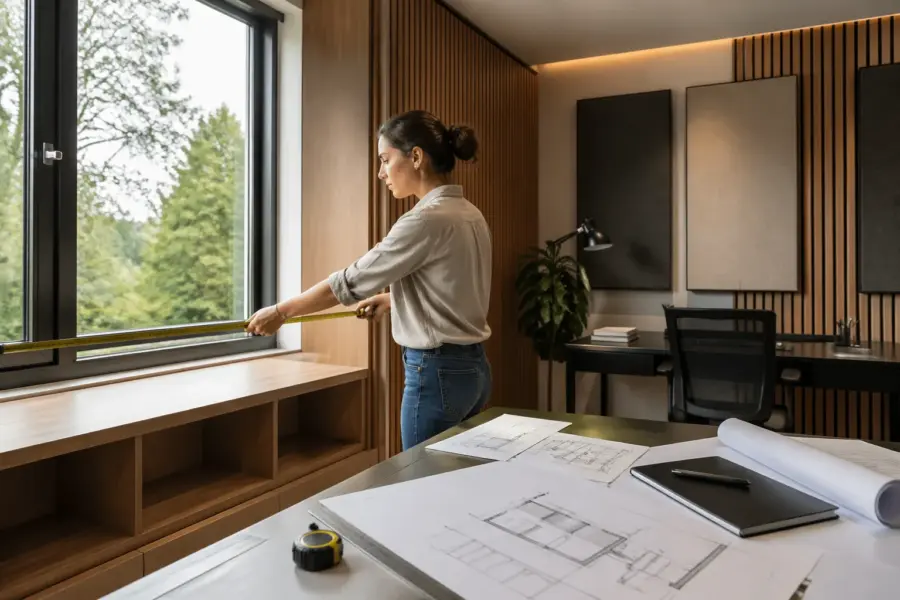
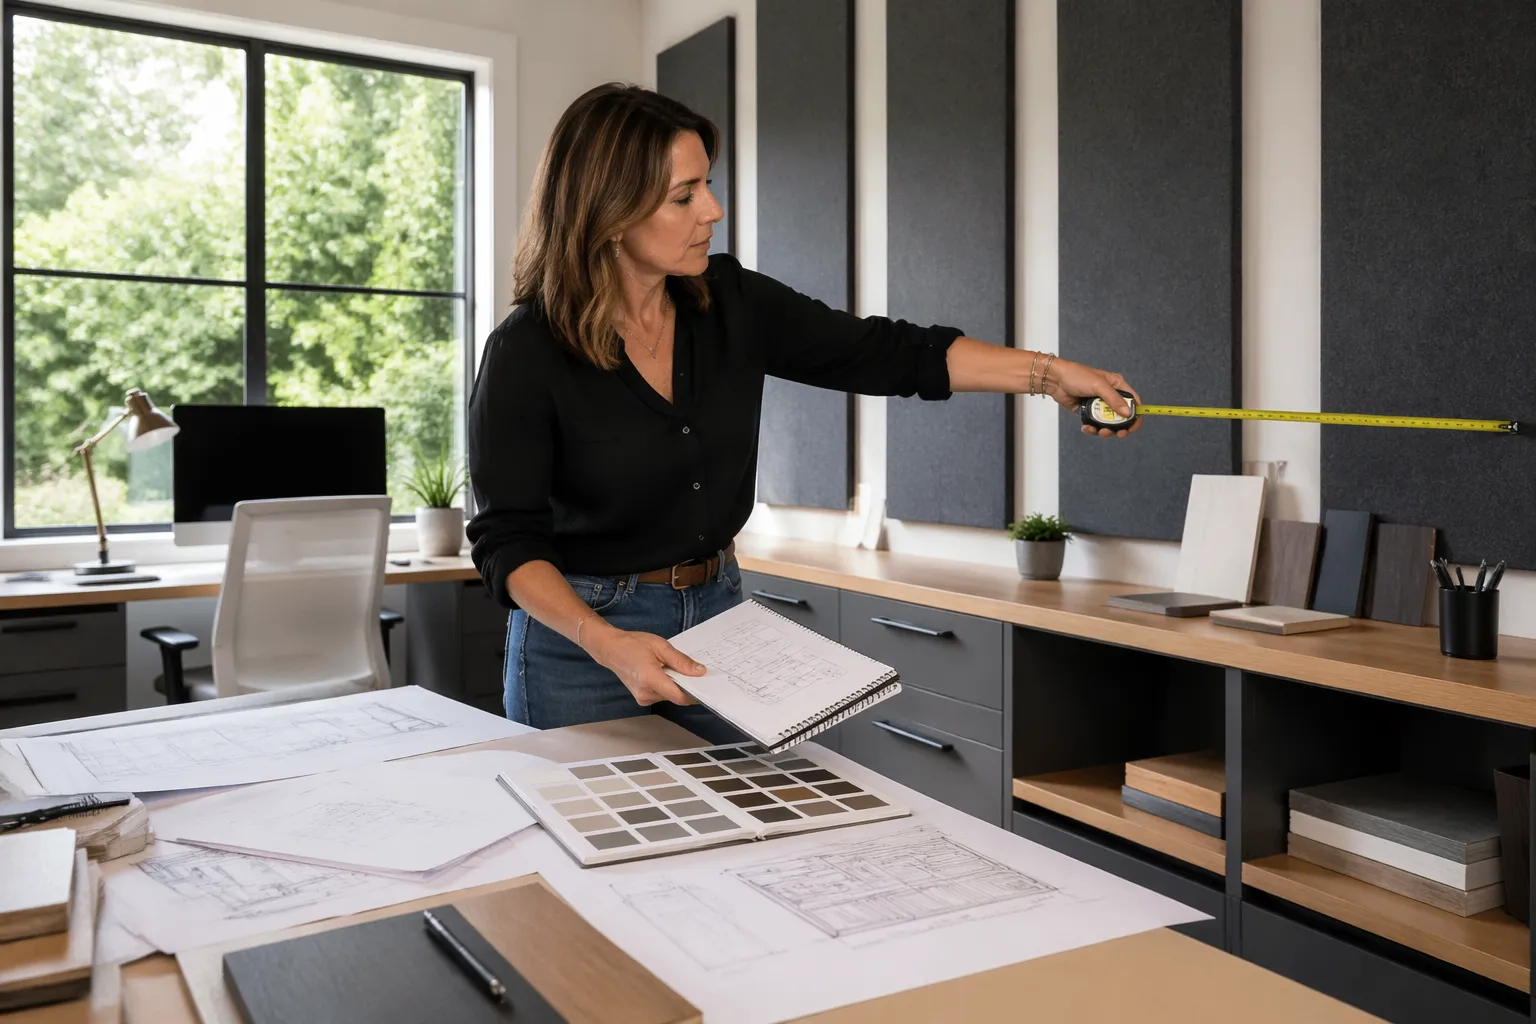
Measure cabinet depth and create a consistent front wall reference
Start with a tape measure and write down the depth of every cabinet face that sits forward of the drywall. Measure from the drywall plane to the most forward point, including door pulls if they stick out.
Next, pick one plane to treat as your “front wall reference,” because your speaker placement needs a single baseline. In most home offices, the cleanest reference is the most forward continuous cabinet face across the center area.
If the built-ins step in and out, do not average the depths, choose the plane that affects both speakers the same way. That choice helps symmetry alignment later, because both monitors can share the same boundary distance.
Mark that reference plane with painter’s tape on the desk surface or on the floor, then measure speaker baffle distance from that line. This keeps you from accidentally creating different speaker boundary effects on the left and right just because one side has a deeper cabinet run.
Do not assume the drywall behind the cabinets is perfectly flat, because many built-ins have backing panels that sit proud or recessed. If you can, measure from a known straight edge like a long level or a laser line so you are not guessing the true plane.
Write the measurements down like a simple map, with left tower depth, center section depth, and right tower depth. That map makes it easier to understand why one speaker sounds “closer” or “bigger” even when the volumes match.
If the cabinet run is broken by a window, treat the curtain line or the glass plane as part of the reference decision. A window can behave like a hard boundary at high frequencies, so it matters even if it feels acoustically “thin.”
When you pick the reference plane, you are really choosing which reflection you want to manage first. A consistent reference plane makes it possible to do repeatable speaker moves instead of random shuffling.
It also helps to measure the distance from each speaker position to the nearest cabinet edge, not just the wall plane. Edge distance affects diffraction and can create a brightness difference between channels if one speaker sits near a vertical stile.
If you are using a desk that is not flush to the wall, measure its front-to-back position relative to the reference plane too. A desk that creeps forward on one side can silently break symmetry even if the speakers look centered.
Once you have a reference, you can use it like a “zero line” for experiments. That makes it much easier to return to a known good setup after you move furniture for regular office work.
When people skip this step, they end up chasing problems with EQ because the room response changes every time the speakers get nudged. A simple tape line on the floor is not glamorous, but it is one of the highest value studio geometry moves you can make.
Decide if speakers should sit in front of, between, or away from built-ins
There are three workable placements, speakers in front of the cabinet faces, speakers between cabinet towers, or speakers pulled well away from the whole wall. The right choice depends on cabinet depth, desk depth, and how much you can move the listening position.
I lean toward putting speakers in front of the cabinet faces when the built-ins are shallow and continuous, because you can control the boundary distance on both sides. If you try to tuck speakers into alcoves, you often create a front wall obstruction plus sidewall reflections that hit one speaker differently than the other.
Before you commit, look at where the tweeters will sit relative to cabinet edges and shelves. If the tweeter is level with a shelf lip, you are basically aiming at a reflector that will throw energy right back at your ears.
Speakers in front of cabinets often mean the desk must move forward, and that can feel wrong in an office layout. The trade is usually worth it because you get a cleaner, more predictable front boundary, which is the foundation for reliable low end.
Speakers between cabinet towers can work beautifully when the opening is wide and the inner faces are flat and equal. The moment one tower has a protruding trim piece or a different depth, the opening becomes an asymmetrical reflector box.
If you choose the “between towers” option, pay attention to the width of the opening compared to your speaker spacing. If the opening is narrow, you may be forced into a tight triangle that makes the stereo field feel exaggerated and fatiguing.
Pulling speakers far into the room is the most forgiving for cabinet weirdness, but it changes the rest of the room problems. You often end up closer to the room center, where modal issues can get worse if you do not also move the listening position.
When speakers come forward, the desk becomes a bigger part of the acoustic picture, especially if you have a large desktop. That is not a deal breaker, but it means you should keep the desk surface as clear and low as possible around the speaker line.
Another factor is how your monitors are rear-ported or front-ported, because cabinet proximity can change how the port energy couples to the room. Rear ports close to a cabinet face can exaggerate a narrow bass region and make translation worse.
If you are stuck with speakers near cabinets, stands can be a lifesaver because they let you place the monitors where the acoustics want them, not where the desk wants them. Stands also let you fine tune toe-in without the speakers sliding around on the desktop.
Try to avoid “almost in front” placements where one speaker is forward and the other is slightly tucked back due to a cabinet corner. That kind of compromise is exactly how you end up with a phantom center that never feels stable.
| Placement option | When it works best | Main risk to watch |
|---|---|---|
| Speakers in front of cabinet faces | Shallow built-ins, continuous center run, desk can move forward | Strong SBIR dip if baffle-to-plane distance lands near 1 to 3 ft |
| Speakers between cabinet towers | Two tall towers with a flat back wall, wide opening, equal depths | Edge reflections off the inner tower faces |
| Speakers pulled far into the room | Deep built-ins, lots of recesses, room length allows it | Rear wall reflections and desk bounce become dominant |
| Speakers on stands flanking the desk | Cabinets block desktop placement, you need flexible toe-in | Asymmetry if one stand sits closer to a cabinet edge |
Use the table as a starting point, but trust what you hear after you lock in symmetry and distances. The “best” option is the one that gives you consistent bass and a center image that does not drift when you move your head slightly.
If you can only test one thing, test moving the speakers forward so the baffles clear the cabinet faces by a few inches. That single change often reduces edge diffraction and makes the midrange feel less cloudy.
Also consider how you will live with the setup day to day, because a studio geometry plan that you hate using will not last. The goal is a repeatable arrangement that stays consistent even after you open drawers and use the room like an office.
Keep left-right symmetry when cabinet layouts don’t match
Most built-ins are not symmetrical, one side has drawers and the other has open shelves, or a printer bay sits on one side only. If you accept that mismatch, your stereo image will never fully lock, because the early reflection pattern differs left to right.
Your job is to create acoustic symmetry even when visual symmetry is impossible. That usually means matching the first reflection paths, not matching every cabinet detail.
Start by centering the listening position on the room, not on the cabinetry, then adjust the desk so both speakers have equal distance to the front wall reference plane you picked earlier. This is where studio geometry with built-in cabinets becomes a geometry problem, not a decorating problem.
If one side has a cabinet face near the speaker and the other side is open, add a temporary flat surface or absorber to the open side to mimic the boundary. A 2 by 4 foot broadband panel on a stand can fix symmetry alignment faster than rearranging the entire office.
Symmetry also includes toe-in angles, because a small angle difference changes what each speaker fires at first. If one speaker points at a cabinet stile and the other points into open air, the tonal balance will never match even if the distances are perfect.
Check symmetry at ear level, not at desk level, because cabinets often flare or change depth higher up. A shelf that sticks out above the tweeter line can be irrelevant, while a shelf that sticks out at tweeter height can be a deal breaker.
Do not forget the side boundaries, because built-ins sometimes extend along one side wall and not the other. That extension can create a strong early side reflection on one channel that makes panning decisions feel “tilted.”
A simple test is to play mono pink noise and slowly pan your head left and right by a few inches. If the noise image pulls hard to one side, you have a symmetry problem that is usually geometric, not electronic.
Another practical check is a mono vocal track that you know well, because the human voice makes imaging problems obvious. If the vocal jumps toward a cabinet-heavy side, you need to adjust placement or add a symmetry fix on the other side.
You can fake symmetry by adding a matching “mass” near the other speaker, like a movable panel, a filled bookcase section, or even a temporary plywood sheet covered with absorption. The point is not to be pretty, the point is to make both channels see a similar acoustic world.
Try to avoid using identical small foam tiles as a symmetry fix, because they do not behave like a real boundary. A thin foam patch changes highs a bit but does almost nothing to the low mids where many cabinet problems live.
Once you get symmetry close, lock the speaker positions with marks so you can restore them after cleaning or moving gear. A room with built-ins tends to invite small shifts, and those shifts are enough to undo your best work.
Avoid front wall obstruction from cabinet faces, screens, and desk risers
A front wall obstruction is anything between the speakers and the wall plane that creates extra edges and reflections, including cabinet lips, monitor screens, and tall desk shelves. The worst offenders sit at tweeter height and close to the speaker baffle.
If you mount your display on an arm, pull it back so the screen edge sits behind the speaker baffles, not between them. This small move can clean up the phantom center because the screen stops acting like a reflector and diffractor.
Cabinet crown molding and thick face frames can also act like a horizontal reflector if they line up with the tweeters. If you cannot remove them, raise or lower the speakers so the direct line from tweeter to ear does not skim a sharp cabinet edge.
Do not stack speakers on tall desktop risers that push them into the cabinet field unless you have no other choice. You usually trade one problem for another, because the riser adds more reflecting surfaces and changes speaker boundary effects at the same time.
Desk shelves that hold laptops, controllers, or small synths can be a sneaky obstruction because they sit right in the reflection zone. If you need a shelf, keep it low and open, and avoid tall back lips that behave like a little wall.
Watch out for vertical monitor stands and mic arms that sit between the speakers, because they create diffraction edges. A thin pole seems harmless, but it can add a bright, phasey quality that makes you over-EQ the top end.
Even small items like pen cups and hard drive docks can create localized reflections if they sit near the tweeter line. The fix is boring but effective, clear the space between the speakers and keep the desktop as uncluttered as your workflow allows.
If your cabinets have a countertop section behind the desk, that countertop can act like a big reflector. A temporary absorber laid flat on that surface during mixing can reduce the “slap” that makes the upper mids feel aggressive.
Try to keep the speakers slightly forward of any cabinet face that has a strong edge or trim piece. When the baffle is behind an edge, the edge becomes a diffraction source that changes the speaker’s apparent response.
If you use nearfields on the desk, consider isolation pads that also tilt the speakers so the tweeters aim at your ears without needing tall risers. Tilt can solve a height issue without adding more hard surfaces in the danger zone.
Front wall obstruction problems often show up as a “busy” center image where reverbs feel like they are coming from the desk. When you reduce obstructions, reverbs tend to move behind the speakers where they belong.
Do not forget that your own keyboard tray or pull-out shelf can become an obstruction when it is extended. If you mix with it out, you are changing the geometry, so try to keep your mixing posture consistent.
Avoid cavity effects from open cubbies and recessed sections
Open cubbies look harmless, but acoustically they act like little cavities that store energy and spit it back out. The result can be a narrow honk in the midrange or a weird flutter that only shows up on certain notes.
Recessed printer bays and book nooks can also create a pressure trap that interacts with the front wall reflection. When that recess sits behind one speaker and not the other, you get mismatched low mid buildup that ruins symmetry alignment.
Cavities are especially noticeable when they sit near the tweeter line, because your ears are most sensitive in that range. You might think you are hearing “harsh monitors,” but you are really hearing a small resonant box in the cabinetry.
Deep cubbies can act like short tunnels that reinforce a narrow band, and the effect changes depending on what is inside them. That is why the room can sound different after you move a stack of paper or a storage bin.
If you have a big open bay under the desk area, it can behave like a bass cavity and make kick drums feel uneven. Blocking or filling that opening often tightens the low end more than adding another small panel on the wall.
Glass-front cabinets can create a partially sealed cavity that rings in the upper mids. If you hear a “zing” on claps or percussion, try opening the doors or covering the glass during mixing to change the resonance behavior.
Empty shelves with hard backs are the worst case, because they reflect and resonate at the same time. A shelf full of mixed objects tends to break up the cavity and reduce the strength of the resonance.
Do not rely on random decorative items that are all the same size, because uniformity makes the cavity behavior more consistent and sometimes more audible. Variety is your friend, especially when it is varied depth and varied material.
- Fill unused cubbies with books of mixed depths
- Add fabric bins to break up cavity openings
- Place 2 inch mineral wool panels inside deep recesses
- Cover glass cabinet doors with removable absorbers while mixing
- Avoid empty, hard back cubbies at tweeter height
- Use uneven objects, not identical storage boxes, for diffusion
If you want a quick test, temporarily stuff a suspect cubby with a folded blanket and listen again. If the midrange smooths out, you found a cavity that needs a more permanent solution.
For printer bays you still use, a removable absorber panel that slides in behind the printer can help without killing functionality. The goal is to reduce the hard back wall and shorten the cavity’s effective depth.
When you treat cavities, try to do it in a way that keeps left and right similar. Fixing only one side can improve one speaker while making the stereo balance feel even more uneven.
Also remember that cavities can interact with speaker placement, so a small speaker move may change which shelf starts ringing. That is another reason to lock geometry first, then do the cavity cleanup second.
Tune speaker boundary effects with distance, toe-in, and height
Speaker boundary effects are predictable, but built-ins make them harder to see because the boundary is not a single flat wall. You still control the biggest variable, the distance from the speaker baffle to your chosen front wall reference plane.
If you hear a deep null in the 80 to 150 Hz range, move both speakers forward or backward in small steps, like 1 inch at a time. The change can be dramatic, and it costs nothing except a few minutes of crawling behind the desk.
Toe-in matters more near cabinets because it changes how much energy hits the cabinet faces versus the room. I prefer toe-in that aims the tweeters to cross just behind your head, because it reduces side reflections without making the sweet spot tiny.
Height is the quiet troublemaker in home office studios, because built-ins often force the speakers too high or too low relative to cabinet edges. Keep the tweeters at ear height, then adjust stands so the tweeter line clears nearby shelves and face frames instead of grazing them.
When you adjust distance, keep the listening position fixed at first so you can hear what the speaker move actually did. If you move the chair and the speakers at the same time, you can accidentally “solve” one problem while creating another.
It helps to use a repeatable test track with steady bass notes and a centered vocal. You are listening for bass that stays consistent across notes and a vocal that stays pinned to the middle without getting wider and fuzzier.
If you have measurement software, use it to confirm what you hear, but do not let it replace the geometry steps. In cabinet-heavy rooms, the big wins usually come from inches of placement, not from fancy EQ curves.
When cabinets are close, small toe-in changes can also change the perceived brightness because you are changing the off-axis response at your ears. That is why you should set toe-in after you set distance, not before.
Try to keep both speakers the same height even if the desk surface is not perfectly level. If one speaker is an inch higher, the reflection angles change and you can get a subtle but annoying tilt in the stereo image.
Also pay attention to how close the speakers are to the desk surface, because desk bounce can create its own comb filtering in the mids. Sometimes raising the speakers slightly and tilting them down reduces that bounce without making cabinet reflections worse.
Do not chase a perfectly flat response at one point if it makes the stereo image unstable. In a working home office, a stable image and predictable bass are usually more valuable than a perfect-looking measurement plot.
Once you find a good distance, mark it and stop moving it, because consistency is what lets you learn your monitors. Your brain adapts quickly when the geometry stays the same, even if the room is not perfect.
Use treatment that respects cabinet geometry instead of fighting it
People love to slap foam on cabinet doors, but foam rarely fixes what built-ins break. You want broadband absorption at first reflection points, and you want it placed so it creates a consistent surface for both channels.
If the cabinet faces are the front wall reference, mount thick panels on French cleats across the cabinet doors during mixing, then take them down when you need the storage. This approach keeps studio geometry with built-in cabinets stable without turning your office into a permanent construction zone.
For side reflections, use freestanding gobos or wall panels positioned relative to the listening triangle, not relative to cabinet edges. A cabinet edge can trick your eye into placing panels too far forward, which misses the actual reflection point.
If you have a deep recess behind the desk, consider stuffing it with thick insulation behind a breathable fabric frame. That turns a problematic cavity into real absorption and reduces the front wall obstruction effect of multiple stepped surfaces.
Think of treatment as creating simpler, more consistent surfaces for the speakers to interact with. If you can make the front boundary feel like one plane again, the rest of your room treatment starts behaving more predictably.
Removable panels are especially useful on cabinet doors because doors are often the most reflective, most forward surfaces. A 4 inch panel with an air gap can do real work in the low mids where cabinets tend to cause the most confusion.
If you cannot mount anything, use panels on stands and place them just in front of the cabinet faces behind the speakers. That creates a temporary front wall treatment zone without drilling into finished millwork.
Do not ignore the ceiling, because built-ins push you to sit in certain spots where the ceiling reflection becomes strong. A ceiling cloud above the listening position can reduce the “office room” sound more than extra foam on the cabinets.
Corner bass trapping still matters, but cabinets sometimes block the corners you would normally treat. When that happens, use thicker freestanding traps at the nearest available corners, even if they are not directly at the front of the room.
If one side has open shelving and the other has doors, you can use absorptive inserts or fabric bins to make the shelf side less reflective. The point is to keep the early reflection energy similar between channels, not to make the shelves look like a studio wall.
Be careful with thin felt pads and decorative acoustic stickers, because they can make the room sound dull on top while leaving the low-mid mess intact. That kind of treatment makes you boost highs in your mixes, which is the opposite of what you want.
When you add treatment, do it in pairs whenever possible so you do not accidentally pull the image to one side. Even a small difference in absorption between left and right can be audible when cabinets are already creating asymmetry.
Practical layout templates for common built-in designs
For a full wall of shallow cabinets, place the desk so the speakers sit slightly in front of the cabinet faces and keep equal baffle distance to that plane. Treat the cabinet face area behind the speakers with removable broadband panels, because that is where the strongest early reflections land.
For two cabinet towers with an open center section, avoid placing each speaker tight against the inner tower face. Put both speakers either fully inside the opening with equal clearance on both sides, or fully outside the towers on stands, because half-in setups create nasty symmetry alignment problems.
For an L-shaped built-in that wraps a corner, do not aim your mix position into the corner just because the desk “fits” there. Rotate the room use so the speakers fire down the longer dimension, then use the cabinets as side storage instead of a front wall boundary.
For a window centered between cabinets, resist the temptation to center the desk on the window if the cabinet depths differ. Center on the acoustic reference plane and use curtains or a removable panel over the window so the front wall reflection stays similar to what the cabinets create.
For a full wall of cabinets with a countertop desk built in, keep the speakers on stands that decouple them from the countertop. A rigid countertop can transmit vibration and add a subtle resonance that makes bass feel slower and less defined.
If you have upper cabinets above the desk, try to keep the speakers low enough that they do not fire directly into the cabinet bottoms. The underside of an upper cabinet can act like a mini ceiling and create a harsh early reflection right at ear level.
For built-ins with a centered hutch or display shelf, avoid placing a speaker directly in front of the hutch opening. That opening can behave like a cavity and a reflector at the same time, which is a bad combo for midrange clarity.
If you have asymmetrical built-ins with a tall bookcase on one side and low drawers on the other, use a gobo or panel to “raise” the acoustic height of the low side. You are trying to make the reflection field similar, even if the furniture heights are different.
For a setup where one speaker must be near a cabinet edge, try moving both speakers slightly so the edge distance matches on both sides. Equal edge distance is often more important for imaging than perfectly equal distance to the side walls in cabinet-heavy rooms.
If the built-ins force your desk off center, consider shifting the entire listening triangle rather than only shifting one speaker. A centered triangle in an off-center room can still work if the early reflections are controlled and the distances are matched.
In rooms where you must pull the speakers far forward, plan for rear wall control behind the listening position. A thick absorber or bookshelf with varied depth behind you can reduce the rear wall reflection that becomes obvious when the front wall is no longer the main boundary.
For hybrid office use, build a “mix mode” and a “work mode” that you can switch between quickly. A repeatable routine, like pulling stands to tape marks and placing two panels, beats a perfect layout that takes an hour to set up.
Conclusion
Built-ins do not ruin a home office studio, but they force you to make deliberate geometry choices. When you treat the cabinets as part of the boundary system, studio geometry with built-in cabinets becomes manageable instead of mysterious.
Pick a consistent front wall reference, control speaker boundary effects with small placement moves, and protect symmetry alignment even if the cabinetry is lopsided. If you also reduce front wall obstruction and tame cubby cavities, your monitoring gets calmer and your decisions get faster.
The goal is not to “beat” the cabinets, it is to stop them from changing the rules every time you sit down to work. Once the geometry is stable, you can trust what you hear and spend your energy on music instead of troubleshooting.
If you only do one thing this week, measure the depths, pick a reference plane, and make the left and right speaker distances match that plane exactly. That one move often gets you 80 percent of the way to a setup you can actually mix on.
After that, treat reflections in a way that respects the cabinet layout, using removable panels and simple symmetry tricks. You will still have a home office, but it will behave more like a small control room when it matters.


