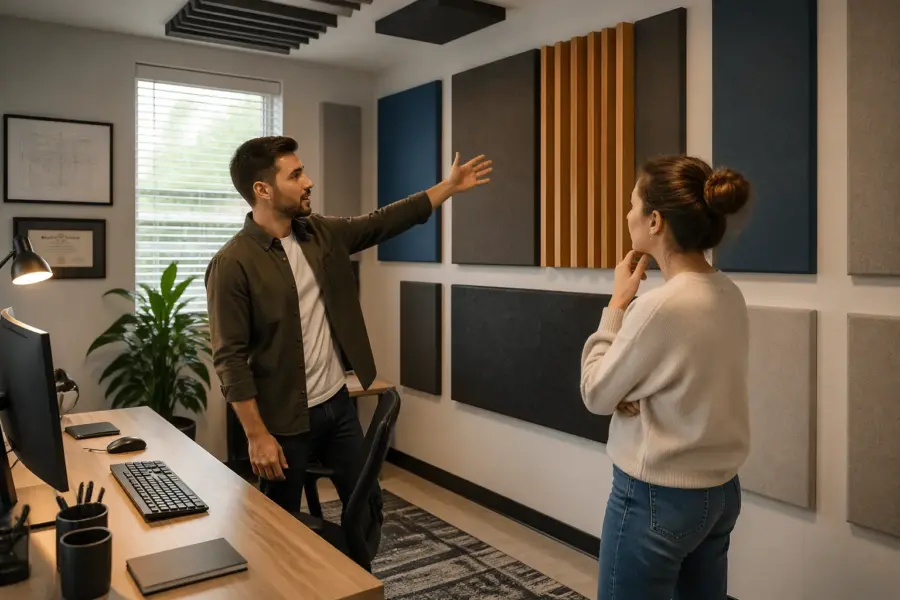
A rectangular home office is the most common room shape for mixing, calls, and focused work, and it is also the shape that makes acoustic problems easiest to predict. If you place acoustic panels for rectangular room layouts with intent, you can get a cleaner stereo image and less fatigue without turning the space into a foam cave.
Most people buy panels first and think about geometry later, then wonder why the room still sounds weird at certain notes. The fix is simple, treat the room like a set of repeatable reflection paths and make placement decisions that respect symmetry placement and the front wall back wall relationship.
This article assumes you are working at a desk with speakers or headphones, and you want the room to stop fighting you. The goal is not perfection, it is consistency so your voice, meetings, and mixes translate outside the room.
Why rectangular rooms create predictable reflection paths
Rectangular rooms create strong, repeatable bounce patterns because parallel walls send sound back and forth on the same lines. That is why you hear flutter echo when you clap, and why some bass notes hang around longer than others.
Early reflections are the first set of wall and ceiling hits that arrive right after the direct sound from your speakers. Those reflections smear clarity, and they are the main reason side wall reflections matter so much in a typical home office.
The other big issue is room modes, which are standing waves set up by the room’s length, width, and height. In a rectangle, modes stack in predictable places, so your chair can land in a bass null that makes kick drums or male voices sound thin.
Because the geometry is simple, you can plan acoustic panels for rectangular room use like you are solving a map instead of guessing. You will still fine tune by ear, but the first pass can be almost mechanical if you follow the reflection paths.
Choose the best desk orientation for the room
Start by aiming your speakers down the long dimension of the room, with the desk on the short wall. This gives sound more distance to develop before it hits the back wall, and it spreads modal problems out instead of stacking them on top of you.
Center the desk left to right so the listening position sits on the room’s centerline. Symmetry placement is not a vibe thing, it keeps the left and right speaker hearing the same boundaries so panning decisions do not lean to one side.
Avoid putting your ears halfway between the front wall and back wall, because that spot often sits on a strong axial null. A practical target is to place your head about 38 percent of the room length from the front wall, then adjust a few inches at a time.
If you must face a window or built in shelves, keep the speaker spacing and side clearances matched as closely as you can. When the room forces compromise, you can still win with careful side wall reflections control and a solid front wall back wall plan.
Front wall treatment: what to do behind your monitors
The front wall is the surface your speakers fire toward first, so it shapes low end tightness and center image stability. Treating that wall well often does more than adding random panels around the room.
If your monitors sit close to the front wall, thick absorption behind them helps reduce boundary interference that causes dips in the upper bass. If they sit far out, you can still use panels to tame front wall reflections that bounce back to your ears a split second late.
| Front wall situation | Recommended treatment | Placement notes |
|---|---|---|
| Monitors 2 to 8 inches from wall | 4 to 6 inch broadband panels | Center behind each speaker, leave no gap only if space is tight |
| Monitors 8 to 24 inches from wall | 4 inch panels with 2 to 4 inch air gap | Cover area behind speakers and between them for a steadier phantom center |
| Desk forced off center | Asymmetric panel sizes, symmetric coverage | Match absorption area left and right even if panel edges do not line up |
| Front wall has window | Panels on either side plus heavy curtain | Keep curtain pleated, add panels at speaker height beside the glass |
Side wall treatment: controlling early reflections
Side wall reflections are the first big clarity killer in a rectangular office, because they arrive fast and they are strong. If you fix only one thing, fix the first reflection points on the left and right walls.
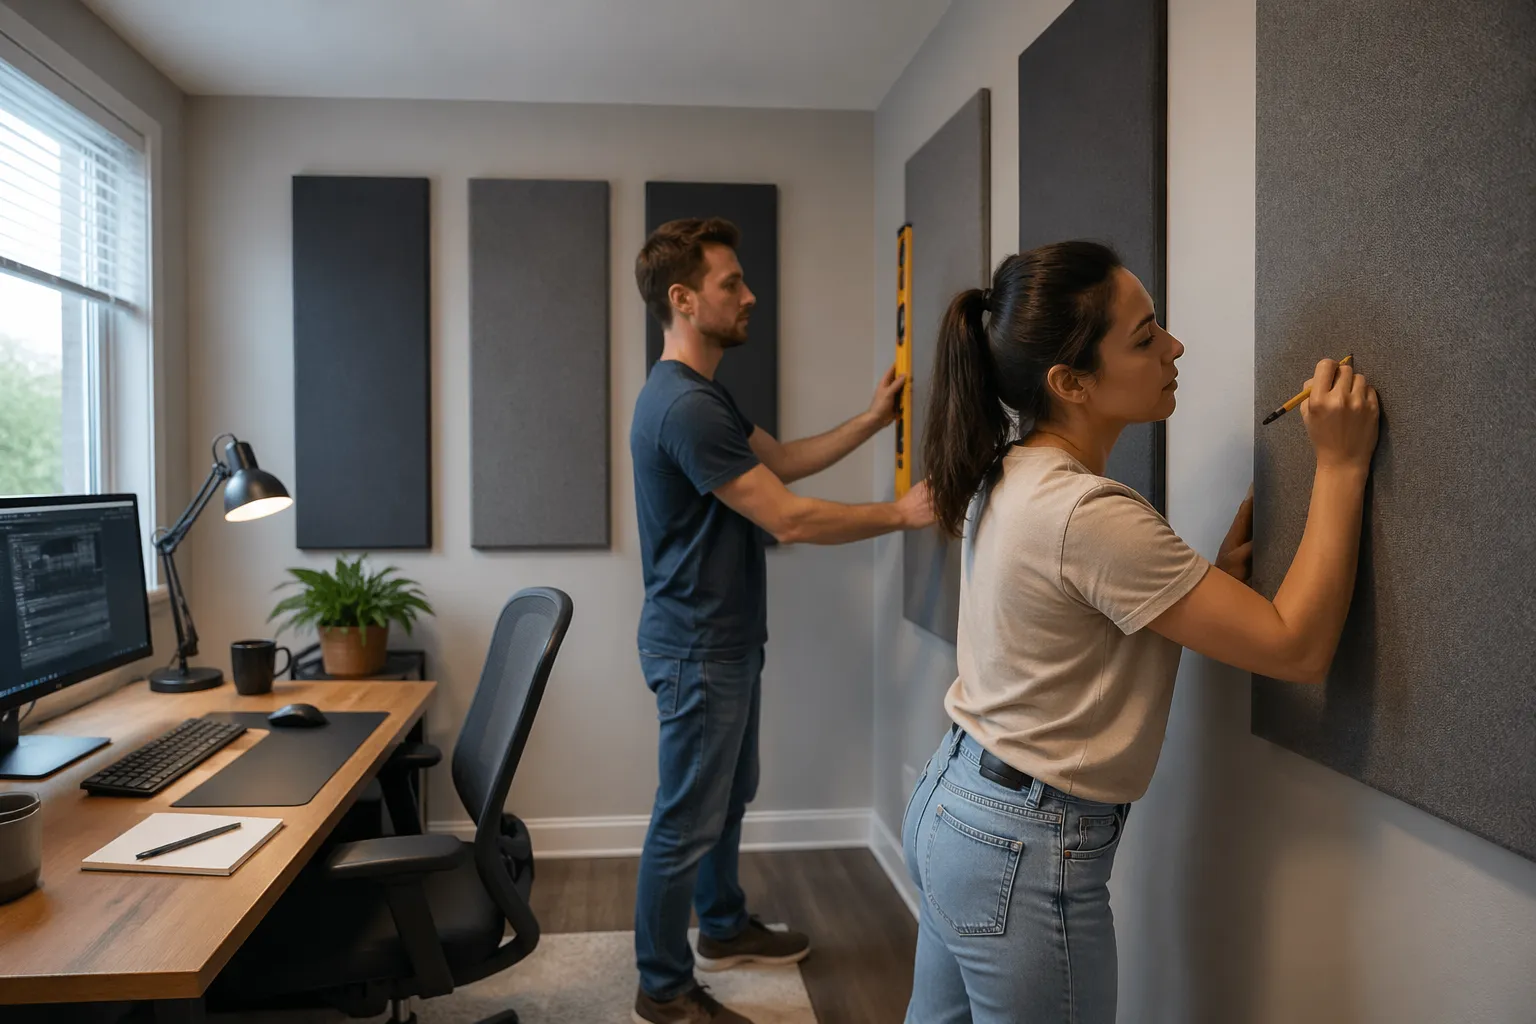
Use the mirror trick, sit in your chair while a friend slides a mirror along the wall, and mark where you can see each speaker. Put absorption there, because that is where the reflection path hits your ear with the most damage.
Panel thickness matters, and two inch foam rarely cuts it for real speaker work. For acoustic panels for rectangular room setups, aim for 4 inch mineral wool or fiberglass panels, and leave a small air gap if you can.
Keep symmetry placement strict here, even if the room has a door on one side and a closet on the other. If you cannot match surfaces, match absorption, so the left and right decay time stays similar and your stereo image stops wobbling.
Back wall treatment: reducing slap and ringing
The back wall is where a lot of the nasty slap comes from, especially if your chair is closer to it than you think. You hear it as a quick ping on claps, and you feel it as a weird halo around speech and snare drums.
If you sit within about 3 to 5 feet of the back wall, treat it with thicker absorption than you used on the sides. A 6 inch panel or a deep DIY absorber filled with mineral wool can calm the front wall back wall bounce that makes rooms ring.
Diffusion can work on the back wall, but only if you have distance, and most home offices do not. If your head is close to the wall, diffusion just turns a harsh reflection into a busy reflection that still reaches you quickly.
A bookshelf can help, but it is not a substitute for real absorption if the room is small. If you use a shelf, pack it unevenly and combine it with panels so the back wall stops acting like a hard drumhead.
Ceiling and floor considerations for rectangular rooms
The ceiling is the forgotten reflector, and it often sits closer to the speakers than any wall. A ceiling cloud above the desk can drop comb filtering and make vocals and cymbals sound less brittle.
Place the cloud at the same first reflection logic you used for side wall reflections, then size it wider than you think. Two panels side by side, each 2 by 4 feet and 4 inches thick, is a solid starting point for most desks.
Hard floors create strong floor bounce, and thin rugs barely touch it above the low mids. Use a thick rug with a dense pad if you have hardwood, and keep the desk area covered so the reflection path breaks up.
If the room has a low ceiling, prioritize thicker broadband absorption over decorative thin panels. Low ceilings compress the time gap between direct sound and reflections, so controlling early hits matters more than chasing exotic treatments.
Example layouts for common room ratios
Room ratios change where modes pile up, but rectangles still respond well to the same basic map. Think in zones, front wall control near the speakers, first reflection control on the sides and ceiling, and heavier work on the back wall.
In a 10 by 12 foot office with an 8 foot ceiling, keep the desk on the 10 foot wall and sit about 4.5 feet from the front wall. Use 4 inch side panels at reflection points, a 4 inch cloud, and a 6 inch back wall absorber centered behind your chair.
In a longer 10 by 16 foot room, you get more breathing space so you can spread treatment out and keep the back wall calmer with a mix of absorption and storage. You can also place bass traps in the front corners, which helps the low end stop bunching up at the front wall.
In a narrow 8 by 14 foot room, side wall reflections get aggressive because the walls sit close to your speakers. Go thicker on the side panels, keep symmetry placement tight, and avoid pushing the chair back toward the back wall just to gain leg room.
Panel count and sizing that actually works in a home office
People underbuy panels, then blame the room shape, and rectangular rooms get unfairly accused because of it. For acoustic panels for rectangular room setups, a realistic baseline is six to ten 2 by 4 foot panels, plus corner trapping if you can fit it.
If you can only buy a few panels, spend them on the first reflection points and the back wall before you decorate the rest. The front wall behind the monitors is next, especially if your speakers sit close to that surface.
Thickness is where the money goes, and I would rather have fewer 4 to 6 inch panels than a bunch of 1 inch tiles. Thin panels can tame flutter, but they will not fix the low mid mud that makes conference calls sound boxy.
When you build panels, use rockwool or Owens Corning 703 style rigid fiberglass, wrap it in breathable fabric, and mount it securely. Leave an air gap when possible, because a 4 inch panel with a 4 inch gap behaves closer to a thicker absorber in the mids.
Common mistakes with symmetry and reflection control
The most common mistake is chasing perfect visual symmetry instead of acoustic symmetry. If one side wall has a door, you can still match absorption area and height so side wall reflections stay balanced.
Another mistake is putting panels too high because it looks tidy, then leaving the reflection points untouched. Panels should sit at ear height when you are seated, because that is where the reflection path hits your head.
People also forget the desk itself, which is a big reflective surface that adds its own comb filtering. Lower your monitors so the tweeters aim at your ears, and consider small desk pads or angled stands to reduce straight line bounce.
Finally, many rooms get overtreated in the highs and untreated in the lows, which sounds dull but still boomy. If the room feels dead yet bass notes still smear, you need thicker panels, corner traps, or both, not more thin foam.
Quick checklist for placing panels in a rectangular office
If you want a fast plan you can execute in an afternoon, focus on the repeatable reflection points and keep the left right balance honest. The checklist below assumes the desk faces the short wall and the speakers fire down the long axis.
Measure and mark first, then mount panels once you can see the geometry on the walls. This approach keeps acoustic panels for rectangular room layouts from turning into random wall art.
- Desk centered on the short wall
- Listening position about 38 percent of room length
- First reflection panels at ear height on both side walls
- Ceiling cloud above desk, centered on the listening line
- Thick absorption on the back wall behind the chair
- Front wall panels behind monitors when space allows
- Corner bass traps in at least the front corners
Conclusion
A rectangular home office can sound controlled and trustworthy if you treat it like a geometry problem instead of a shopping list. Put the desk in a sensible orientation, keep symmetry placement tight, and target side wall reflections before you worry about anything fancy.
Build your plan around the front wall back wall relationship, because that bounce is where slap and low end confusion tend to live. Once those big paths are under control, the room gets easier to work in, and your speakers start sounding like themselves again.
If you only remember one rule, place acoustic panels for rectangular room use where the sound actually goes, not where empty wall space happens to be. A few well placed thick panels beat a room full of thin ones every time.


