Big windows make a home office look expensive and feel open, but they can make your voice and meetings sound harsh. If your room has a glass wall, you are basically working inside a giant mirror for sound.
The good news is that you can fix a lot of that brightness without turning your office into a dark cave. The tricky part is choosing acoustic panels for glass wall problems without assuming you can stick foam directly to the window.
I have seen people buy the right panels and still hate the result because they treated the wrong surface. Glass is part of the problem, but the reflection path from your mouth to the glass and back to your mic is what you need to interrupt.
This article covers what works in real home offices, especially rentals and shared spaces where you cannot drill into anything. You will see practical options like portable acoustic panels, smart desk moves, and a realistic take on curtains vs panels.
Why glass makes your office sound bright and echoey
Glass is hard, smooth, and non-porous, so it reflects most mid and high frequencies right back into the room. That reflection stacks on top of your direct voice and makes consonants sound sharp, especially on laptop mics.
In a typical home office, the window is also a big uninterrupted surface, so it acts like a clean reflector compared to bookshelves or furniture. The result is a bright, slightly “phasey” sound that you notice most on calls and recordings.
People often call this “echo,” but in small rooms it is usually early reflections and flutter between two hard surfaces. If you have a glass wall opposite painted drywall, you can get a pingy slap that shows up as a metallic ring on claps.
Window reflections get worse when the glass is close to your desk, because the reflection arrives fast and loud. If the reflection hits your mic within a few milliseconds, it smears clarity even if the room does not sound huge.
Low frequencies are a different story, because glass does not “absorb bass” and neither do thin panels. If your issue is boomy voice or rumble, you still need thicker absorption or bass traps, but glass usually explains the brittle top end.
What you can and can’t do with panels on glass
You can treat the reflection path that involves glass, but you usually cannot mount standard acoustic panels directly on the window long term. Adhesives fail on temperature swings, and many tapes leave residue or damage window films.
Suction cup solutions exist, but they tend to sag under the weight of real fiberglass or mineral wool panels. If a panel falls, it can chip a sill, crack a corner, or take out a monitor, so I avoid heavy “stick it to the glass” plans.
What does work on glass is temporary and light, like a removable acrylic frame holding thin absorption, or a freestanding panel placed an inch or two away from the window. That air gap can help absorption slightly, and it keeps the glass untouched.
Also be honest about what a panel can fix, because a 2-inch panel will not stop street noise coming through a window. Acoustic treatment reduces reflections inside the room, while soundproofing needs mass and airtight construction.
If you need privacy from neighbors or you have a loud street, start with sealing gaps and using heavier window coverings. Then use panels to clean up the room sound for your mic, because those are two separate problems.
Best workarounds: portable panels and adjacent-wall treatment
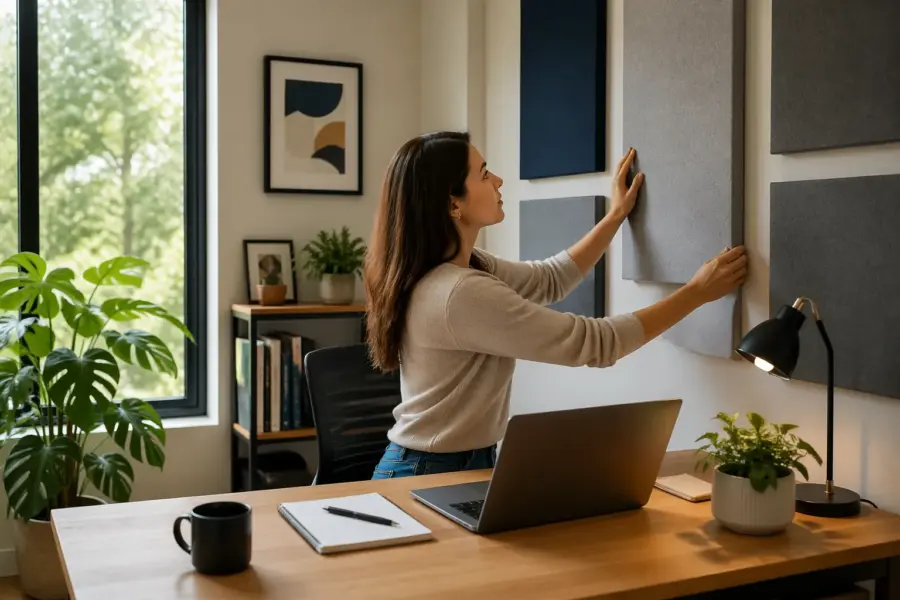
If you cannot touch the glass, treat what the glass “sees,” which is usually you, your desk, and the wall behind you. Portable acoustic panels are the fastest way to break the direct reflection without committing to a remodel.
The most effective move is placing a freestanding panel near the window at the height of your mouth and mic, because that blocks the strongest window reflections. A close second is treating the adjacent wall that the reflection bounces to next, which often sits beside the window or behind your monitor.
| Workaround | When it works best | What to watch out for |
|---|---|---|
| Freestanding 2×4 ft absorber near the window | Desk faces the glass or sits within 3 to 5 feet of it | Needs a stable base, avoid flimsy tripod stands |
| Panel on the wall beside the window | You sit angled, and the first reflection hits the side wall | Find the reflection point, do not guess placement |
| Panel behind your chair (back wall treatment) | Mic hears room tone and rear-wall slap | Too thin can sound only slightly better |
| Desktop gobo or mic shield plus room panels | You must keep the window completely clear | Shields alone can sound boxy if overused |
| Two panels in a shallow V around the desk | Very live rooms with glass plus hardwood floors | Can feel cramped, measure your walkway space |
Pairing panels with curtains without blocking light
The curtains vs panels debate gets messy because people expect one product to solve everything. Curtains help because they add soft surface area over a big reflector, while panels help because they absorb more per square foot when they are thick enough.
If you want daylight, you do not need blackout drapes to reduce window reflections. A light-filtering curtain with a heavier liner you can pull only during calls is a practical compromise in a working space.
Sheer curtains alone do very little for speech frequencies, but they can take the edge off the very highest splash. If your office sounds like a bathroom, you will still need absorption on walls or portable acoustic panels near the desk.
A setup I like is a double-rod system, with sheers for daytime and heavier curtains you close only when you are on camera or recording. You keep the room bright most of the day, and you get a noticeable reduction in slap when it matters.
Do not hang curtains tight like a flat sheet, because folds are part of what makes them work. A wider curtain that bunches up gives more effective surface area and makes the glass less “mirror-like” acoustically.
Desk position changes that reduce window reflections
Your desk position can make or break the sound, even before you buy treatment. If you sit with the window directly in front of you, your voice hits the glass and returns right into the mic like a boomerang.
Turning the desk 20 to 45 degrees often reduces the strength of that first reflection, because the reflection no longer returns on the same path. It is a small move that can sound bigger than adding a single panel in the wrong spot.
Distance matters too, because reflections get quieter as they travel farther. If you can pull the desk even 18 inches away from the glass wall, you usually hear less harshness and less comb filtering on voice.
Pay attention to what is behind you, because many mics pick up the room more than people expect. If the wall behind your chair is bare drywall, treating that surface can improve clarity even if the window is the obvious visual culprit.
If you use a cardioid USB mic, aim its null toward the window when possible. That does not replace acoustic panels for glass wall issues, but it is a free improvement that stacks with everything else.
Simple tests to confirm the window is the main issue
Before you buy anything, do a quick clap test from your seated position and listen for a sharp “tick” coming back from the glass. If the return is fast and bright, the window reflections are a main contributor.
Then record a 10-second voice memo with your phone in the same spot as your work mic. Repeat the recording while holding a thick comforter or moving blanket a few inches in front of the window, because that temporary absorption acts like a rough stand-in for treatment.
If the comforter test makes your voice less spitty and more “close,” you have confirmed the reflection path. If nothing changes, the problem may be the floor, the ceiling, or a parallel wall pair creating flutter.
You can also do a mirror test for first reflections, even though it sounds like a studio trick. Sit at your desk, have someone slide a small mirror along the glass, and mark where you can see your mic or your mouth in the mirror.
That marked zone is where a freestanding absorber will do the most work. This is how you stop guessing and start placing panels where the sound actually hits.
A practical setup for renters and shared spaces
If you rent, you need treatment you can move, store, and sell later without patching walls. I like a simple kit: two portable acoustic panels, one small rug, and one curtain solution that uses tension rods or existing hardware.
Start with the panel that blocks the window reflection path, because that is usually the biggest win for speech. Then add a second panel behind your chair or on the nearest side wall, depending on where you hear the slap.
- Pull the desk 12 to 24 inches away from the glass
- Angle the desk so the mic does not face the window
- Place one freestanding panel between you and the glass
- Add a second panel behind your chair at head height
- Use a rug or thick mat under the chair if floors are hard
- Close heavier curtains only during calls or recording
- Aim the mic null toward the window when possible
Choosing the right panel type and thickness for office voice
For voice and video calls, thin foam tiles are usually a disappointment, especially against a big glass wall. You want real absorption thickness, and for most home offices that means 2 to 4 inches of mineral wool or fiberglass in a fabric-wrapped frame.
A 2-inch panel can work well for taming the sharp edge of window reflections if you place it at the first reflection zone. If the room still sounds “ringy,” stepping up to 4 inches, or adding an air gap behind a freestanding panel, often makes the difference you actually hear.
Do not obsess over fancy shapes, because placement beats aesthetics for sound. A plain 24×48-inch panel positioned correctly will outperform a decorative hex set scattered randomly.
If you do podcasts or client presentations, treat the area around the mic first and the rest of the room second. That approach keeps the budget sane and makes your upgrades obvious on day one.
When you shop, look for published absorption data or at least clear material specs, because “soundproof panel” marketing is everywhere. If the listing does not say thickness and core material, assume it is mostly decoration.
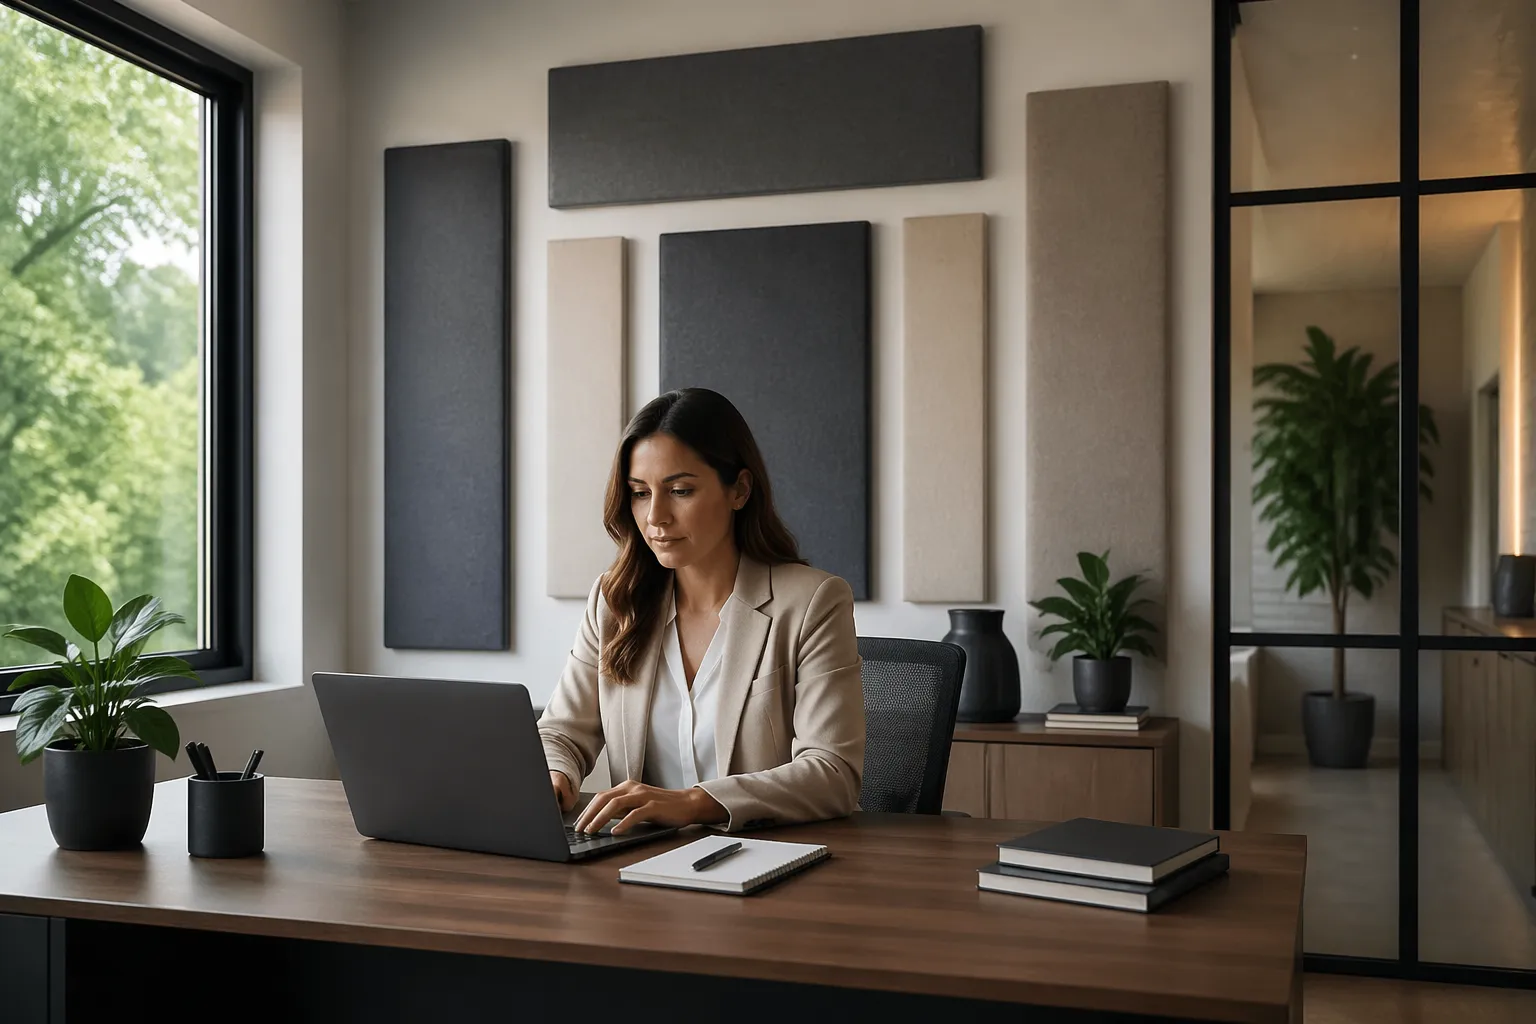
Placement strategy: where panels matter most in a glass-heavy room
In a room with a glass wall, the first reflection points are usually the window itself, the side wall near the desk, and the wall behind you. Treating those spots reduces the early reflection energy that makes voice sound sharp and distant.
If you can only do one thing, put absorption where the mic “looks,” because that is what ends up on calls. Many people treat the wall behind the monitor, but the mic often points away from it and hears the rear wall more.
Keep panels close to the reflection point, because moving them a foot or two can change the result. With window reflections, a freestanding panel that sits 6 inches to 18 inches from the glass often works better than one parked across the room.
Balance matters, because over-treating one side can make the room sound lopsided on stereo recordings. For meetings this is less of a concern, but if you record audio, try to keep left and right surfaces somewhat similar.
Do not ignore the ceiling if you have a hard floor and a big glass wall, because the vertical bounce can be nasty. A small ceiling cloud above the desk can help, but renters often replace it with an extra portable panel leaned high on a bookshelf.
Conclusion
A glass wall is a design flex, but acoustically it is a bright reflector that makes speech harder to capture cleanly. The fix is rarely “cover the whole window with panels,” it is controlling the window reflections that hit your mic first.
Use acoustic panels for glass wall situations as blockers and absorbers near the reflection path, then layer in curtains where they make sense for light and privacy. With a couple of portable acoustic panels, smarter placement, and a few simple tests, your office can sound calm and professional without looking like a studio.


